

Are you dreaming of a beautiful bookshelf to display your treasured books, family photos, and cherished keepsakes? Living in Lusaka, you might worry that building your own bookshelf is too expensive or complicated. But don’t let budget constraints or lack of experience stop you from creating a stunning piece for your home. With a little creativity, resourcefulness, and a touch of patience, you can build a sturdy, attractive bookshelf without breaking the bank. Let’s walk this journey together!

Why Build Your Own Bookshelf?
There’s something deeply rewarding about building your own furniture. You pour your personality and love into every nail and plank. Plus, custom-building allows you to create a bookshelf that perfectly fits your space and style—making every kwacha count. In Lusaka, where imported furniture can be costly, DIY is a fantastic way to save money, learn new skills, and even have fun with friends and family.

Planning: The Heart of Budget Building
Before you pick up a hammer, take a moment to plan. Careful planning will save you money and prevent unnecessary frustration.


- Measure Your Space: Decide where your bookshelf will go. Use a tape measure to get height, width, and depth. Write these down.
- Decide on Style: Do you want a tall bookshelf, a short one, or maybe a corner unit? Look online for inspiration or sketch your own design.
- Set a Budget: Even a small budget can go a long way. List what you can spend on wood, fasteners, tools, and finishes.
Gathering Materials in Lusaka
Lusaka is full of resources if you know where to look. You don’t need expensive, imported wood. Here’s how to source materials on a budget:

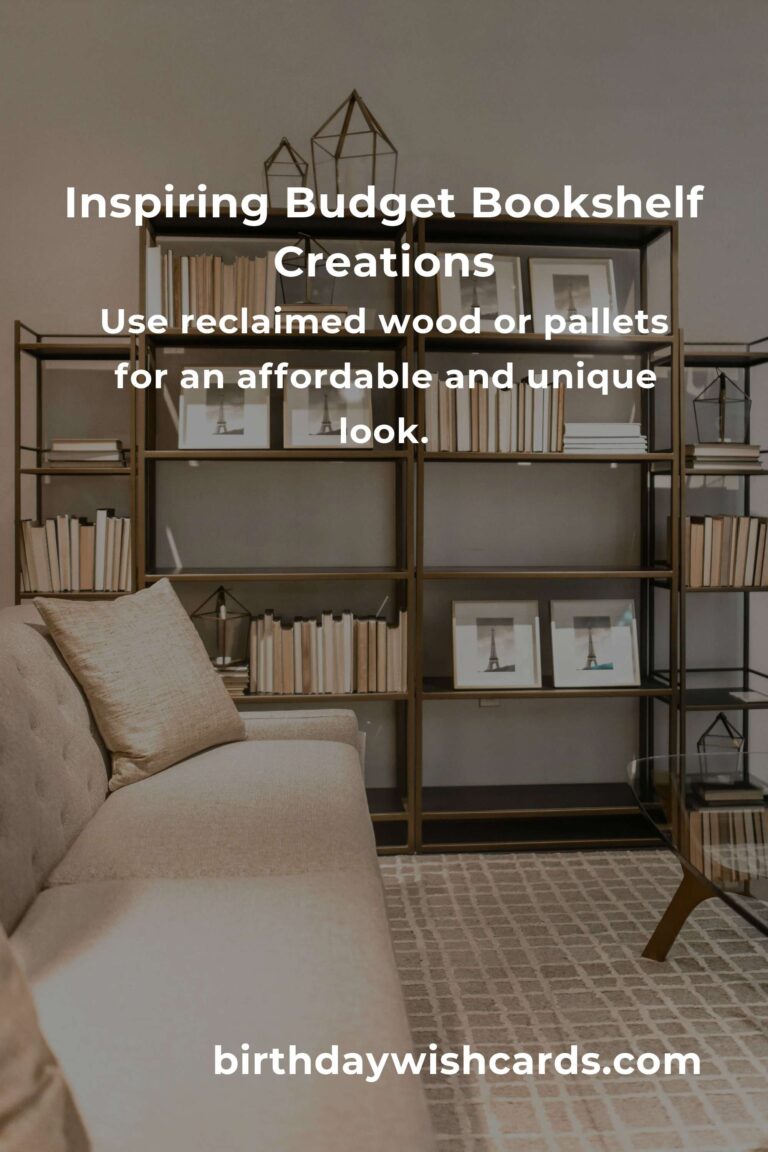
- Reclaimed Wood: Check local markets like Soweto Market or ask around construction sites for leftover wood. Old pallets are a fantastic, free source. Just make sure the wood is in good condition.
- Hardware Stores: Places like Game, Builders Warehouse, and local timber yards can supply affordable new planks. Compare prices before buying.
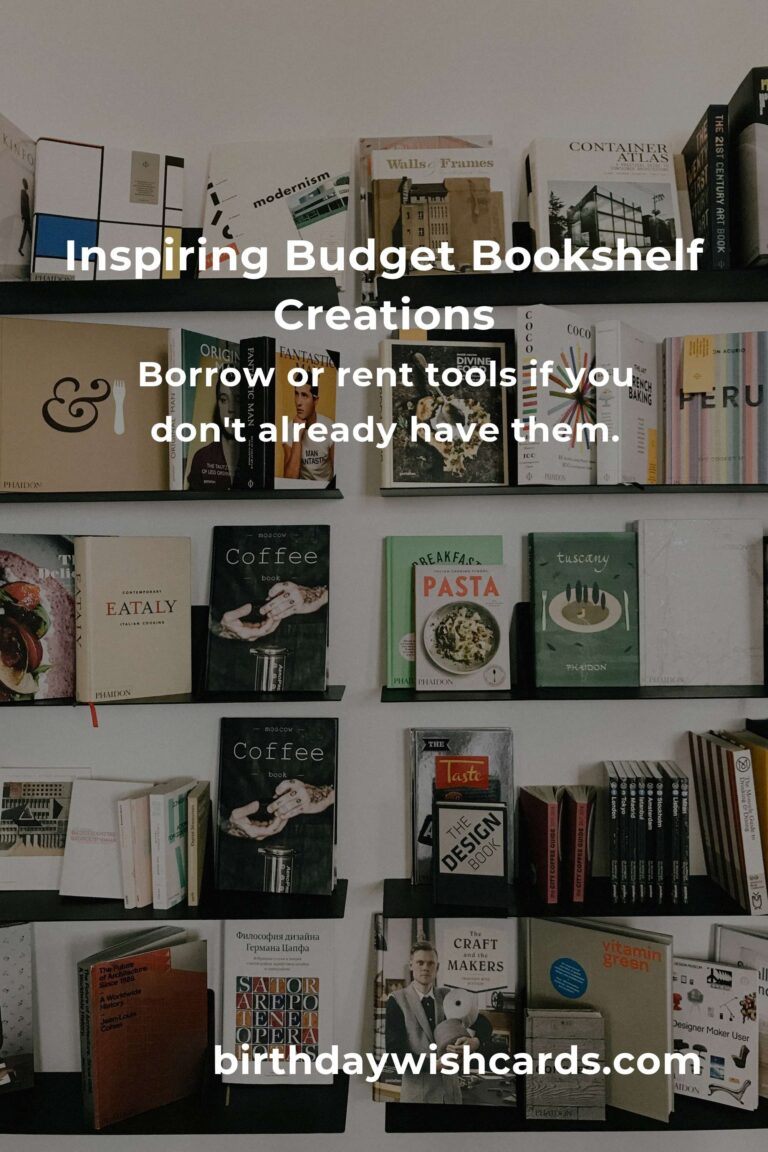
- Fasteners and Tools: Basic screws, nails, and brackets are all you need. Borrow tools from friends or neighbors if you don’t already have them.
- Paint or Varnish: A little paint goes a long way. Look for discounted cans or use leftover paint from other projects.
Simple Tools for DIY Success
- Measuring tape
- Hand saw or circular saw
- Hammer and nails or screwdriver and screws
- Sandpaper
- Paintbrush or roller
Don’t have all these tools? Ask around your community, or rent them for a day from local hardware shops.
Step-by-Step Guide: Building Your Budget Bookshelf
Step 1: Design Your Bookshelf
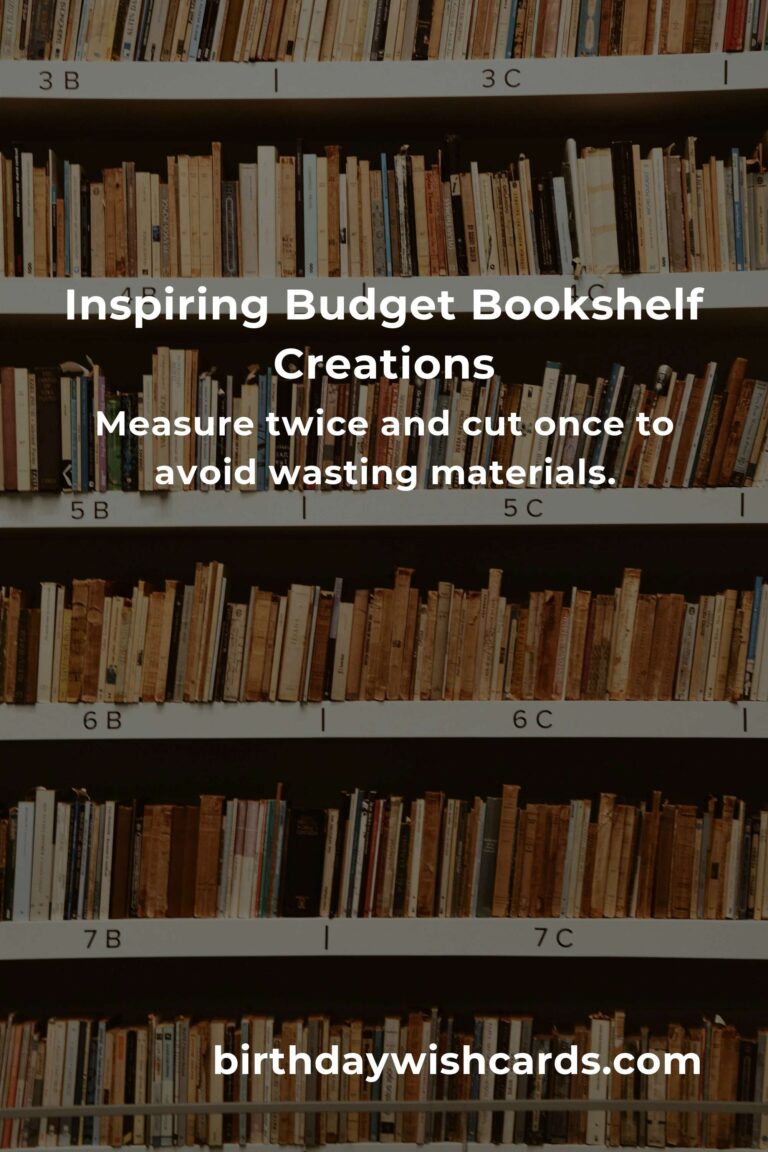
Keep it simple. A classic rectangular shelf with three or four shelves is the easiest for beginners. Sketch your design and double-check your measurements.
Step 2: Cut Your Wood
Mark your planks according to your measurements. Use a hand saw or circular saw to cut:
- 2 pieces for the sides
- 3-4 pieces for the shelves (depending on height)
- 1 plank for the top and 1 for the base
Sand all edges to remove splinters and rough spots.
Step 3: Assemble the Frame
Lay your side pieces flat, then attach the top and base planks using screws or nails. Make sure everything is square. If you can, use a carpenter’s square or ask someone to help hold the pieces steady.
Step 4: Install the Shelves
Measure equal distances between shelves, or customize heights for larger books at the bottom. Screw or nail your shelves into place, starting from the bottom up.
Step 5: Reinforce and Level
Add a small strip of wood or metal bracket at the back for extra support. Place your bookshelf upright and check for stability. Adjust if necessary.
Step 6: Finish Your Bookshelf
Brush off dust, then paint or varnish your bookshelf. Choose a color that warms your heart and matches your home. Let it dry completely before loading your books and decorations.
Creative Money-Saving Tips
- Use mismatched wood for a fun, rustic look.
- Repurpose old furniture—an old door or shutter can become a shelf.
- Swap or barter for materials within your community.
- Host a DIY day with friends—share tools and learn together.
Personalizing Your Bookshelf
Your bookshelf is more than a piece of furniture—it’s a canvas for your story. Add family photos, Zambian crafts, or a string of lights for a cozy touch. Arrange your books by color or size for extra visual appeal. Every time you look at your bookshelf, you’ll remember the effort and love you put into it.
Common Questions and Solutions
- What if I don’t have power tools? No problem! A simple hand saw, hammer, and screwdriver can get the job done.
- Can I use softwood like pine? Absolutely! It’s affordable and easy to work with. Just handle gently to avoid dents.
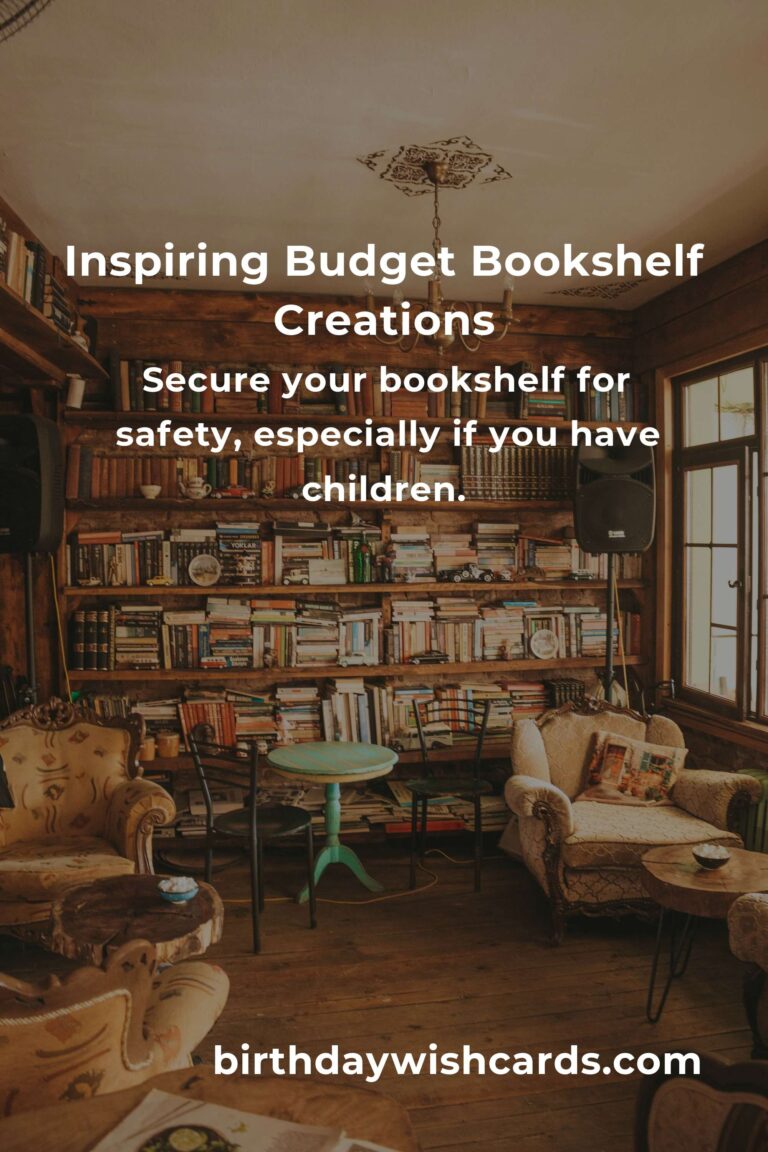
- How do I make my bookshelf more stable? Add a strip of wood at the back or secure the bookshelf to the wall with brackets, especially if you have children.
- Where can I get affordable wood in Lusaka? Try local timber yards, recycling centers, or ask around for unused pallets at businesses.
Celebrating Your Success
When you finish your bookshelf, take a moment to celebrate. You’ve created something unique and practical, saved money, and learned new skills. Share your accomplishment with friends, or inspire others in Lusaka to take up their own DIY projects. It’s proof that with heart and determination, you can make your house feel more like home—no matter your budget.
Conclusion: Your Budget Bookshelf Awaits
Building your own bookshelf in Lusaka is not just about saving money—it’s about expressing yourself, solving problems, and making your space truly yours. With a dash of creativity and a sprinkle of patience, you can build something both practical and beautiful. So gather your tools, invite a friend, and let your imagination guide you. Your dream bookshelf—and a more heartfelt home—are within reach.
Building a bookshelf on a budget is possible with local resources.
Plan your design carefully before buying any materials.
Use reclaimed wood or pallets for an affordable and unique look.
Borrow or rent tools if you don’t already have them.
Involve friends or family to make the process more enjoyable.
Measure twice and cut once to avoid wasting materials.
Choose a simple design to keep costs and complexity low.
Add personal touches like paint or decorations to make it special.
Secure your bookshelf for safety, especially if you have children.
Celebrate your DIY success and share your story with others.
#DIYBookshelf #LusakaDIY #BudgetHomeDecor #CreativeLiving #BookshelfOnABudget #ZambiaHomes #EmotionalSpaces #AffordableFurniture #HomeImprovement #ProudlyZambian