
Building a gaming PC can be a rewarding experience, offering both a sense of accomplishment and a customized system tailored to your specific gaming needs. As a senior, you might find the process a bit daunting, but with the right guidance, it can be an enjoyable and straightforward task.

Why Build a Gaming PC?
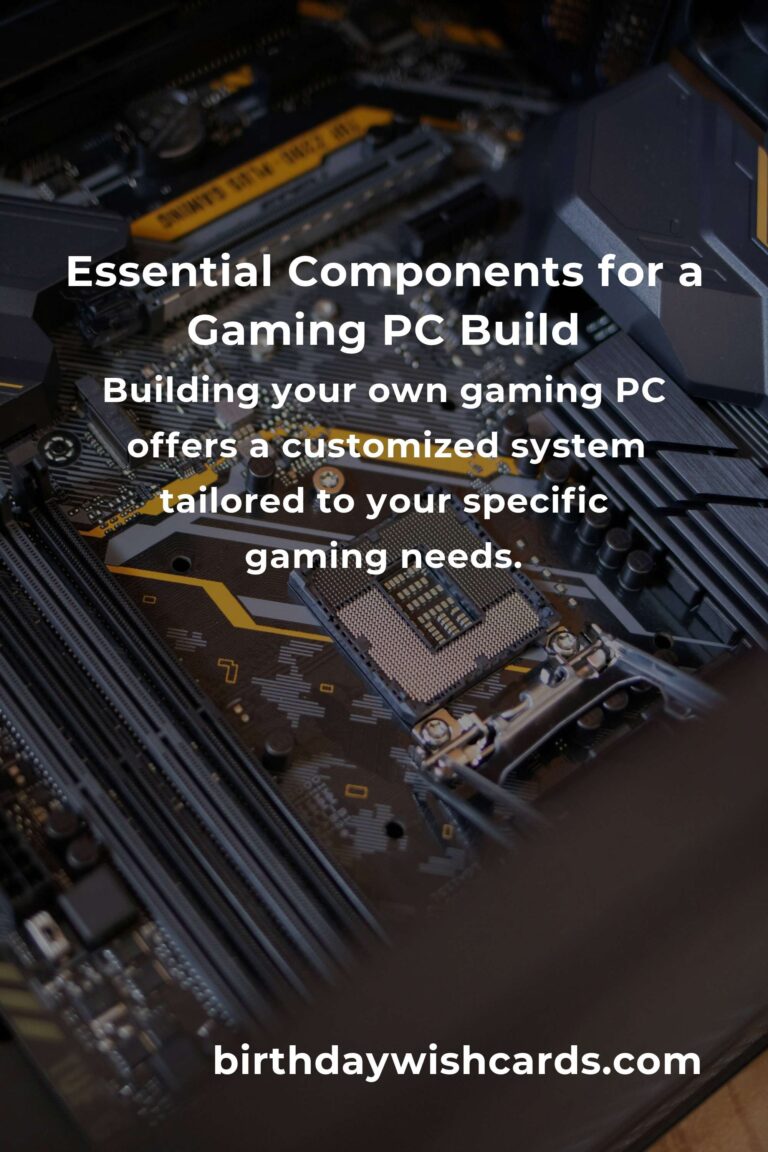
Building your own gaming PC has several advantages. You can select components that fit your exact requirements, giving you better performance for your favorite games. Additionally, you can ensure that your system is future-proof, allowing for easy upgrades as technology advances.

Essential Components of a Gaming PC
To build a gaming PC, you’ll need several key components: the processor (CPU), graphics card (GPU), memory (RAM), storage, motherboard, power supply, and a case to house everything. Each component has its own role in ensuring the PC runs smoothly.

Processor (CPU)
The CPU is the brain of your computer. It processes instructions and manages tasks. For gaming, a mid to high-range CPU is recommended to ensure smooth gameplay.

Graphics Card (GPU)
The GPU is critical for gaming as it renders images, animations, and videos. A powerful GPU will deliver better graphics and improve your gaming experience.

Memory (RAM)
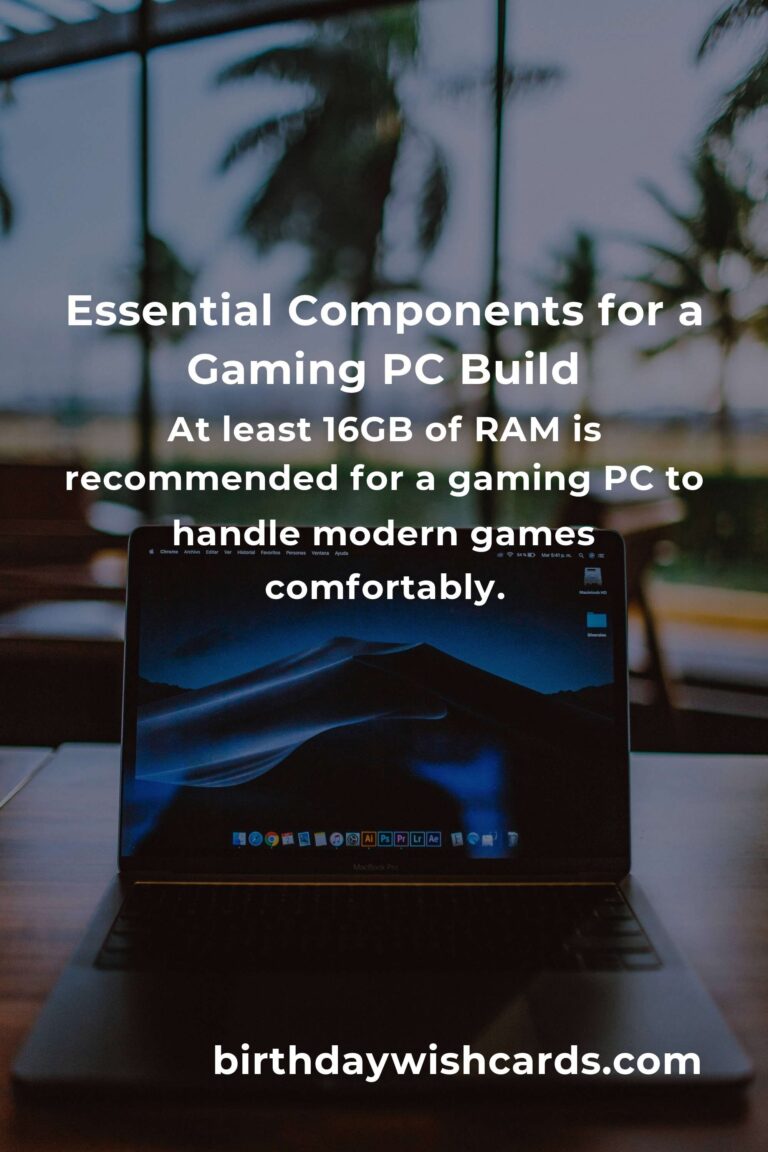
RAM is vital for multitasking and gaming. At least 16GB of RAM is recommended for a gaming PC to handle modern games comfortably.
Storage
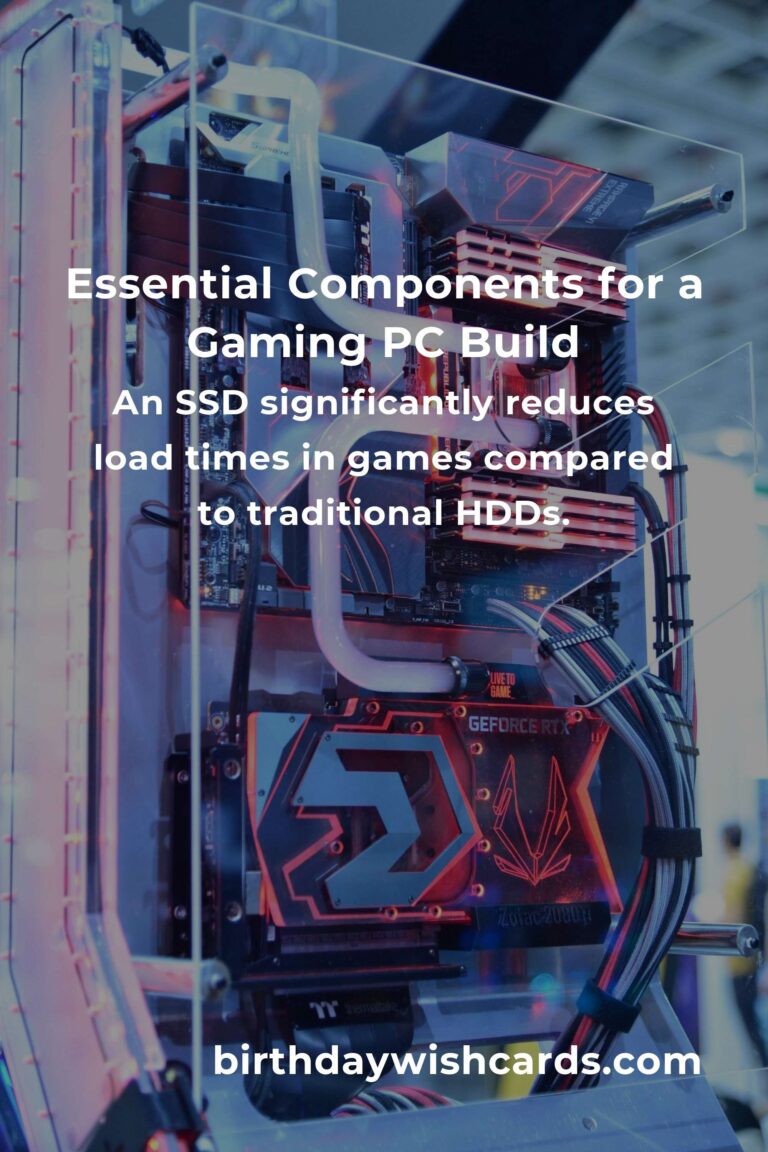
Storage is where all your data, including games, is saved. An SSD is faster than a traditional HDD, which can significantly reduce load times in games.
Motherboard
The motherboard is the main circuit board that connects all components. Ensure it is compatible with your chosen CPU and has enough ports and slots for your needs.
Power Supply Unit (PSU)
The PSU provides power to your components. A reliable PSU with adequate wattage is crucial for system stability.
Case
The case houses all your components. Choose one that is spacious enough for your setup and provides good airflow to keep components cool.
Step-by-Step Guide to Building Your Gaming PC
Step 1: Gather All Components and Tools
Before starting, ensure you have all necessary components and tools, such as a screwdriver.
Step 2: Prepare Your Workspace
Set up a clean, static-free workspace to avoid damaging components.
Step 3: Install the CPU
Carefully place the CPU into the motherboard socket, following the alignment notch to ensure it fits correctly.
Step 4: Install RAM
Insert the RAM sticks into the motherboard slots, ensuring they click into place.
Step 5: Mount the Motherboard
Secure the motherboard into the case using screws, ensuring it is aligned with the case’s standoffs.
Step 6: Install the GPU
Insert the GPU into the appropriate PCIe slot on the motherboard and secure it with screws.
Step 7: Install Storage Drives
Mount your SSD or HDD in the case and connect it to the motherboard using SATA cables.
Step 8: Connect the PSU
Install the PSU in the case and connect power cables to all components.
Step 9: Cable Management
Organize cables to ensure good airflow and a tidy appearance inside your case.
Step 10: Test Your Build
Before closing the case, power on the system to ensure all components are functioning correctly.
Conclusion
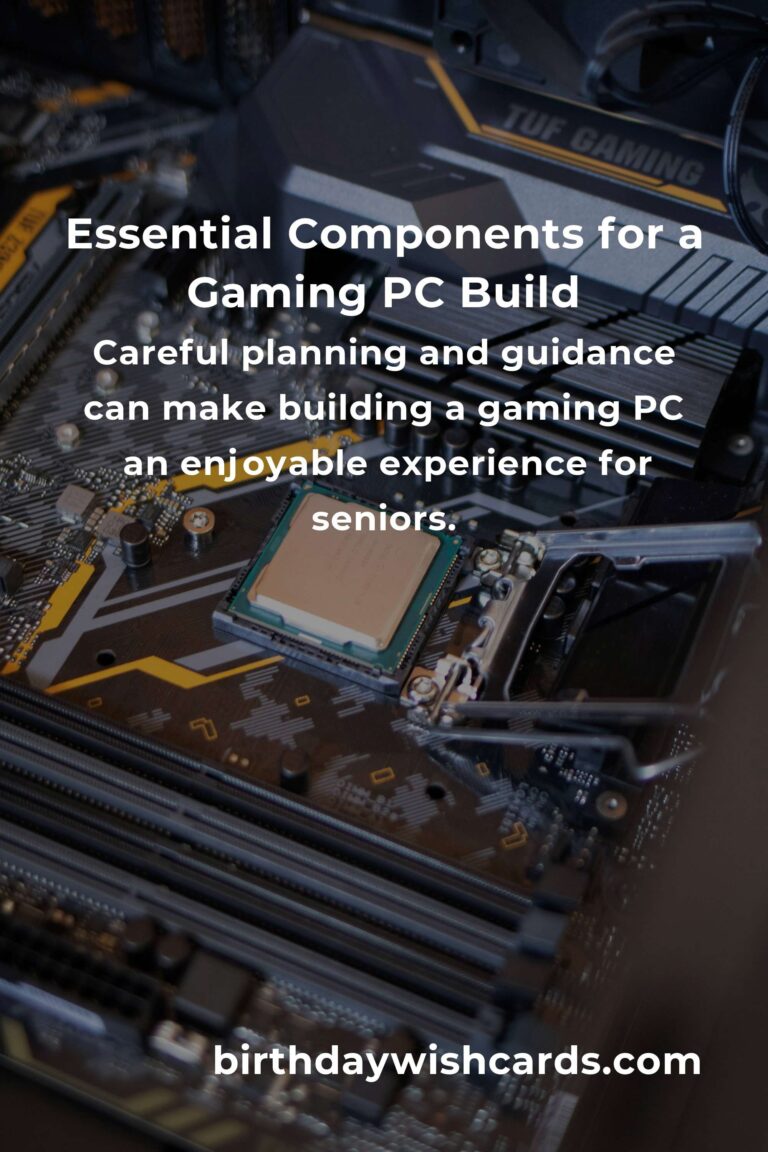
Building a gaming PC does not have to be overwhelming. With careful planning and guidance, seniors can enjoy the benefits of a custom-built system that enhances their gaming experience. Happy building!
Building your own gaming PC offers a customized system tailored to your specific gaming needs.
Key components include the processor, graphics card, memory, storage, motherboard, power supply, and case.
A mid to high-range CPU and a powerful GPU are recommended for smooth gameplay.
At least 16GB of RAM is recommended for a gaming PC to handle modern games comfortably.
An SSD significantly reduces load times in games compared to traditional HDDs.
Careful planning and guidance can make building a gaming PC an enjoyable experience for seniors.
#GamingPC #PCBuild #SeniorGamers #TechGuide #CustomPC