

Lavender is a beloved plant known for its fragrant blooms and calming properties. Propagating lavender can be a rewarding gardening activity, allowing you to expand your garden or share plants with friends and family. This guide will walk you through the steps to successfully propagate lavender, ensuring lush growth and vibrant flowers.
Understanding Lavender Propagation
Propagation is the process of creating new plants from existing ones. Lavender can be propagated through seeds, cuttings, or division. Each method has its advantages and challenges, but cuttings are often the most reliable and efficient way to propagate lavender.
Materials Needed for Propagation
Before you begin, gather the necessary materials:
- Healthy lavender plant
- Sharp scissors or pruning shears
- Rooting hormone (optional)
- Small pots or seed trays
- Potting mix or seed-starting mix
- Watering can or spray bottle
- Plastic bag or propagator lid (for humidity)
Step-by-Step Guide to Propagation
Step 1: Choosing the Right Time
The best time to take lavender cuttings is in the late spring or early summer when the plant is actively growing. Avoid taking cuttings in the winter or fall when growth is slower.
Step 2: Selecting and Cutting Stems
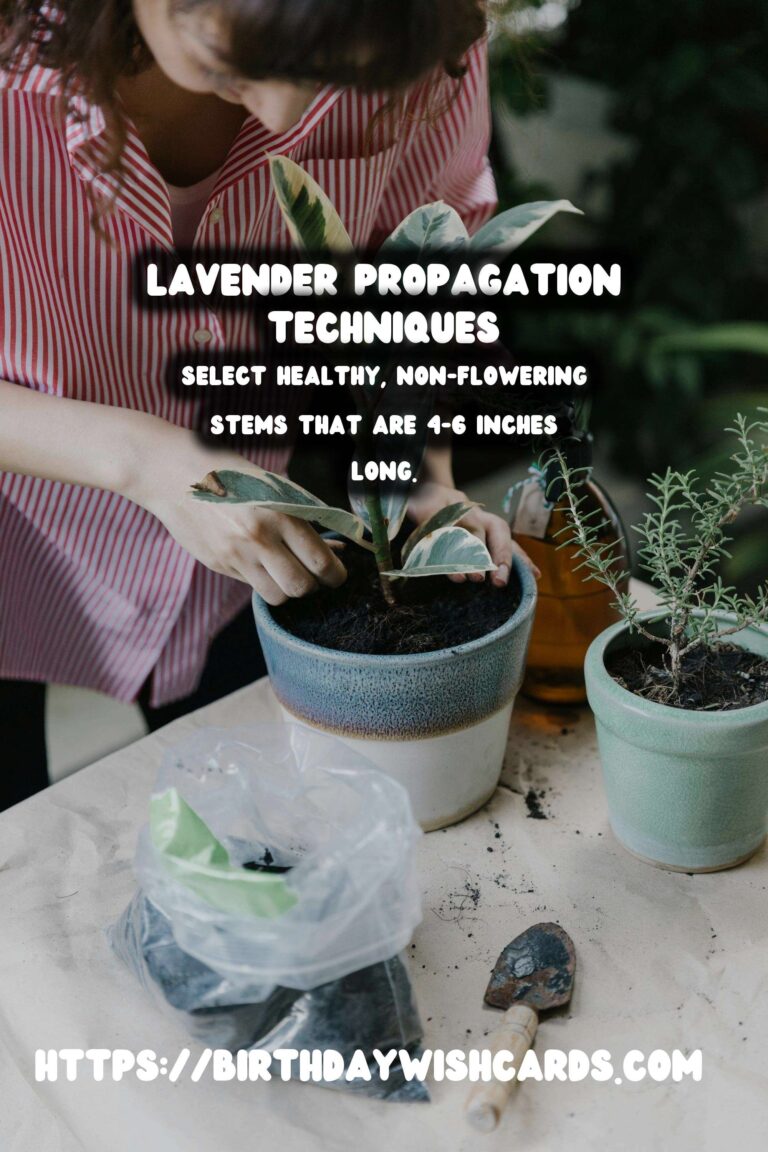
Select healthy, non-flowering stems that are 4-6 inches long. Using sharp scissors, cut just below a leaf node, which is where the leaves attach to the stem. Make sure your cutting tool is clean to prevent disease transmission.
Step 3: Preparing the Cuttings
Remove the lower leaves from the cutting, leaving a couple of sets of leaves at the top. This helps the cutting focus energy on root development. If desired, dip the cut end in rooting hormone to encourage faster rooting.
Step 4: Planting the Cuttings
Fill small pots or seed trays with a well-draining potting mix. Make a hole in the soil with your finger or a pencil and insert the cutting. Firm the soil around the base to hold the cutting in place.
Step 5: Creating a Humid Environment
Cover the pots with a plastic bag or use a propagator lid to maintain humidity, which is essential for root development. Place the pots in a warm, bright location, but avoid direct sunlight.
Step 6: Monitoring and Watering
Check the cuttings regularly and water as needed to keep the soil slightly moist. Avoid overwatering, as this can lead to rot. Roots should develop in 4-6 weeks.
Transplanting Lavender Cuttings
Once roots are established, and the cuttings show signs of new growth, they can be transplanted into larger containers or into your garden. Choose a sunny spot with well-draining soil to plant your new lavender plants.
Common Challenges and Solutions
Propagating lavender can present some challenges, such as mold, rot, or failure to root. To address these issues, ensure good air circulation, avoid excessive watering, and choose healthy parent plants for your cuttings.
Conclusion
By following these steps, you can successfully propagate lavender and enjoy the benefits of this beautiful and aromatic plant. Whether you’re a novice gardener or an experienced horticulturist, propagating lavender is a rewarding project that can enhance any garden space.
Lavender can be propagated through seeds, cuttings, or division. The best time to take lavender cuttings is in the late spring or early summer. Select healthy, non-flowering stems that are 4-6 inches long. Place the pots in a warm, bright location, but avoid direct sunlight. Roots should develop in 4-6 weeks. 

#Lavender #Gardening #Propagation #PlantCare #GardeningTips