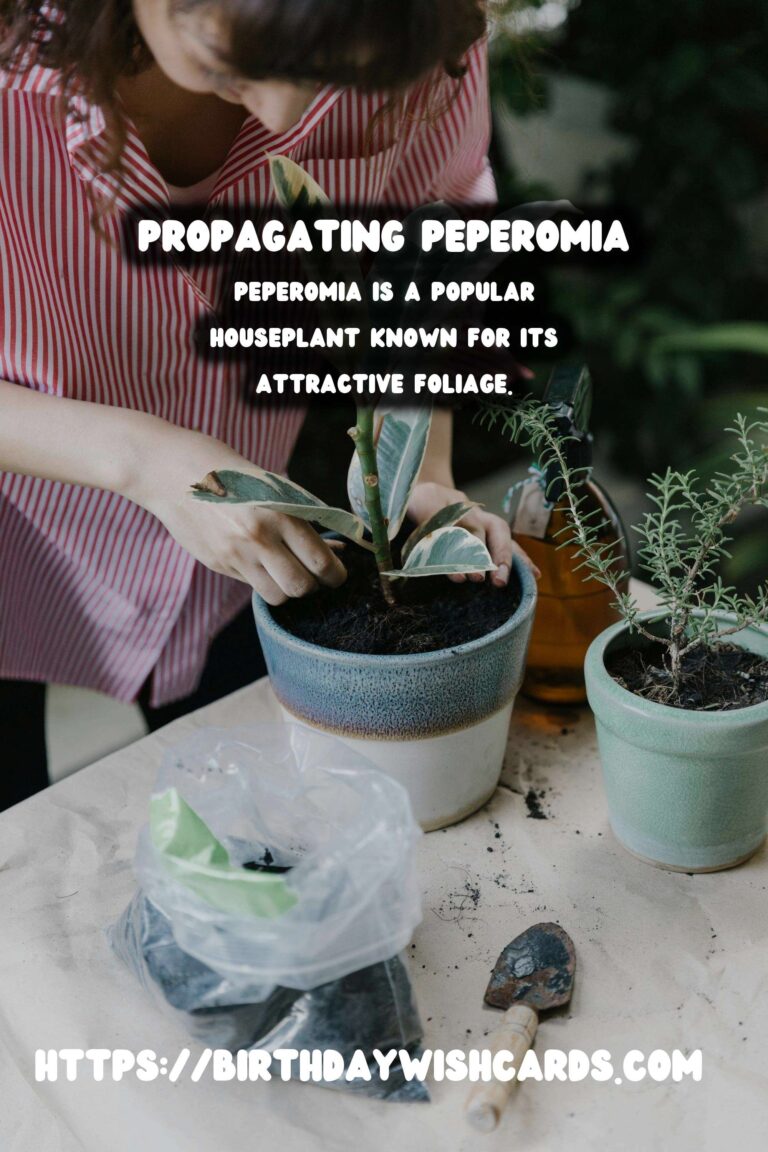
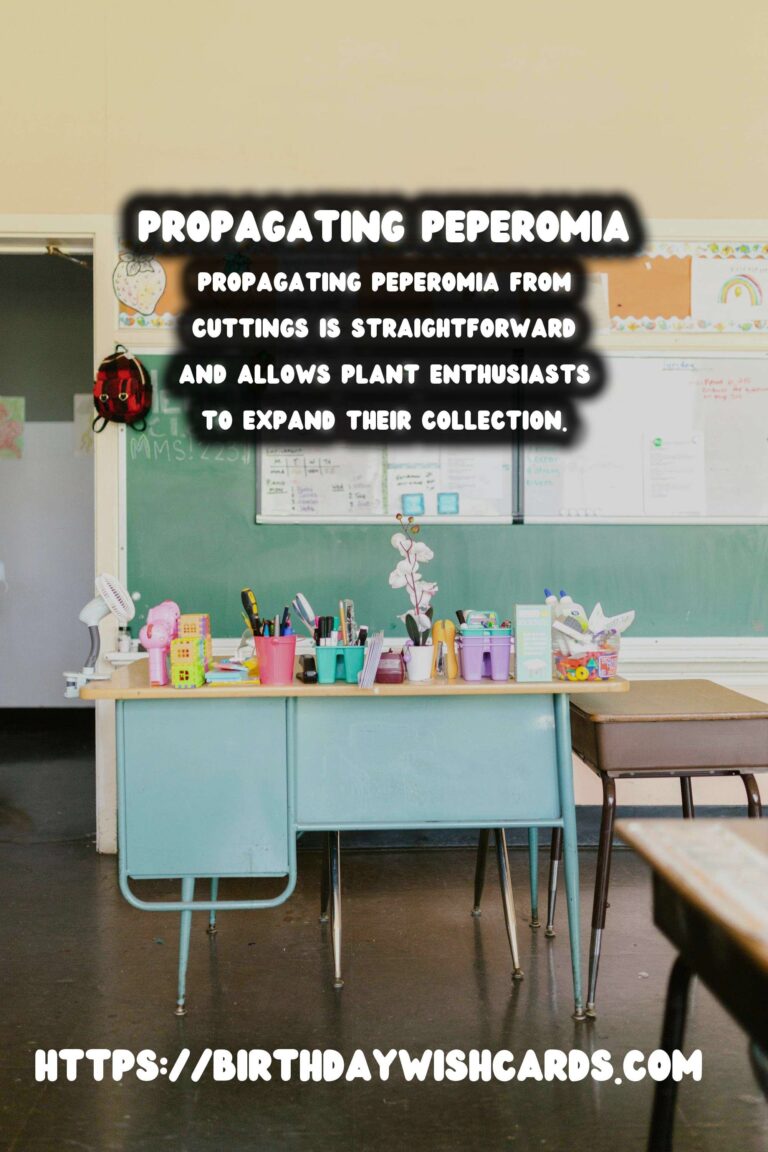
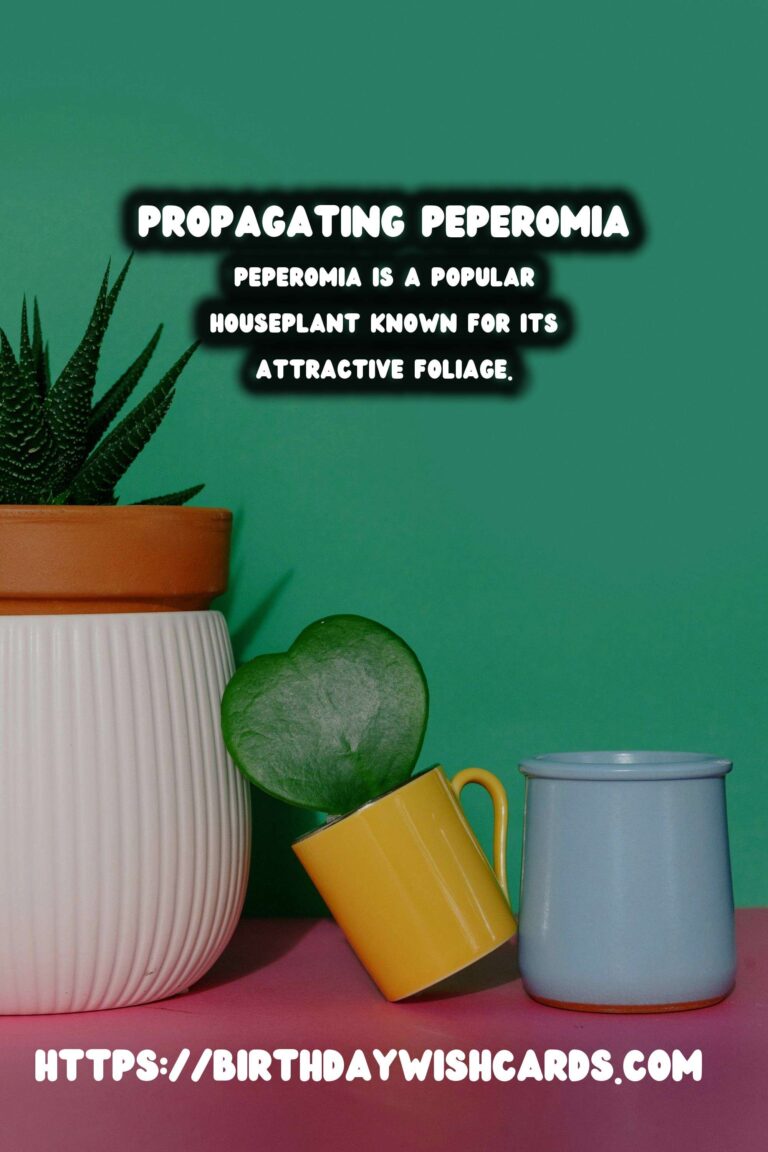
Peperomia, a popular houseplant, is known for its attractive foliage and diverse variety. Propagating peperomia from cuttings is a straightforward process, allowing plant enthusiasts to expand their collection or share with friends. This guide will walk you through the steps of propagating peperomia using different methods such as stem and leaf cuttings.
Understanding Peperomia
Peperomia belongs to the Piperaceae family, comprising over a thousand species. These plants are native to tropical and subtropical regions, making them ideal indoor plants due to their preference for moderate light and humidity conditions. Some common types of peperomia include Peperomia obtusifolia, Peperomia caperata, and Peperomia argyreia.
Why Propagate Peperomia?
Propagating peperomia is beneficial for several reasons. It allows you to multiply your plants cost-effectively, manage plant size, and share the joy of gardening with others. Moreover, propagation ensures that you have a backup of your favorite plant varieties.
Materials Needed for Propagation
Before you begin, gather the following materials:
- Healthy peperomia plant
- Clean, sharp scissors or pruning shears
- Small pots or containers with drainage holes
- Potting mix or soil suitable for peperomia
- Water
- Rooting hormone (optional)
Step-by-Step Guide to Propagating Peperomia
1. Choosing the Right Cutting
Select healthy stems or leaves from the parent plant. Ensure that the cutting is free from disease or pests. For stem cuttings, choose a segment with several leaves, while for leaf cuttings, use mature, fully developed leaves.
2. Preparing the Cutting
Using clean scissors or pruning shears, cut the stem or leaf. For stem cuttings, trim the stem just below a node. If using leaf cuttings, make a clean cut at the base of the leaf.
3. Optional: Use Rooting Hormone
Dip the cut end of the stem or leaf in rooting hormone to encourage faster root development, though this step is optional.
4. Planting the Cuttings
Fill small pots with potting mix, ensuring it is moist but not waterlogged. Insert the stem cutting into the soil, burying it just enough to stand upright. For leaf cuttings, place the cut end of the leaf into the soil, ensuring good contact with the soil surface.
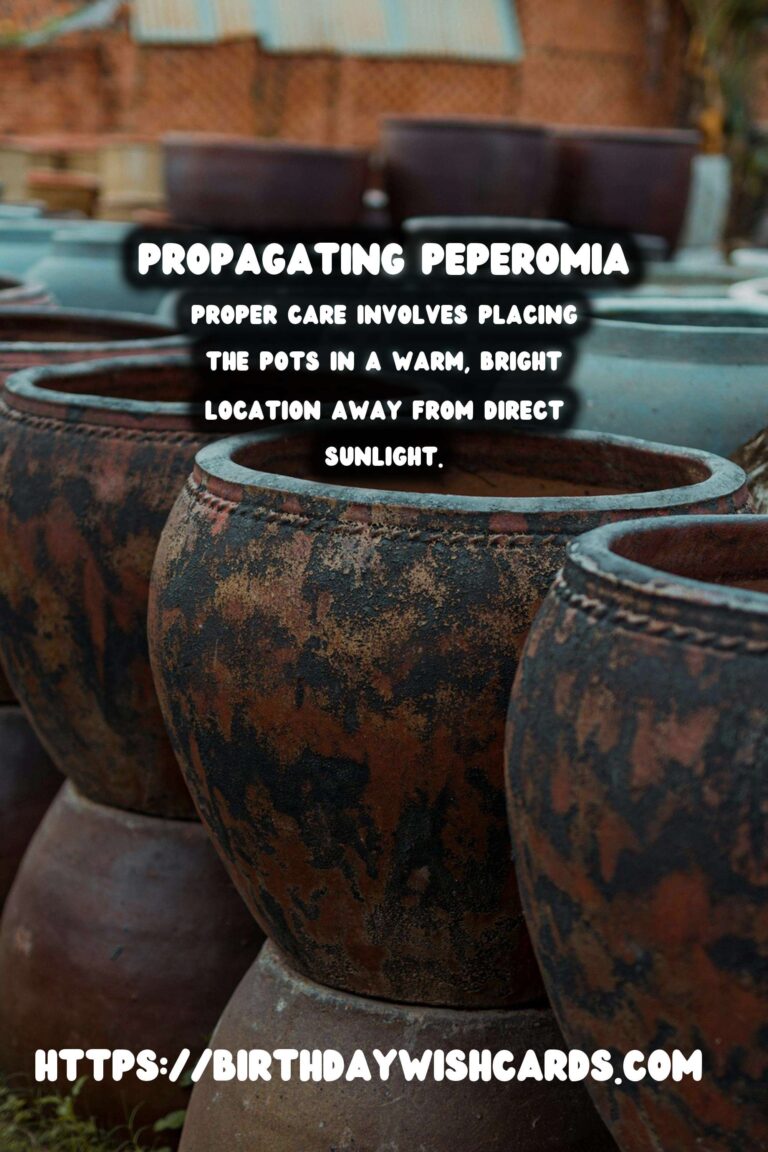
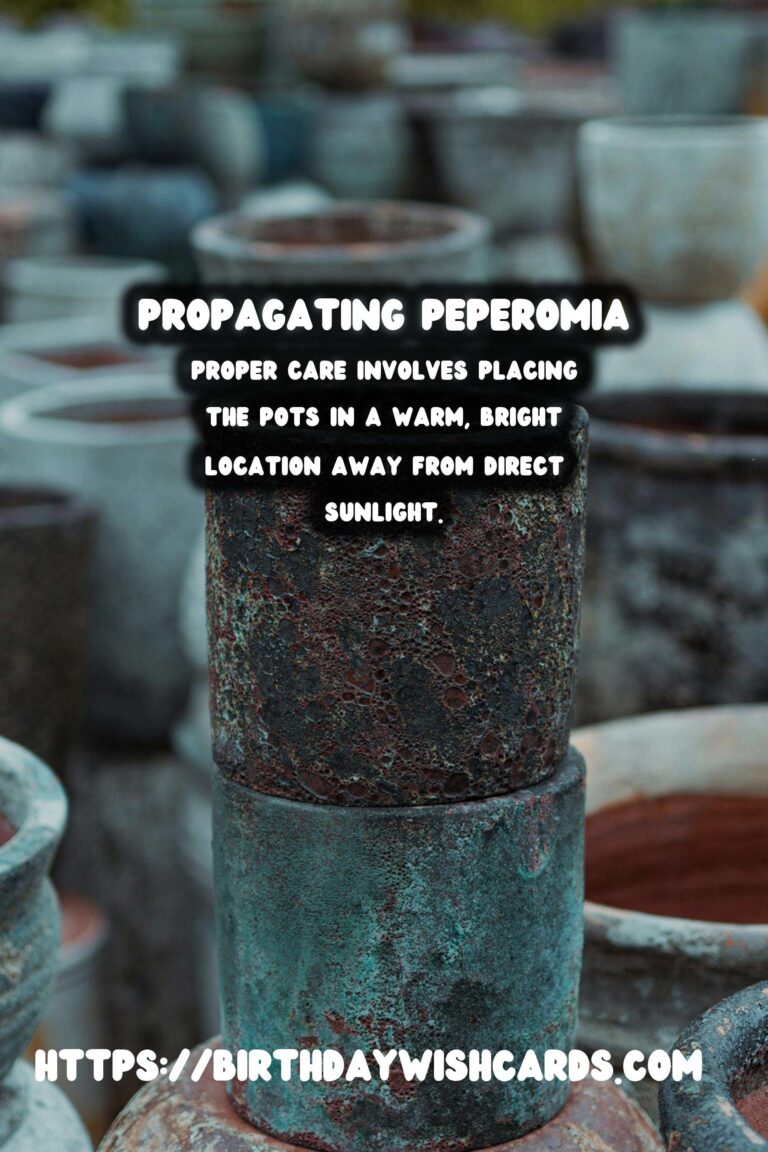
5. Providing Proper Care
Place the pots in a warm, bright location but away from direct sunlight. Maintain humidity by covering the pots with a plastic bag or using a propagation tray with a lid. Water sparingly, ensuring the soil remains moist but not drenched.
6. Monitoring Growth
Roots typically develop within a few weeks. Check for resistance when gently tugging the cuttings, indicating root formation. Once established, gradually acclimate the new plants to their environment by removing any coverings and exposing them to more light.
Common Mistakes to Avoid
When propagating peperomia, avoid these common pitfalls:
- Overwatering, as it can lead to root rot
- Placing cuttings in direct sunlight, which can scorch them
- Using dull tools that can crush the stems or leaves
Conclusion
Propagating peperomia from cuttings is a simple and rewarding process. With the right materials and care, you can successfully grow new plants and enhance your indoor garden. Enjoy the satisfaction of watching your peperomia cuttings thrive and contribute to the greenery in your home.
Peperomia is a popular houseplant known for its attractive foliage. Propagating peperomia from cuttings is straightforward and allows plant enthusiasts to expand their collection. Select healthy stems or leaves from the parent plant for propagation. Proper care involves placing the pots in a warm, bright location away from direct sunlight. Avoid common mistakes like overwatering and using dull tools. 

#Peperomia #PlantPropagation #IndoorGardening #Houseplants