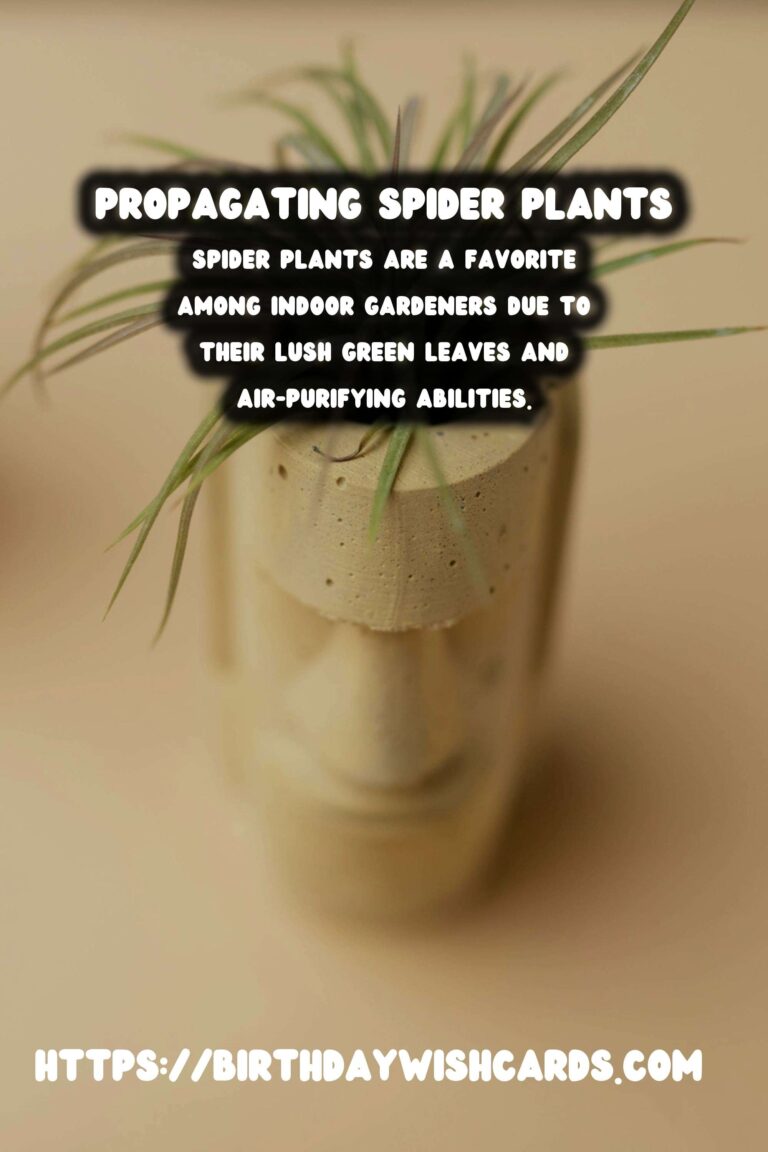
Spider plants, known for their lush green leaves and air-purifying abilities, are a favorite among indoor gardeners. Propagating spider plants is a straightforward process, making it an excellent activity for beginners and seasoned plant enthusiasts alike. This guide will walk you through the steps of propagating spider plants effectively.
Understanding Spider Plants
Before diving into propagation, it’s essential to understand the plant you are working with. Spider plants, scientifically known as Chlorophytum comosum, are native to South Africa. They have long, arching leaves that can grow up to 1-2 feet in length. Spider plants are known for producing small offshoots called ‘spiderettes’ or ‘pups’, which hang down from the mother plant and are perfect for propagation.
Why Propagate Spider Plants?
Propagating spider plants allows you to expand your plant collection or share with friends and family. Additionally, propagation is a way to rejuvenate an old plant, giving it a new lease on life. It’s also an economical way to fill your home with greenery without purchasing new plants.
What You Will Need
To propagate spider plants, you will need:
- A healthy spider plant with pups
- Sharp scissors or pruning shears
- Small pots or containers
- Potting soil
- Water
- Optional: Rooting hormone
Steps to Propagate Spider Plants
1. Identify the Spiderettes
Look for small spiderettes hanging from the mother plant. These are typically smaller versions of the main plant with their own roots.
2. Prepare the Spiderettes
Once you’ve identified the spiderettes, use sharp scissors or pruning shears to cut them from the mother plant. Ensure you cut as close to the base of the spiderette as possible.
3. Prepare the Pots
Fill small pots or containers with potting soil. Ensure the soil is well-draining to prevent root rot. You can add perlite or sand to improve drainage if necessary.
4. Plant the Spiderettes
Plant each spiderette in its pot, ensuring the roots are covered with soil. Firmly press the soil around the roots to secure the plant. If desired, dip the roots in rooting hormone before planting to encourage faster root growth.
5. Water the Spiderettes
Water the newly planted spiderettes thoroughly. Ensure the soil is moist but not waterlogged. Place the pots in a bright, indirect light area.
6. Monitor and Care
Keep an eye on the new plants, watering them when the top inch of soil feels dry. Within a few weeks, the spiderettes should establish roots and begin to grow independently.
Common Mistakes to Avoid
While propagating spider plants is generally easy, there are some common mistakes to avoid:
- Avoid overwatering, as this can lead to root rot.
- Ensure the new plants receive enough light. However, avoid direct sunlight, which can scorch the leaves.
- Don’t rush the process. Allow the spiderettes sufficient time to develop roots before expecting significant growth.
Conclusion
Propagating spider plants is a rewarding and straightforward process that can significantly enhance your indoor garden. By following the steps outlined in this guide, you can successfully propagate and enjoy the beauty of spider plants throughout your home. Whether you’re a beginner or an experienced gardener, spider plant propagation is a delightful way to expand your green collection.
Spider plants are a favorite among indoor gardeners due to their lush green leaves and air-purifying abilities. Propagating spider plants is a straightforward process, perfect for beginners. Spider plants produce small offshoots called ‘spiderettes’ or ‘pups’, which are ideal for propagation. Propagating spider plants allows you to expand your plant collection economically. Ensure new plants receive enough light but avoid direct sunlight, which can scorch the leaves. 


#SpiderPlants #IndoorGardening #PlantPropagation #GardeningTips #HousePlants


