Weekend DIY: Build a Stylish Bookshelf for Your Home
Creating a personalized bookshelf for your home is a rewarding project that not only adds functional storage but also enhances your interior decor. Whether you’re a seasoned DIY enthusiast or a beginner looking to start a new hobby, building a bookshelf over the weekend is an achievable goal that brings both satisfaction and style to your living space.


Why Build Your Own Bookshelf?
There are several reasons to consider building your own bookshelf. First, it allows you to customize the design and size to perfectly fit your space and needs. Additionally, a DIY bookshelf can be a cost-effective alternative to buying a pre-made one, and it offers the opportunity to use sustainable materials.

Materials and Tools You’ll Need
Before you begin, gather all necessary materials and tools. You’ll need:
- Wooden planks (preferably pine or oak for durability)
- Wood screws and brackets
- Wood glue
- Sandpaper
- Paint or wood stain (optional)
- Measuring tape
- Saw
- Drill
- Level


Step-by-Step Guide to Building Your Bookshelf
Step 1: Design Your Bookshelf
Start by sketching a design of your bookshelf. Determine the dimensions based on the space where you plan to place it. Consider the number of shelves and the height between them depending on the books and decorative items you wish to display.

Step 2: Cut the Wood
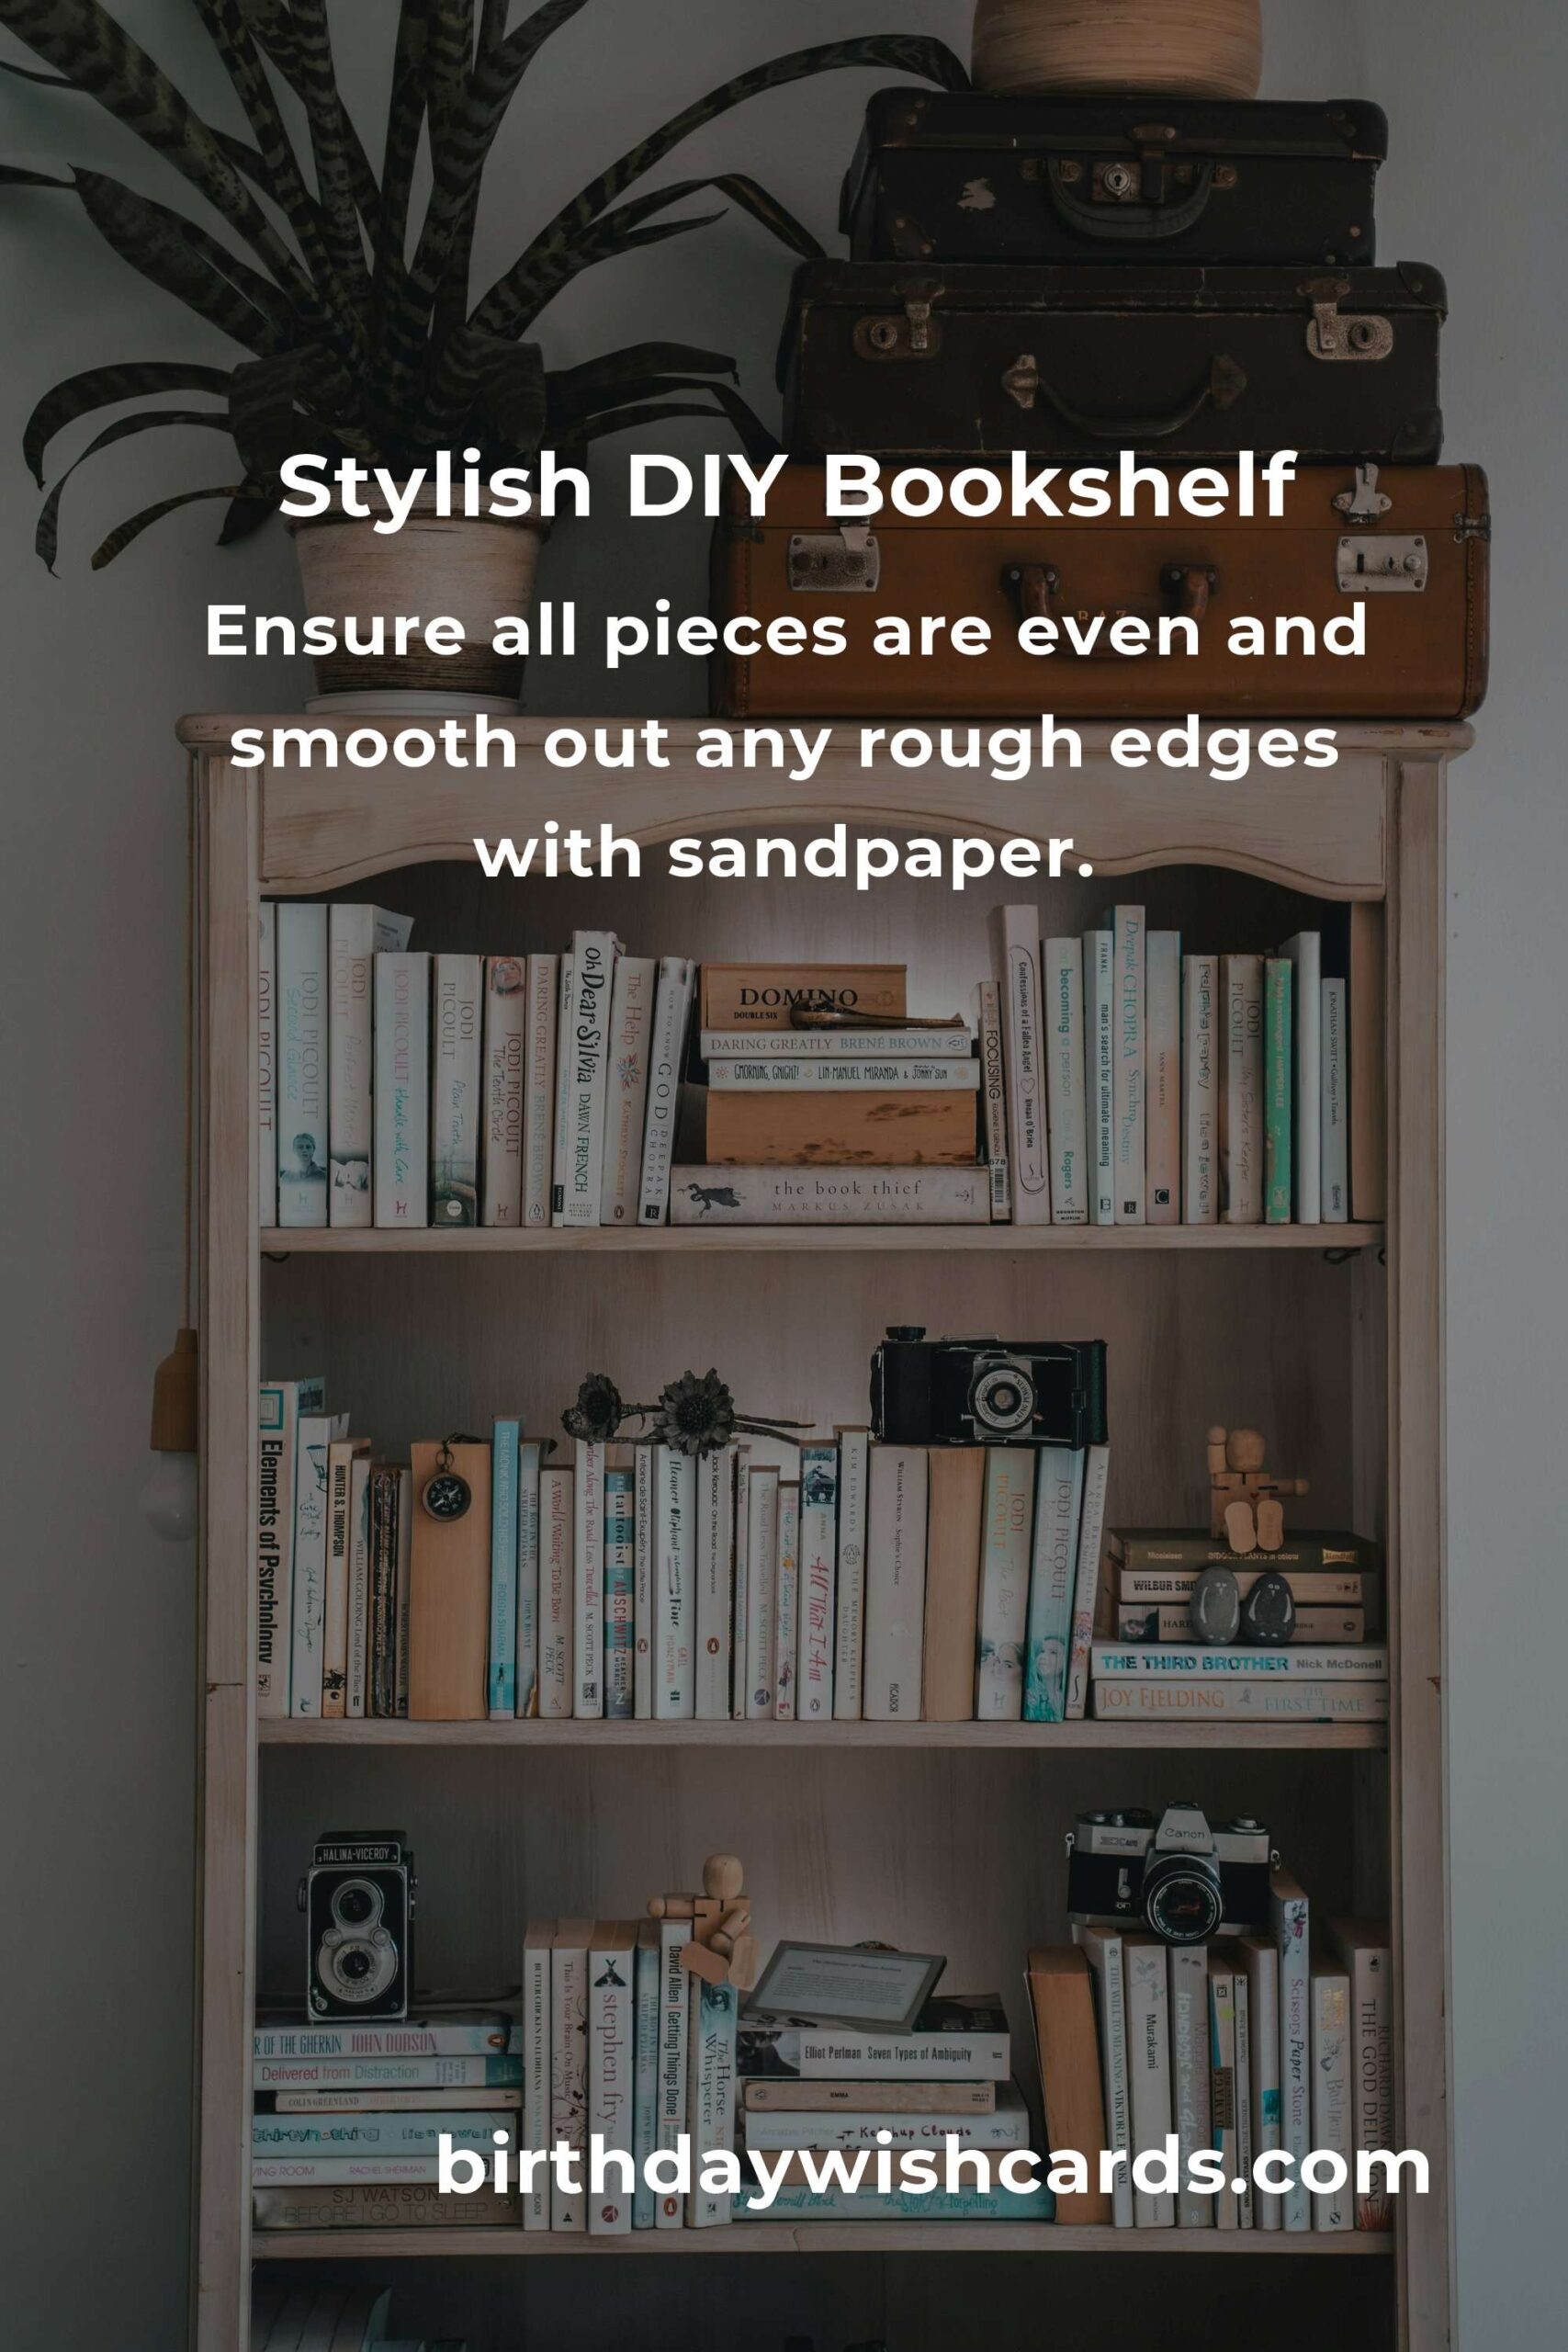
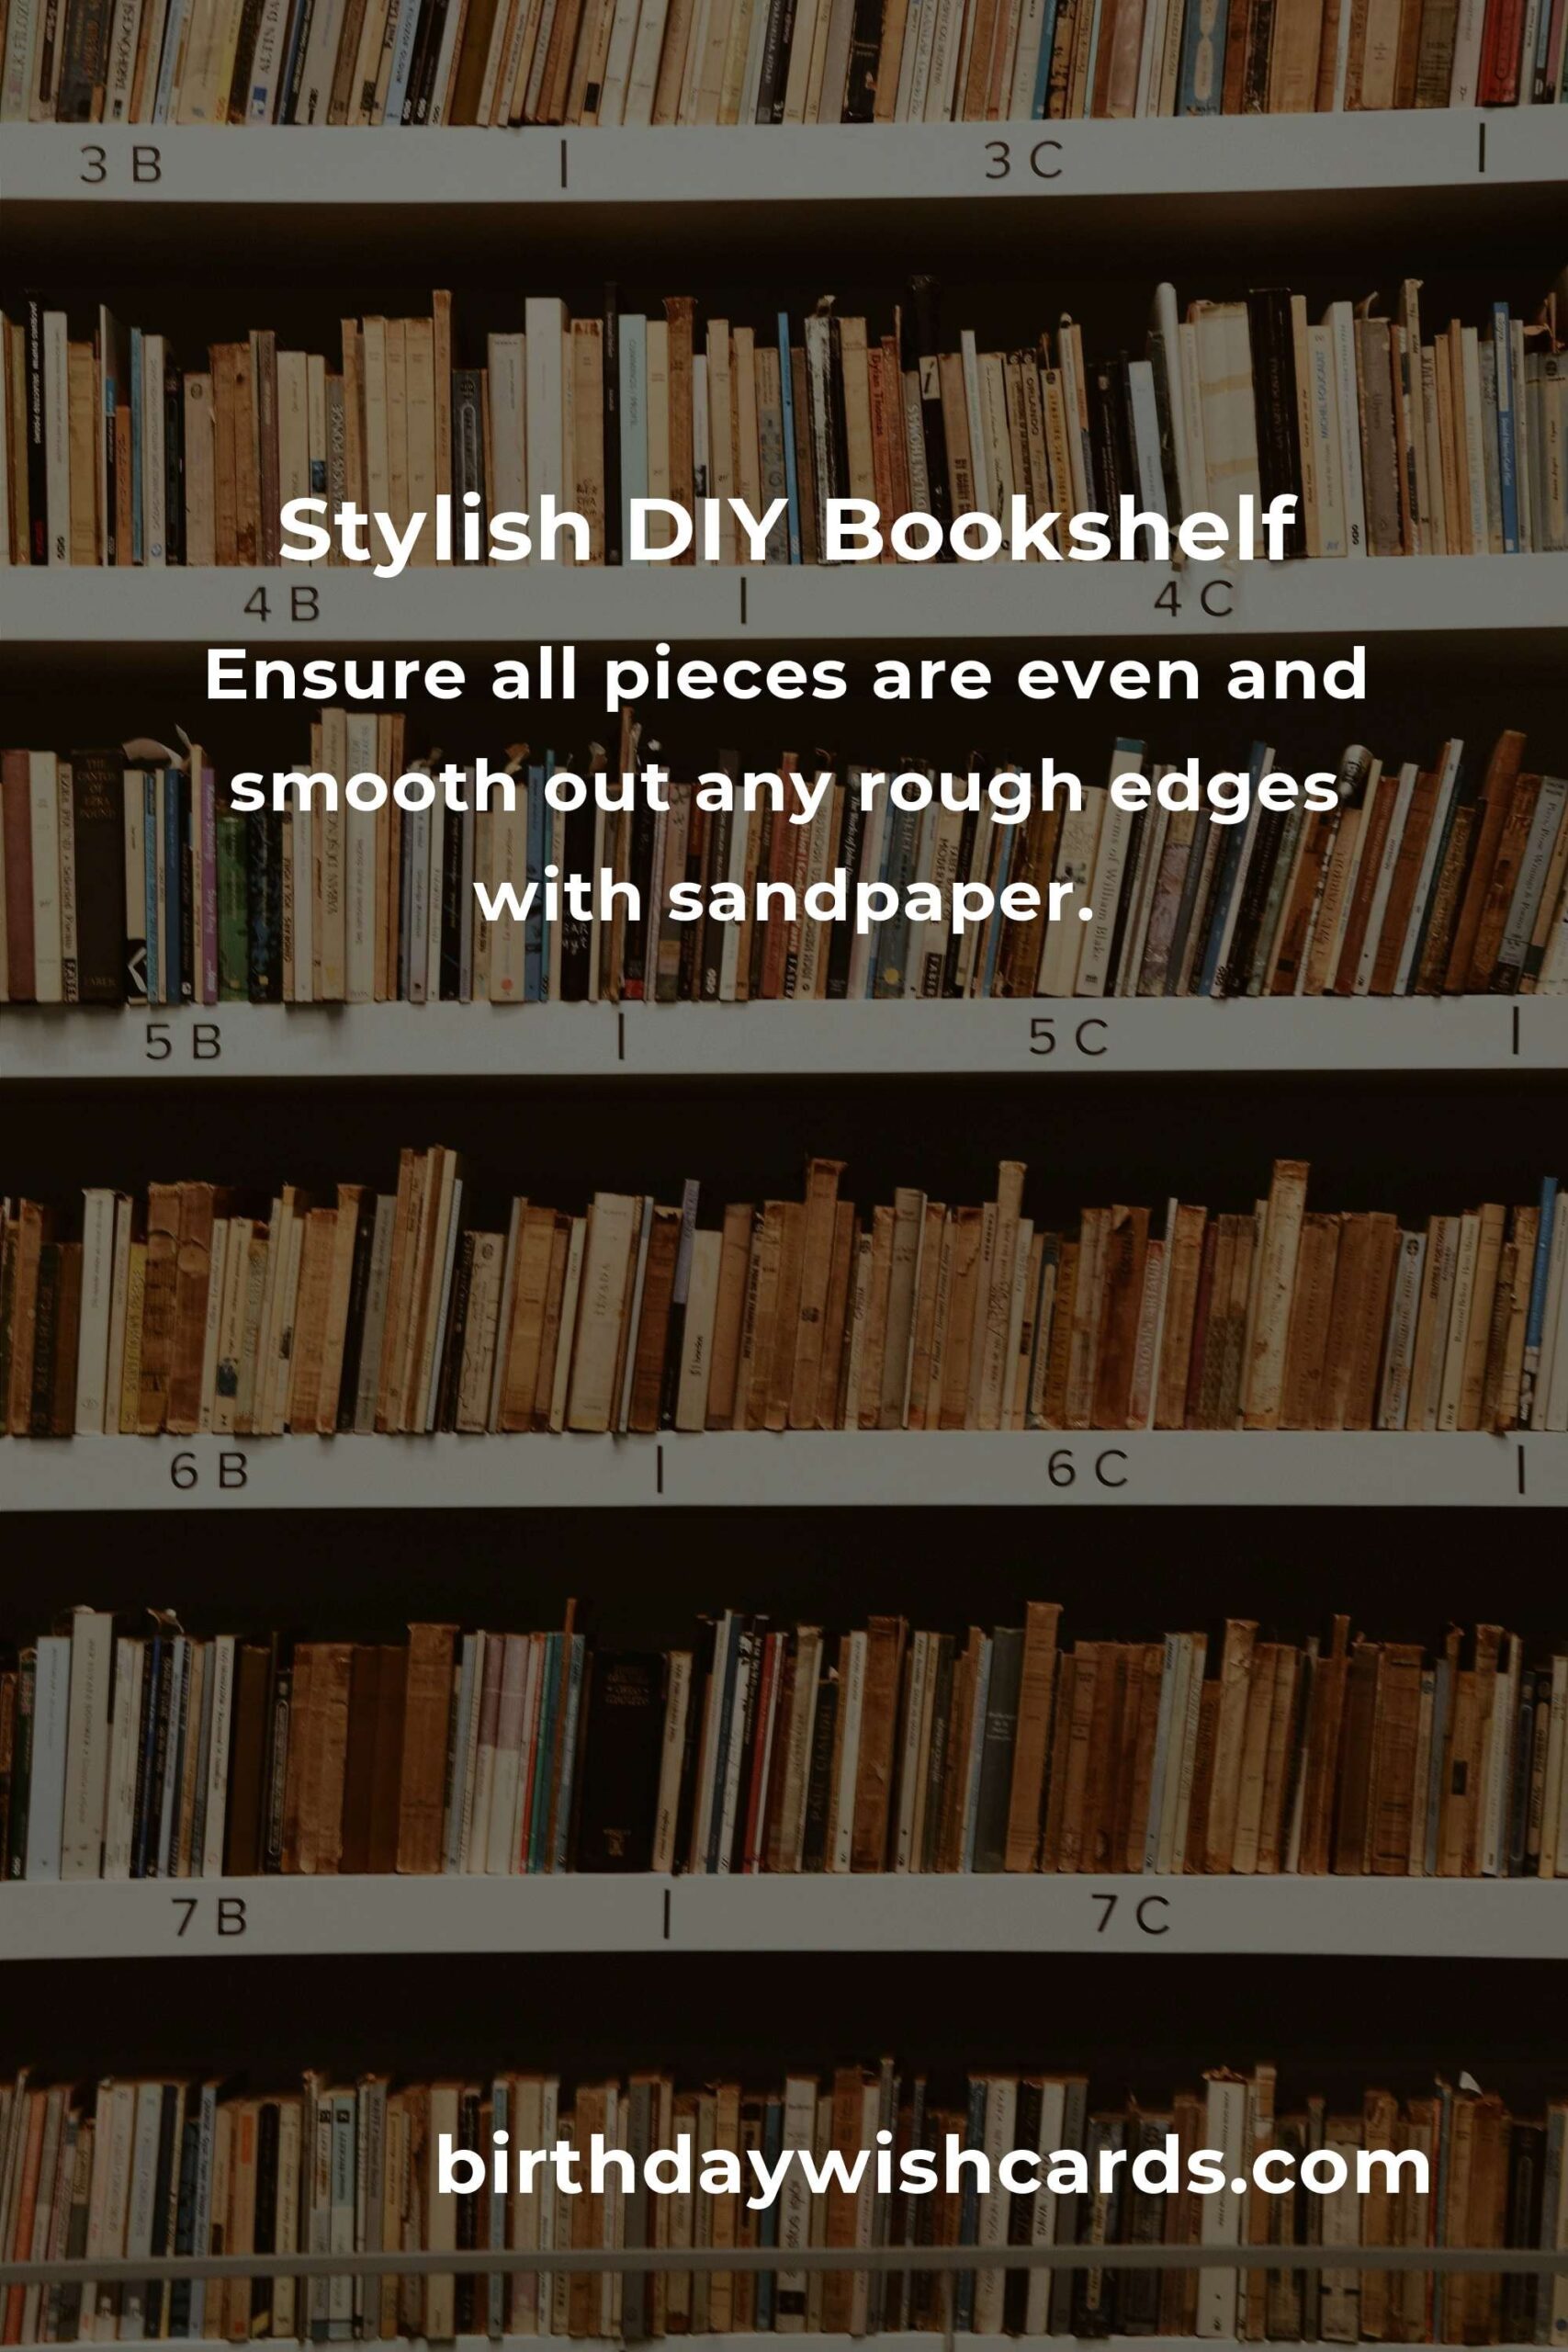
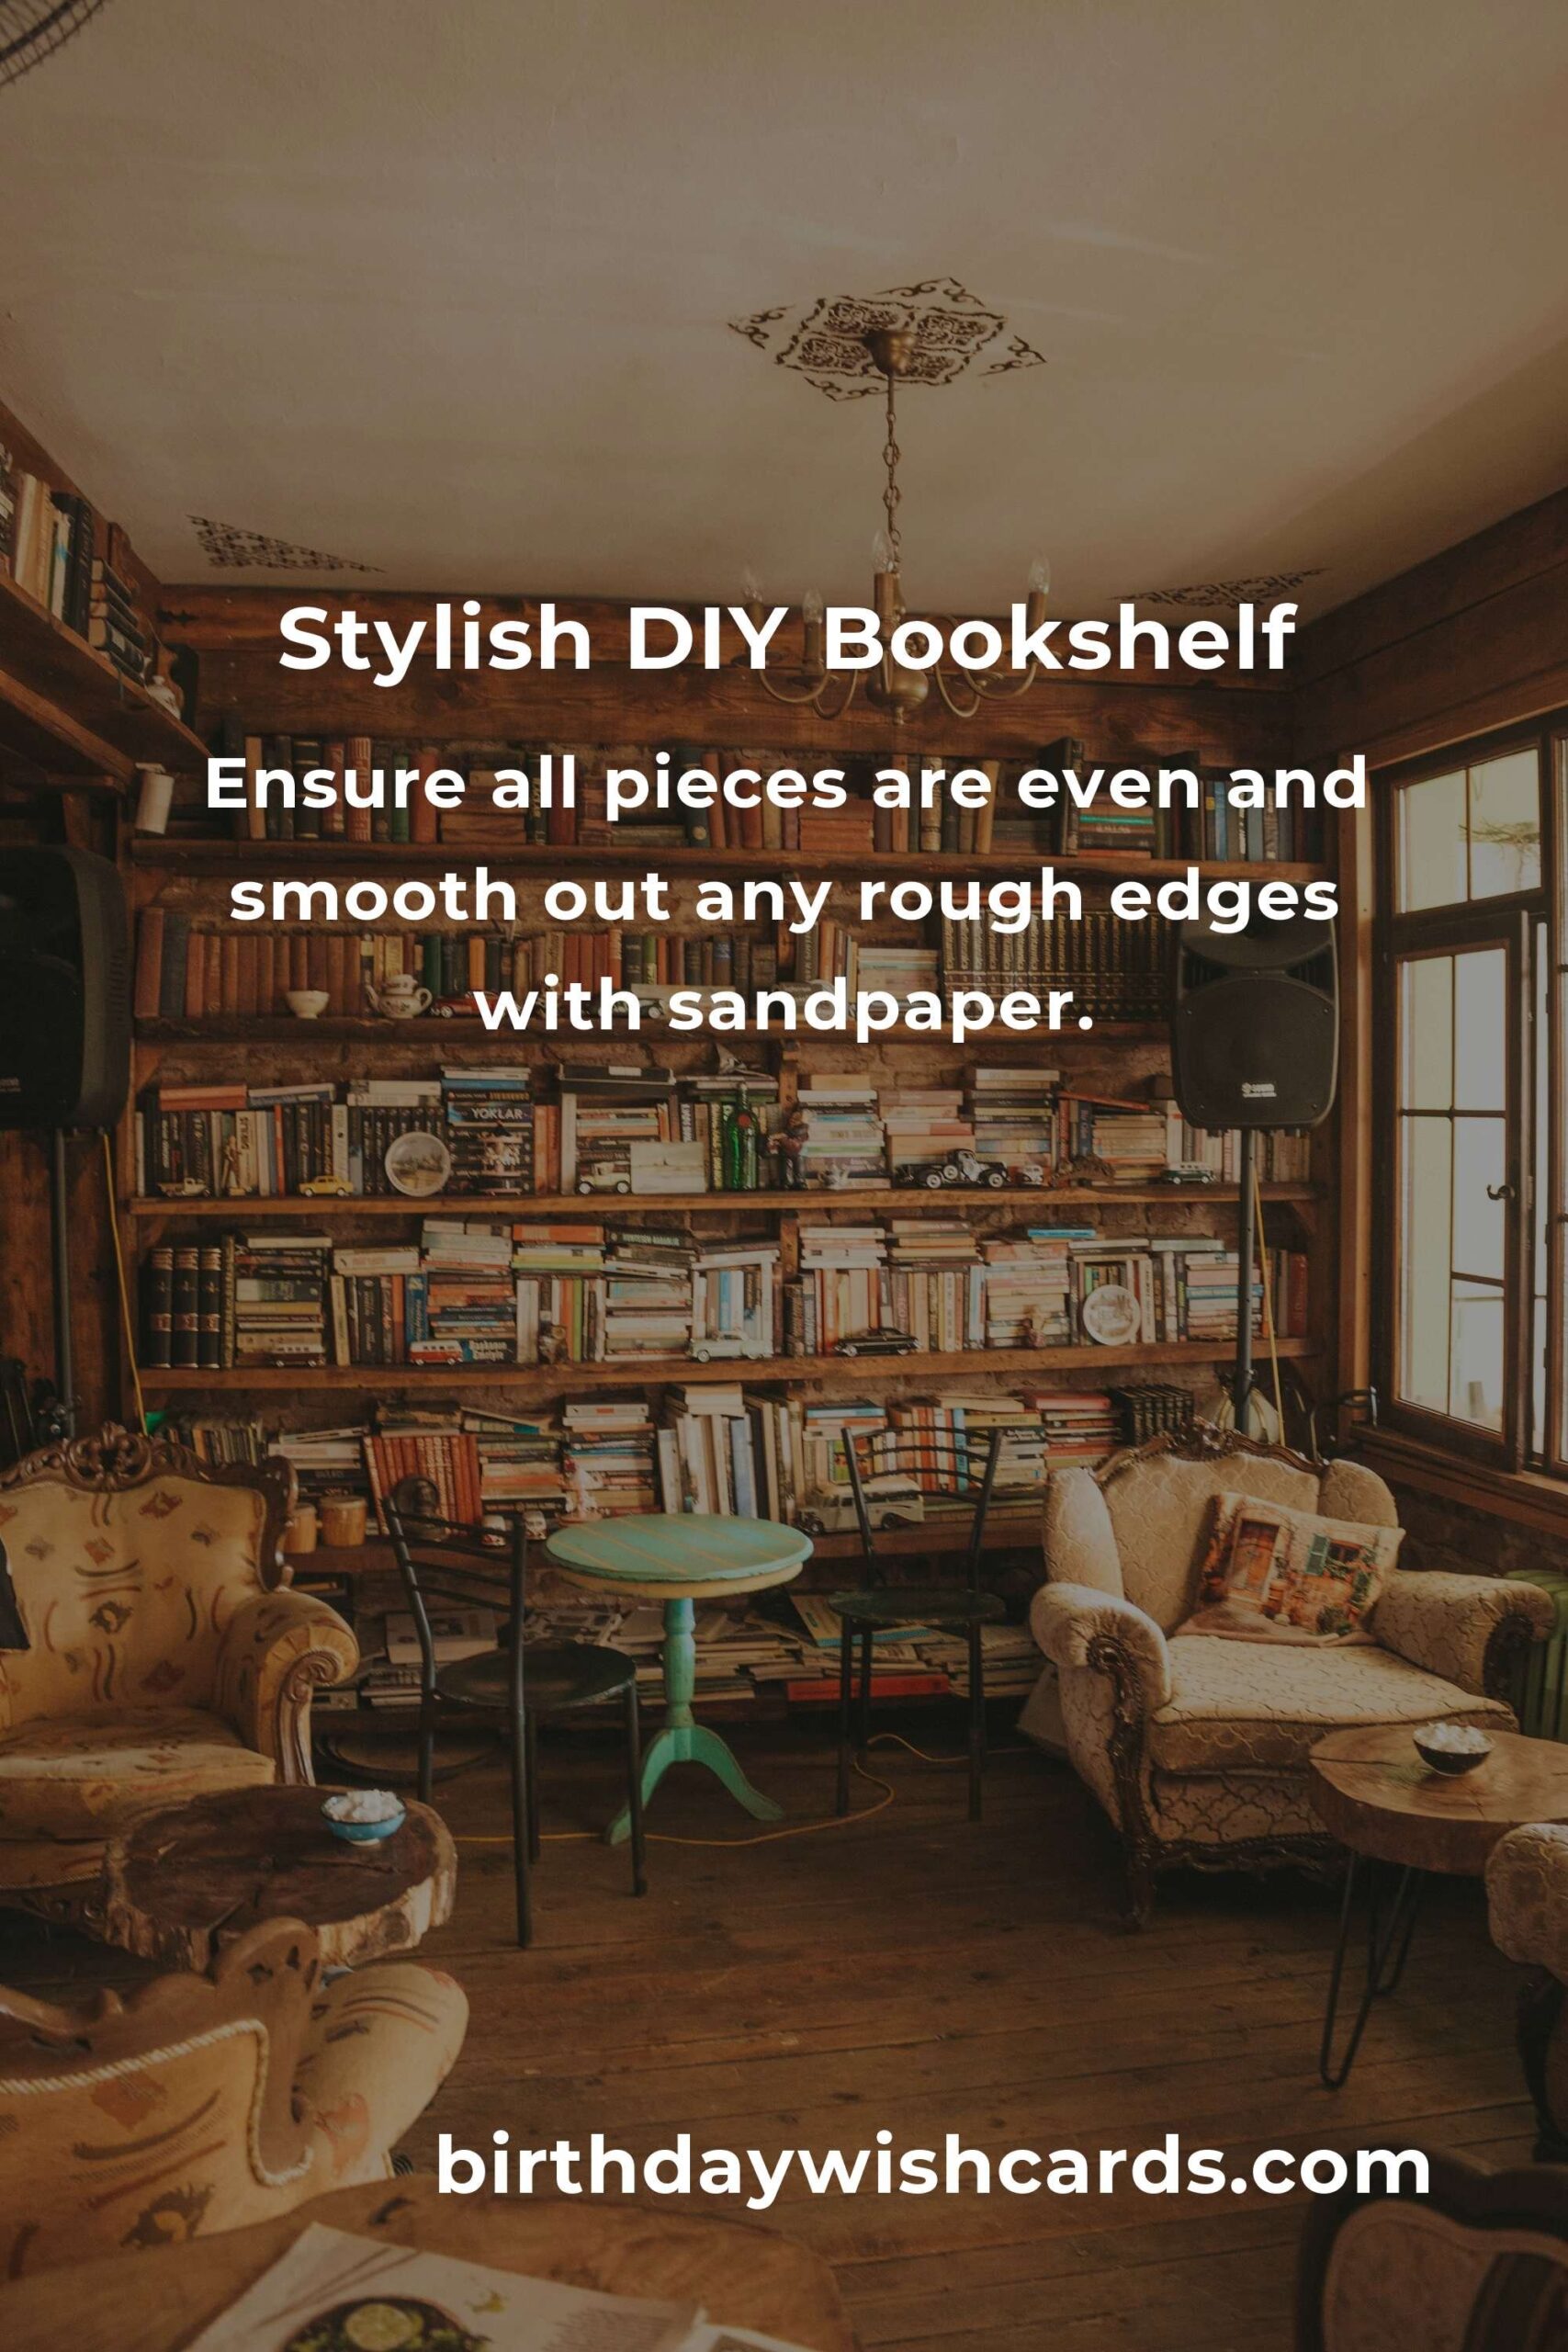
Using your measurements, cut the wooden planks to size. Ensure all pieces are even and smooth out any rough edges with sandpaper.
Step 3: Assemble the Frame
Begin by assembling the sides and back of the bookshelf. Use wood screws and brackets to secure the pieces together. Apply wood glue at the joints for extra stability.
Step 4: Attach the Shelves
Once the frame is complete, attach the shelves, making sure they are evenly spaced. Use a level to ensure each shelf is horizontal.
Step 5: Finishing Touches
After assembling the bookshelf, sand the entire piece to ensure a smooth surface. At this point, you can choose to paint or stain the wood to match your home decor.
Decorating Your Bookshelf
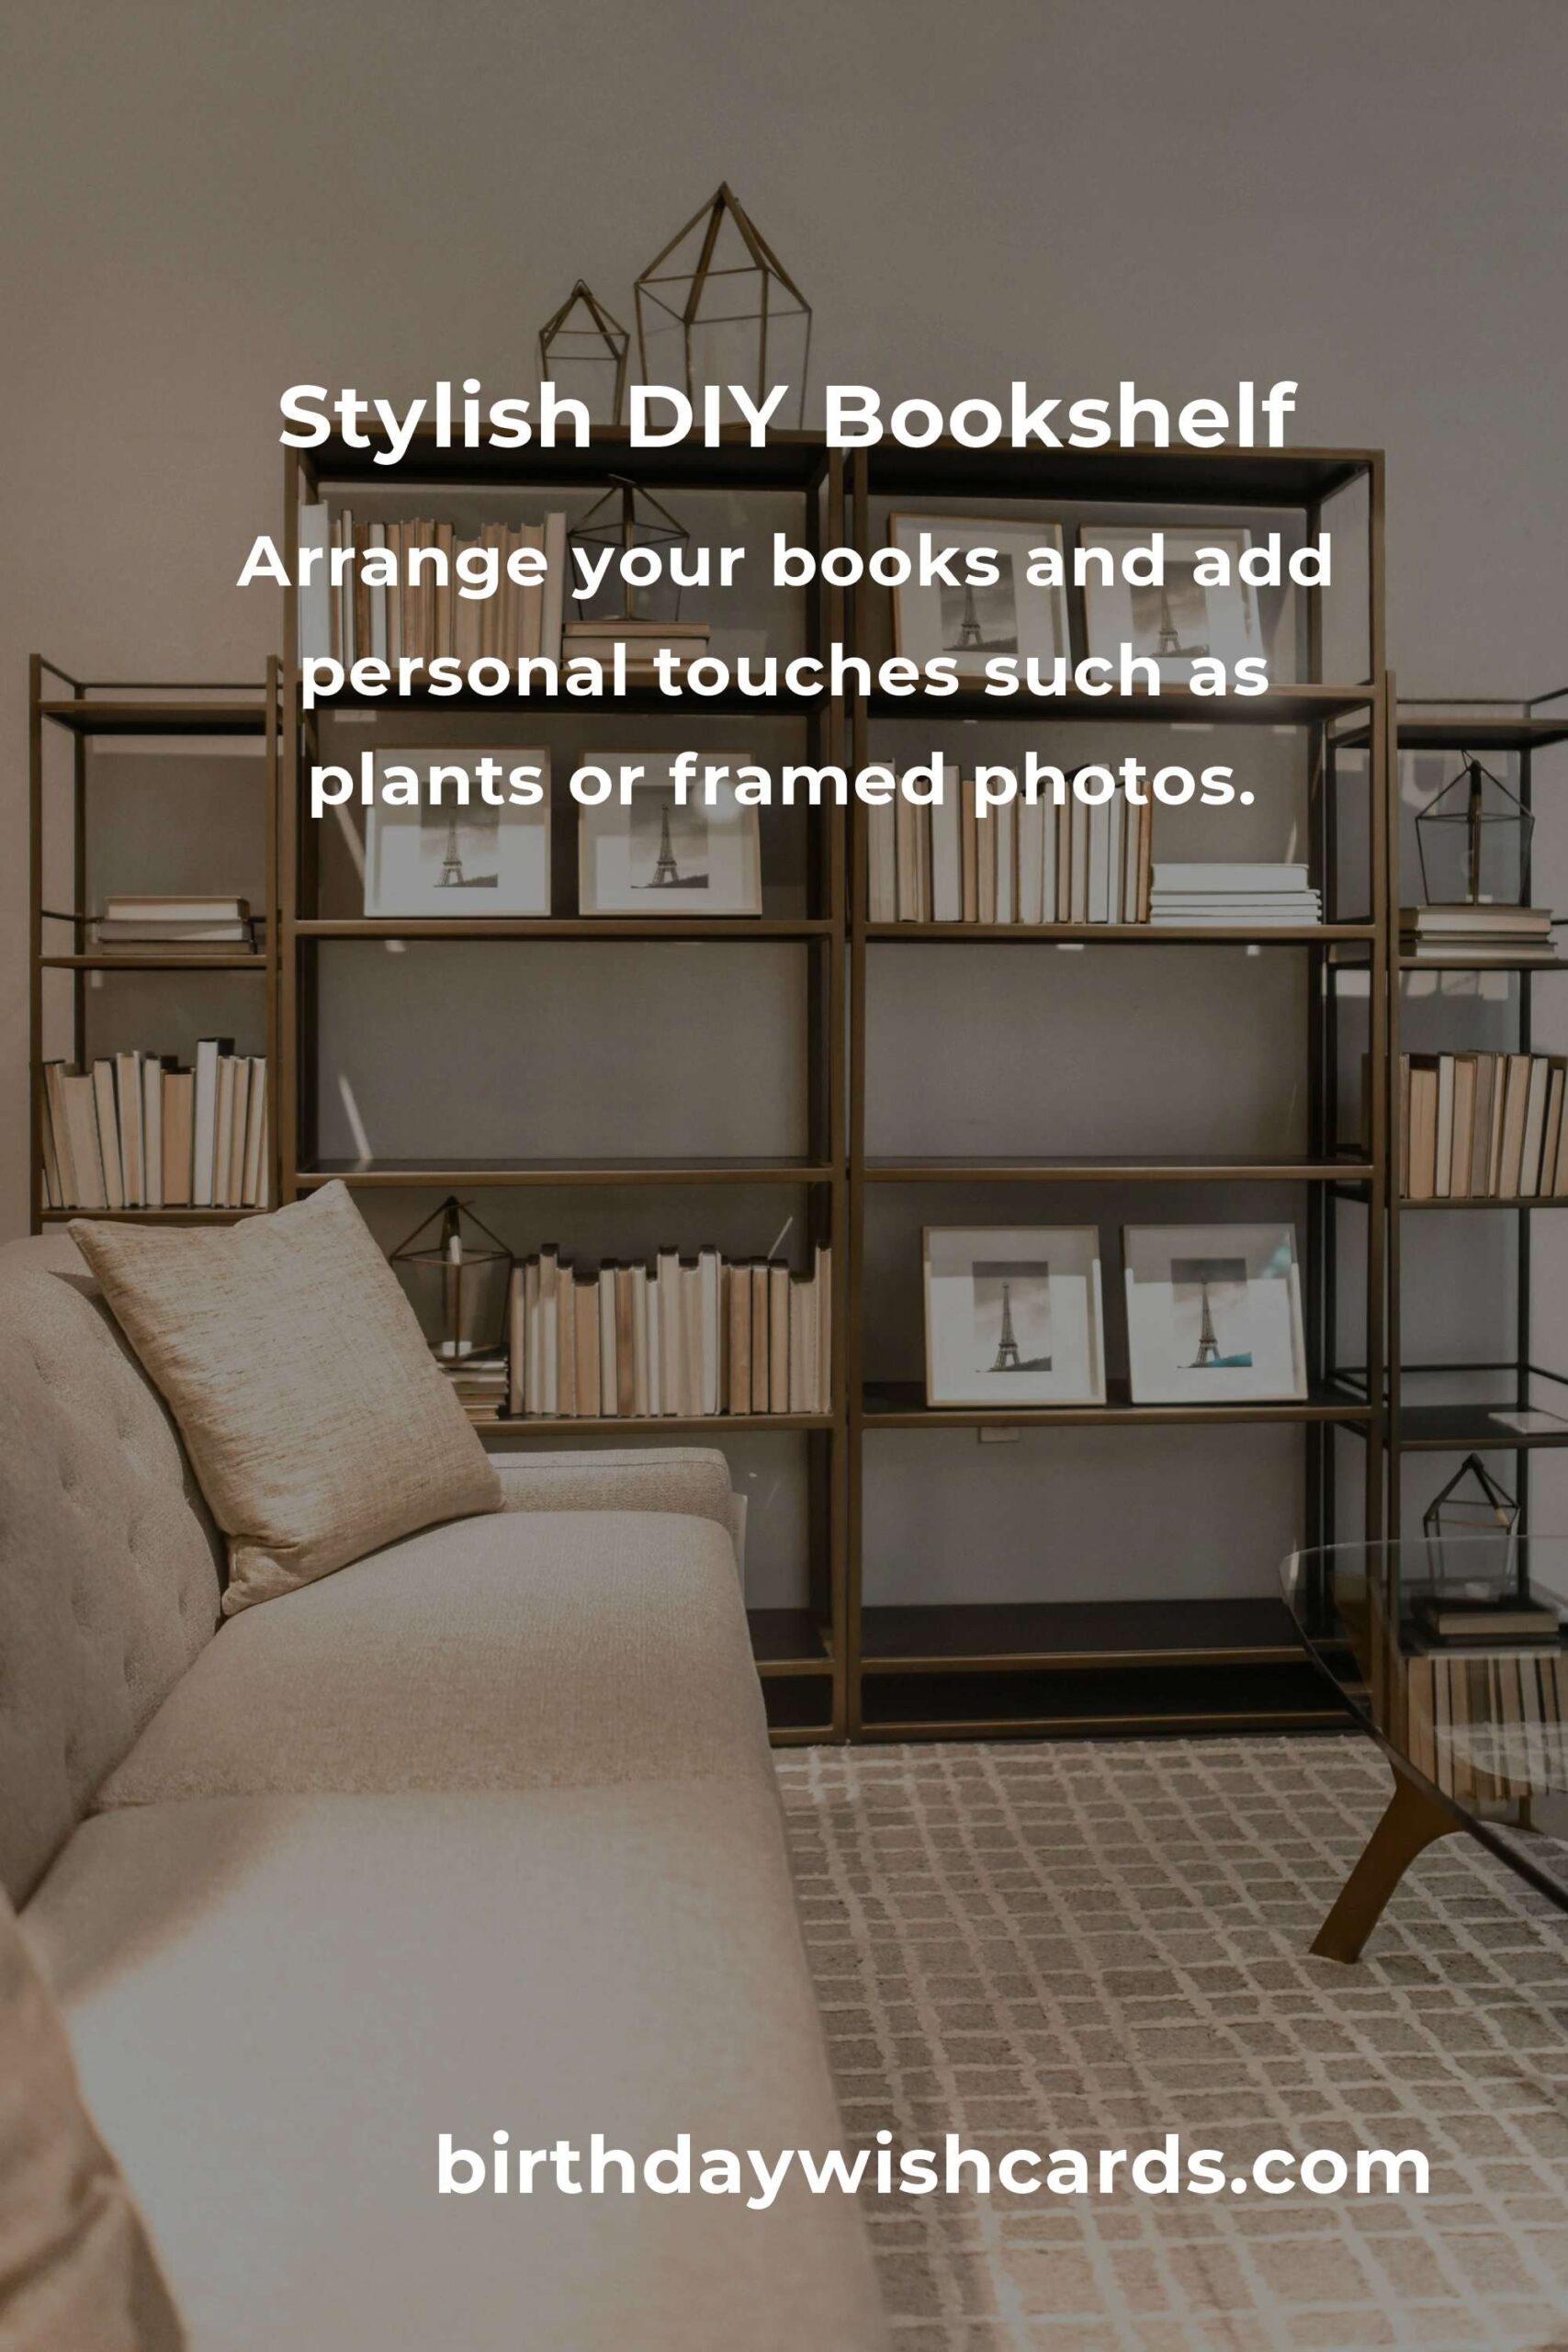
Once your bookshelf is built, it’s time to decorate. Arrange your books and add personal touches such as plants, framed photos, or small art pieces. This not only makes the bookshelf functional but also allows it to serve as a centerpiece in your home.
Maintenance Tips
To keep your bookshelf in great condition, dust it regularly and avoid placing it in direct sunlight to prevent the wood from fading. Periodically check the screws and brackets to ensure they remain tight.
Building a bookshelf is a fulfilling project that enhances your DIY skills and adds a personal touch to your home. Happy building!
Creating a personalized bookshelf for your home is a rewarding project that enhances your interior decor.
Building your own bookshelf allows you to customize the design and size to fit your space and needs.
A DIY bookshelf can be a cost-effective alternative to buying a pre-made one.
Ensure all pieces are even and smooth out any rough edges with sandpaper.
Arrange your books and add personal touches such as plants or framed photos.
#DIY #Bookshelf #HomeImprovement #InteriorDesign #WeekendProjects