Weekend DIY: Create a Stunning Garden Planter for Your Home
Creating a garden planter at home can be a fun and rewarding project that adds a touch of greenery and elegance to your living space. Whether you have a sprawling backyard or a small balcony, a garden planter can be customized to fit any space. This article will guide you through the steps to create a beautiful garden planter over a weekend.
Materials Needed
Before you start, gather the necessary materials. You will need:
- Wooden planks or pallets
- Hammer and nails or screws
- Wood glue
- Paint or wood stain
- Drill
- Soil
- Plants of your choice
Step-by-Step Guide
Step 1: Design Your Planter
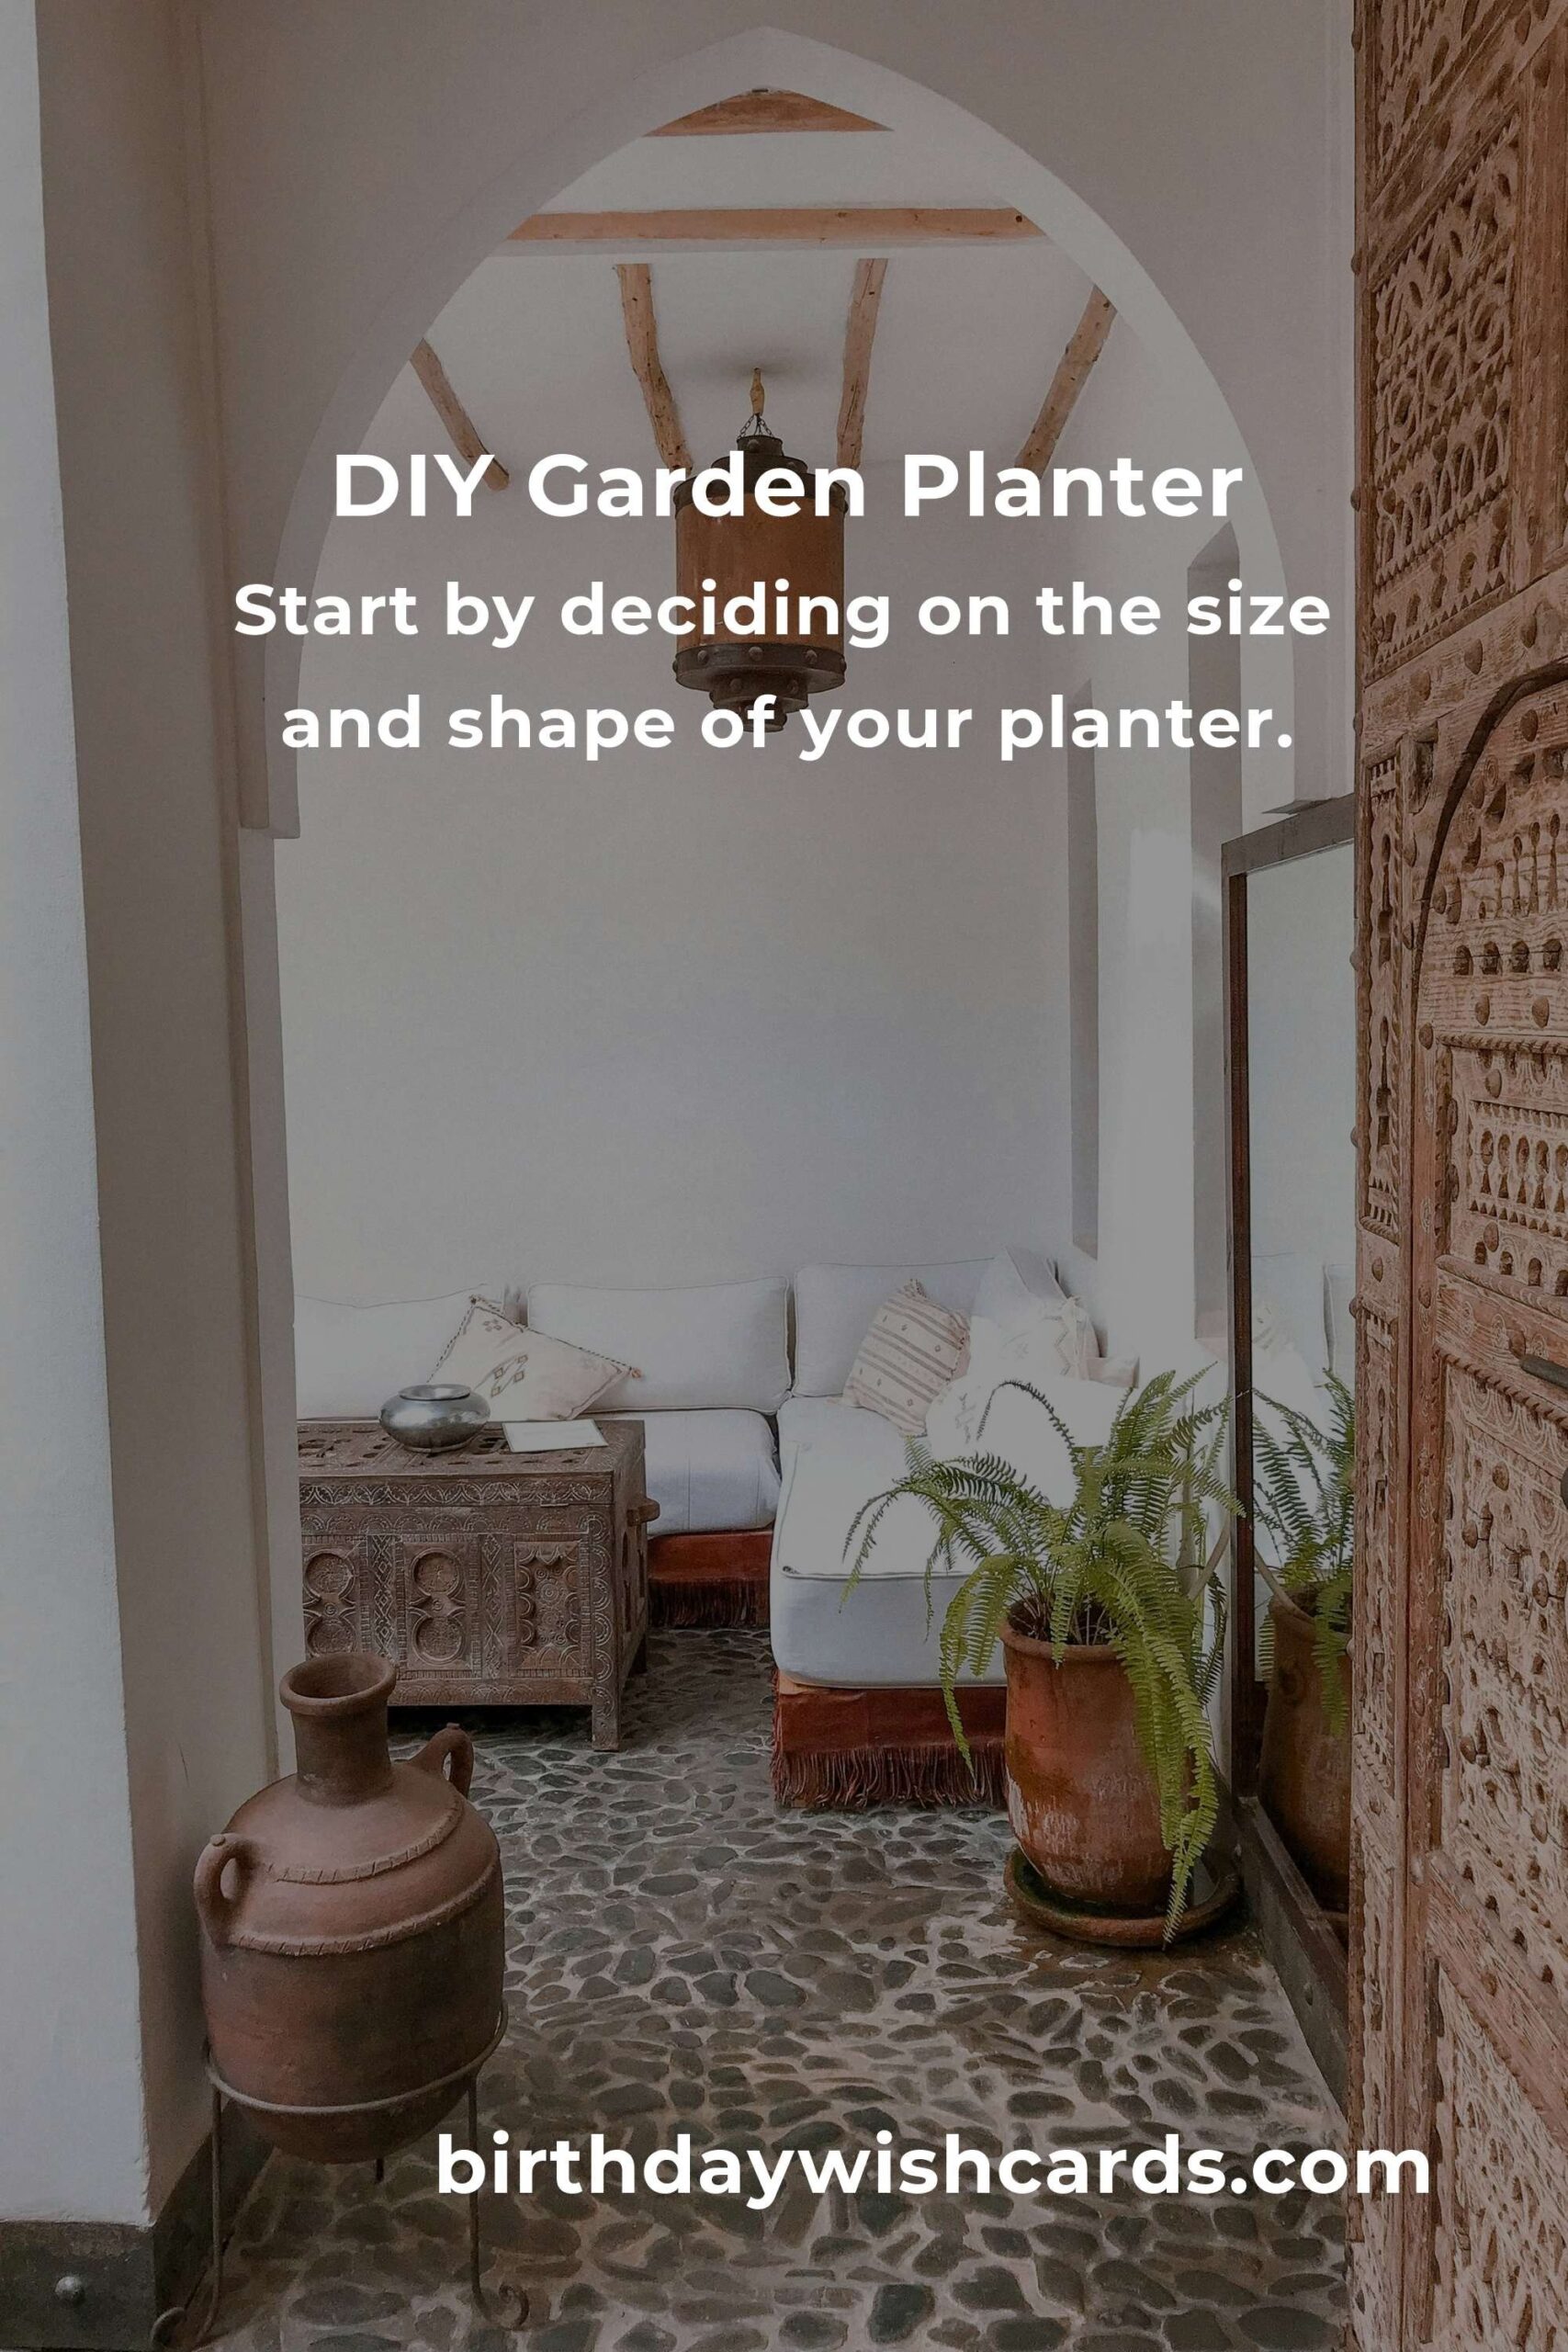
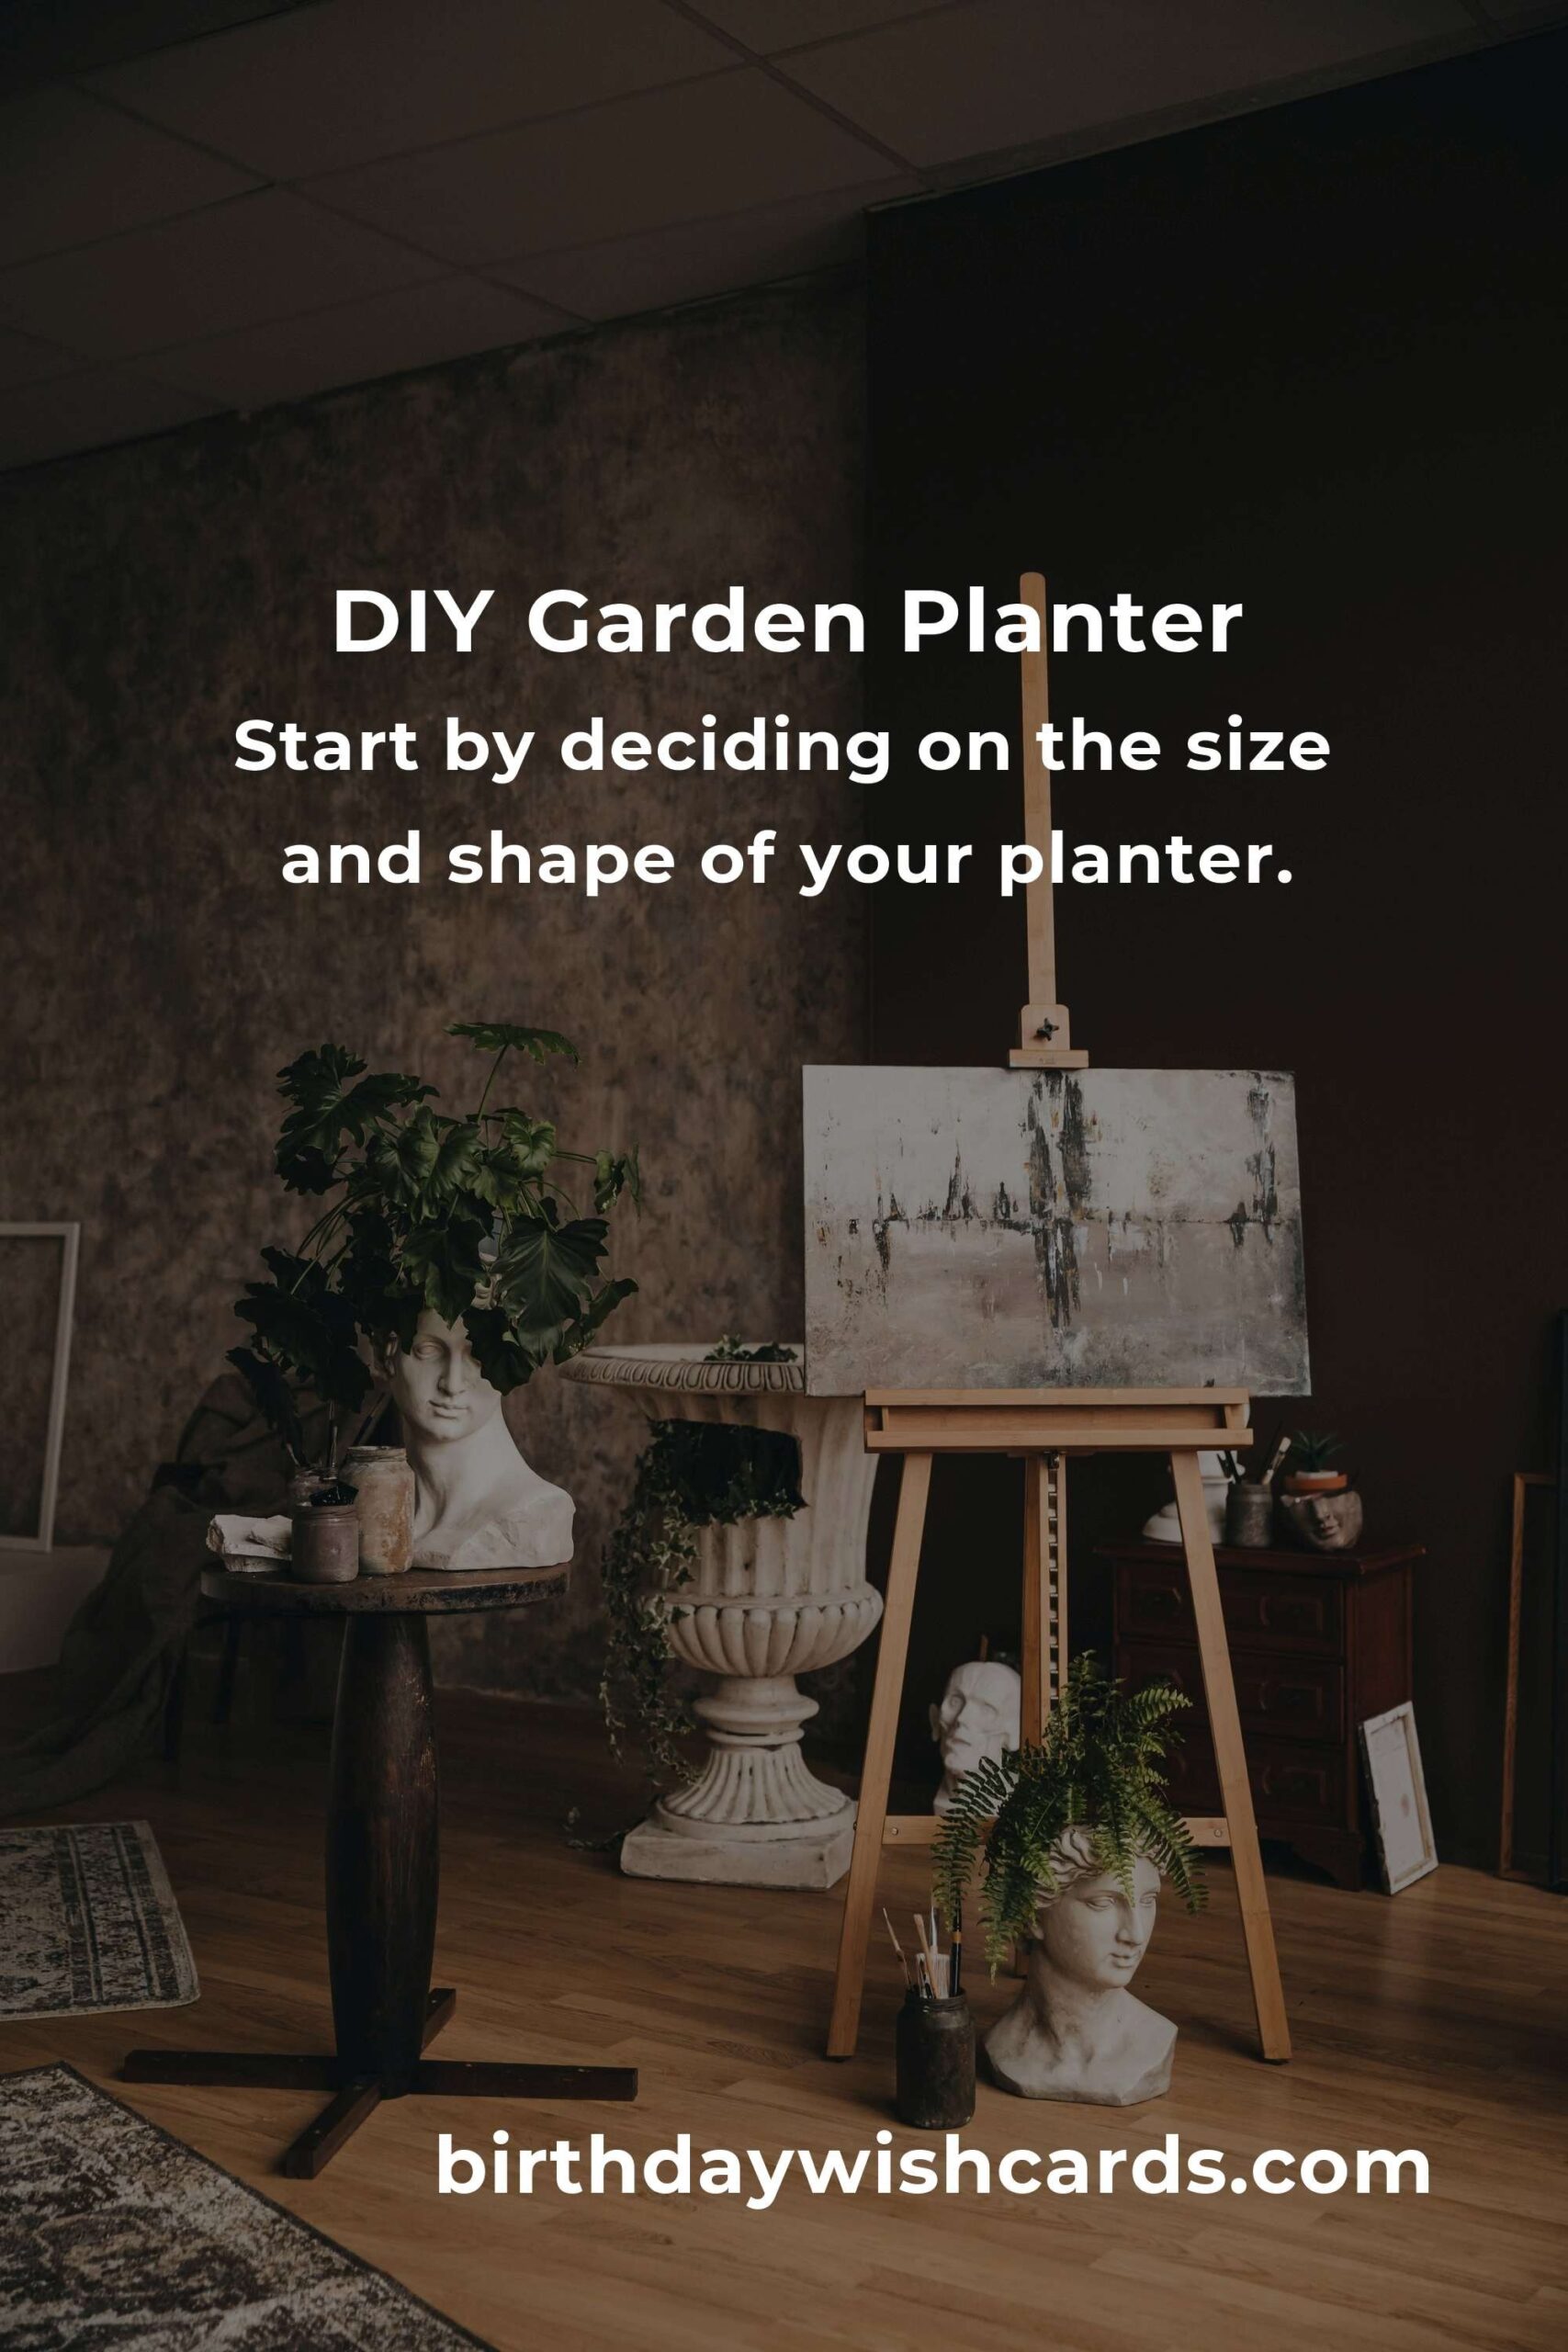
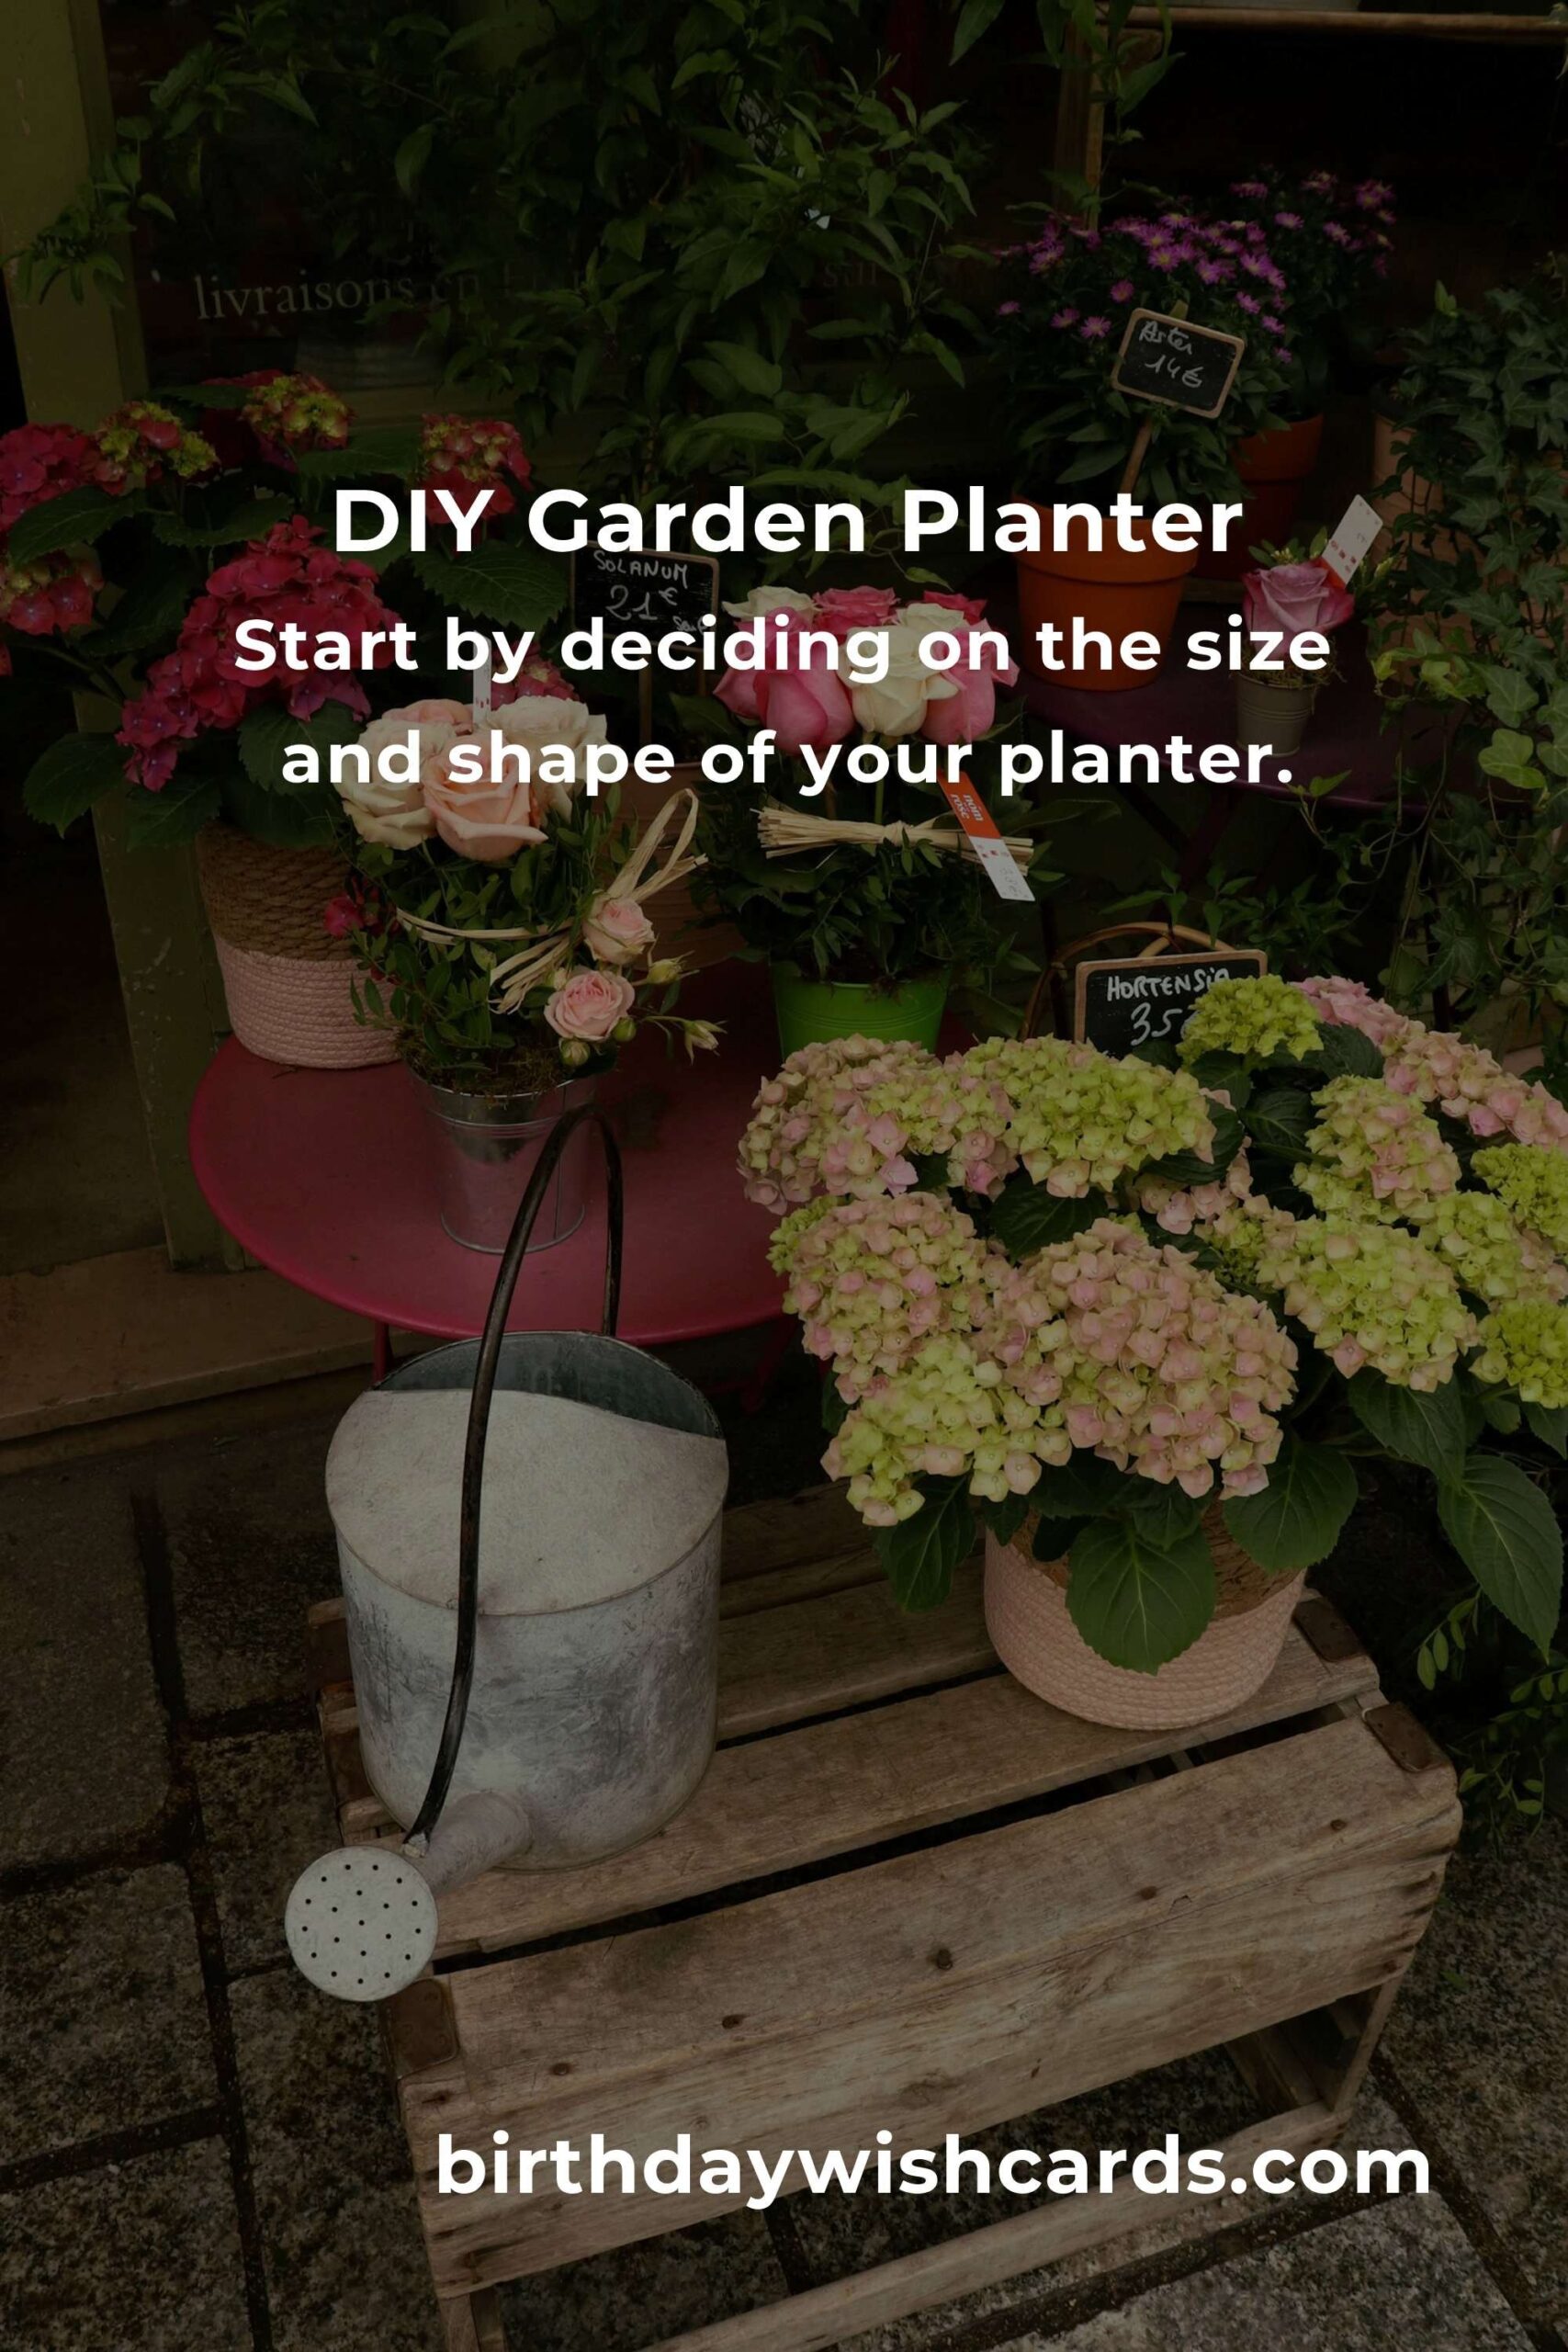
Start by deciding on the size and shape of your planter. Consider the space available and the types of plants you want to include. Sketch a simple design to guide your building process.
Step 2: Cut and Assemble the Wood
Using your design, cut the wooden planks to size. Assemble the base and sides of the planter, securing them with nails or screws. For extra stability, use wood glue at the joints.
Step 3: Add Drainage Holes
Drill holes at the bottom of the planter to allow for water drainage, which is crucial for plant health.
Step 4: Finish the Wood
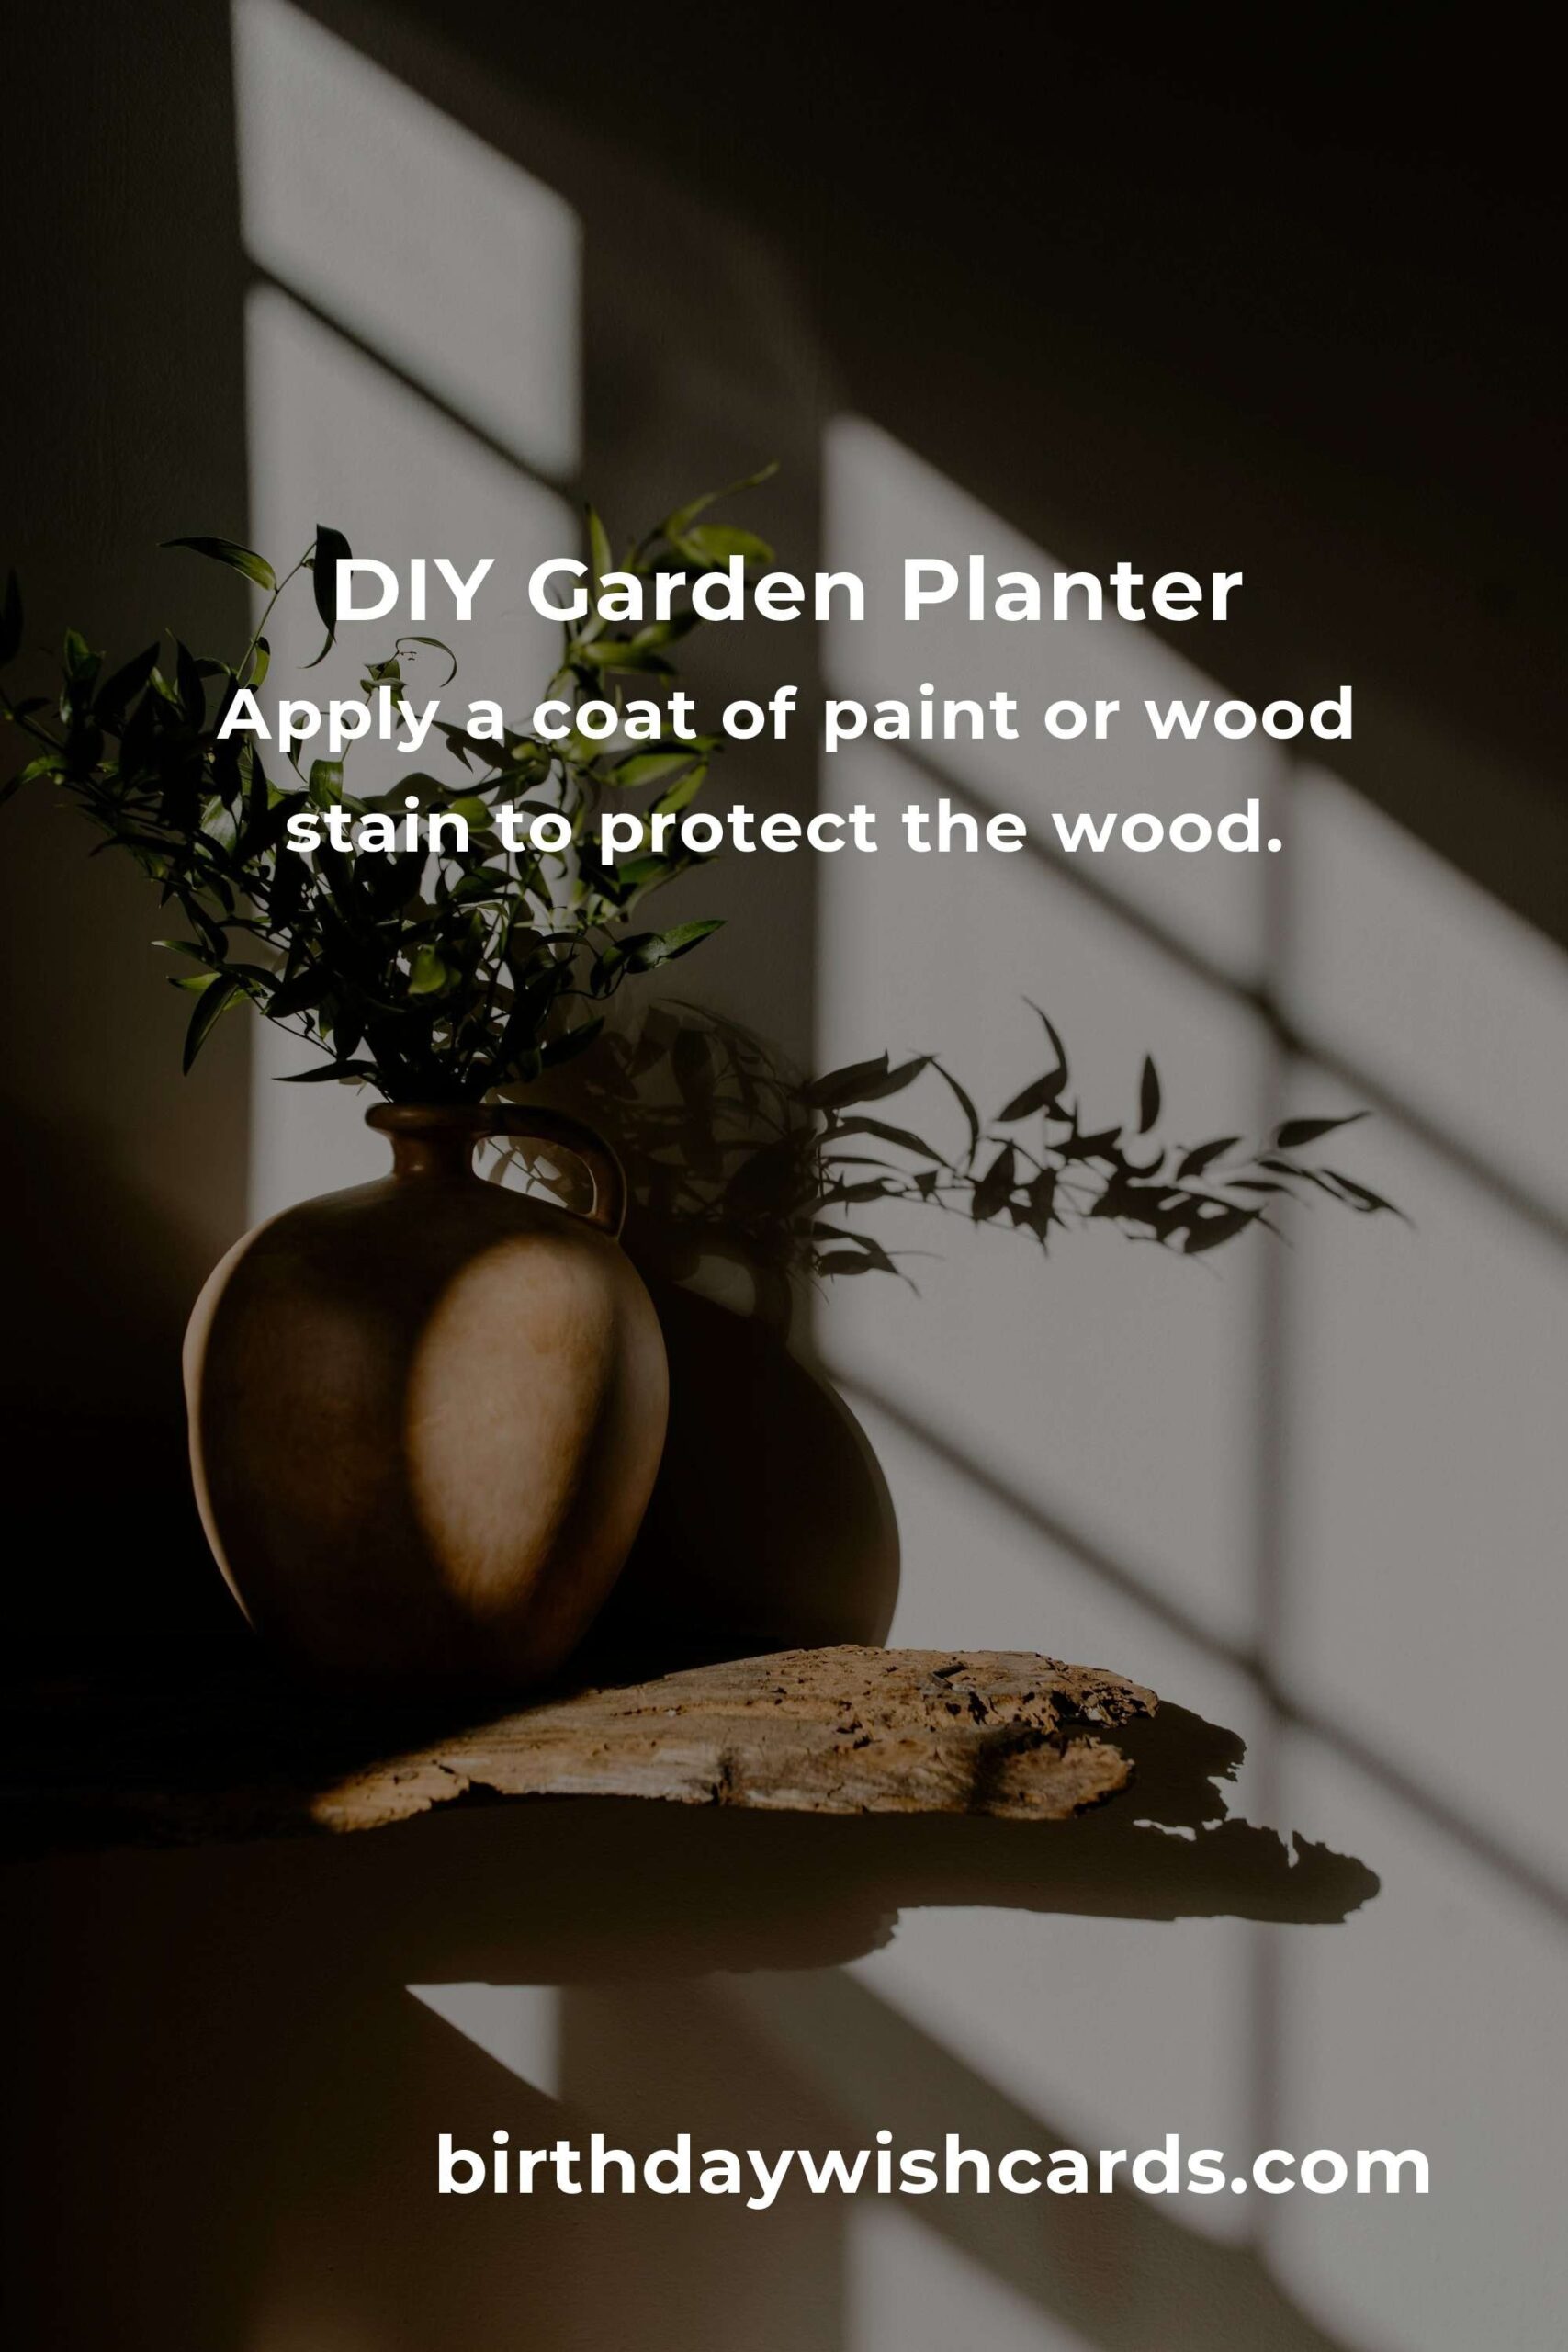
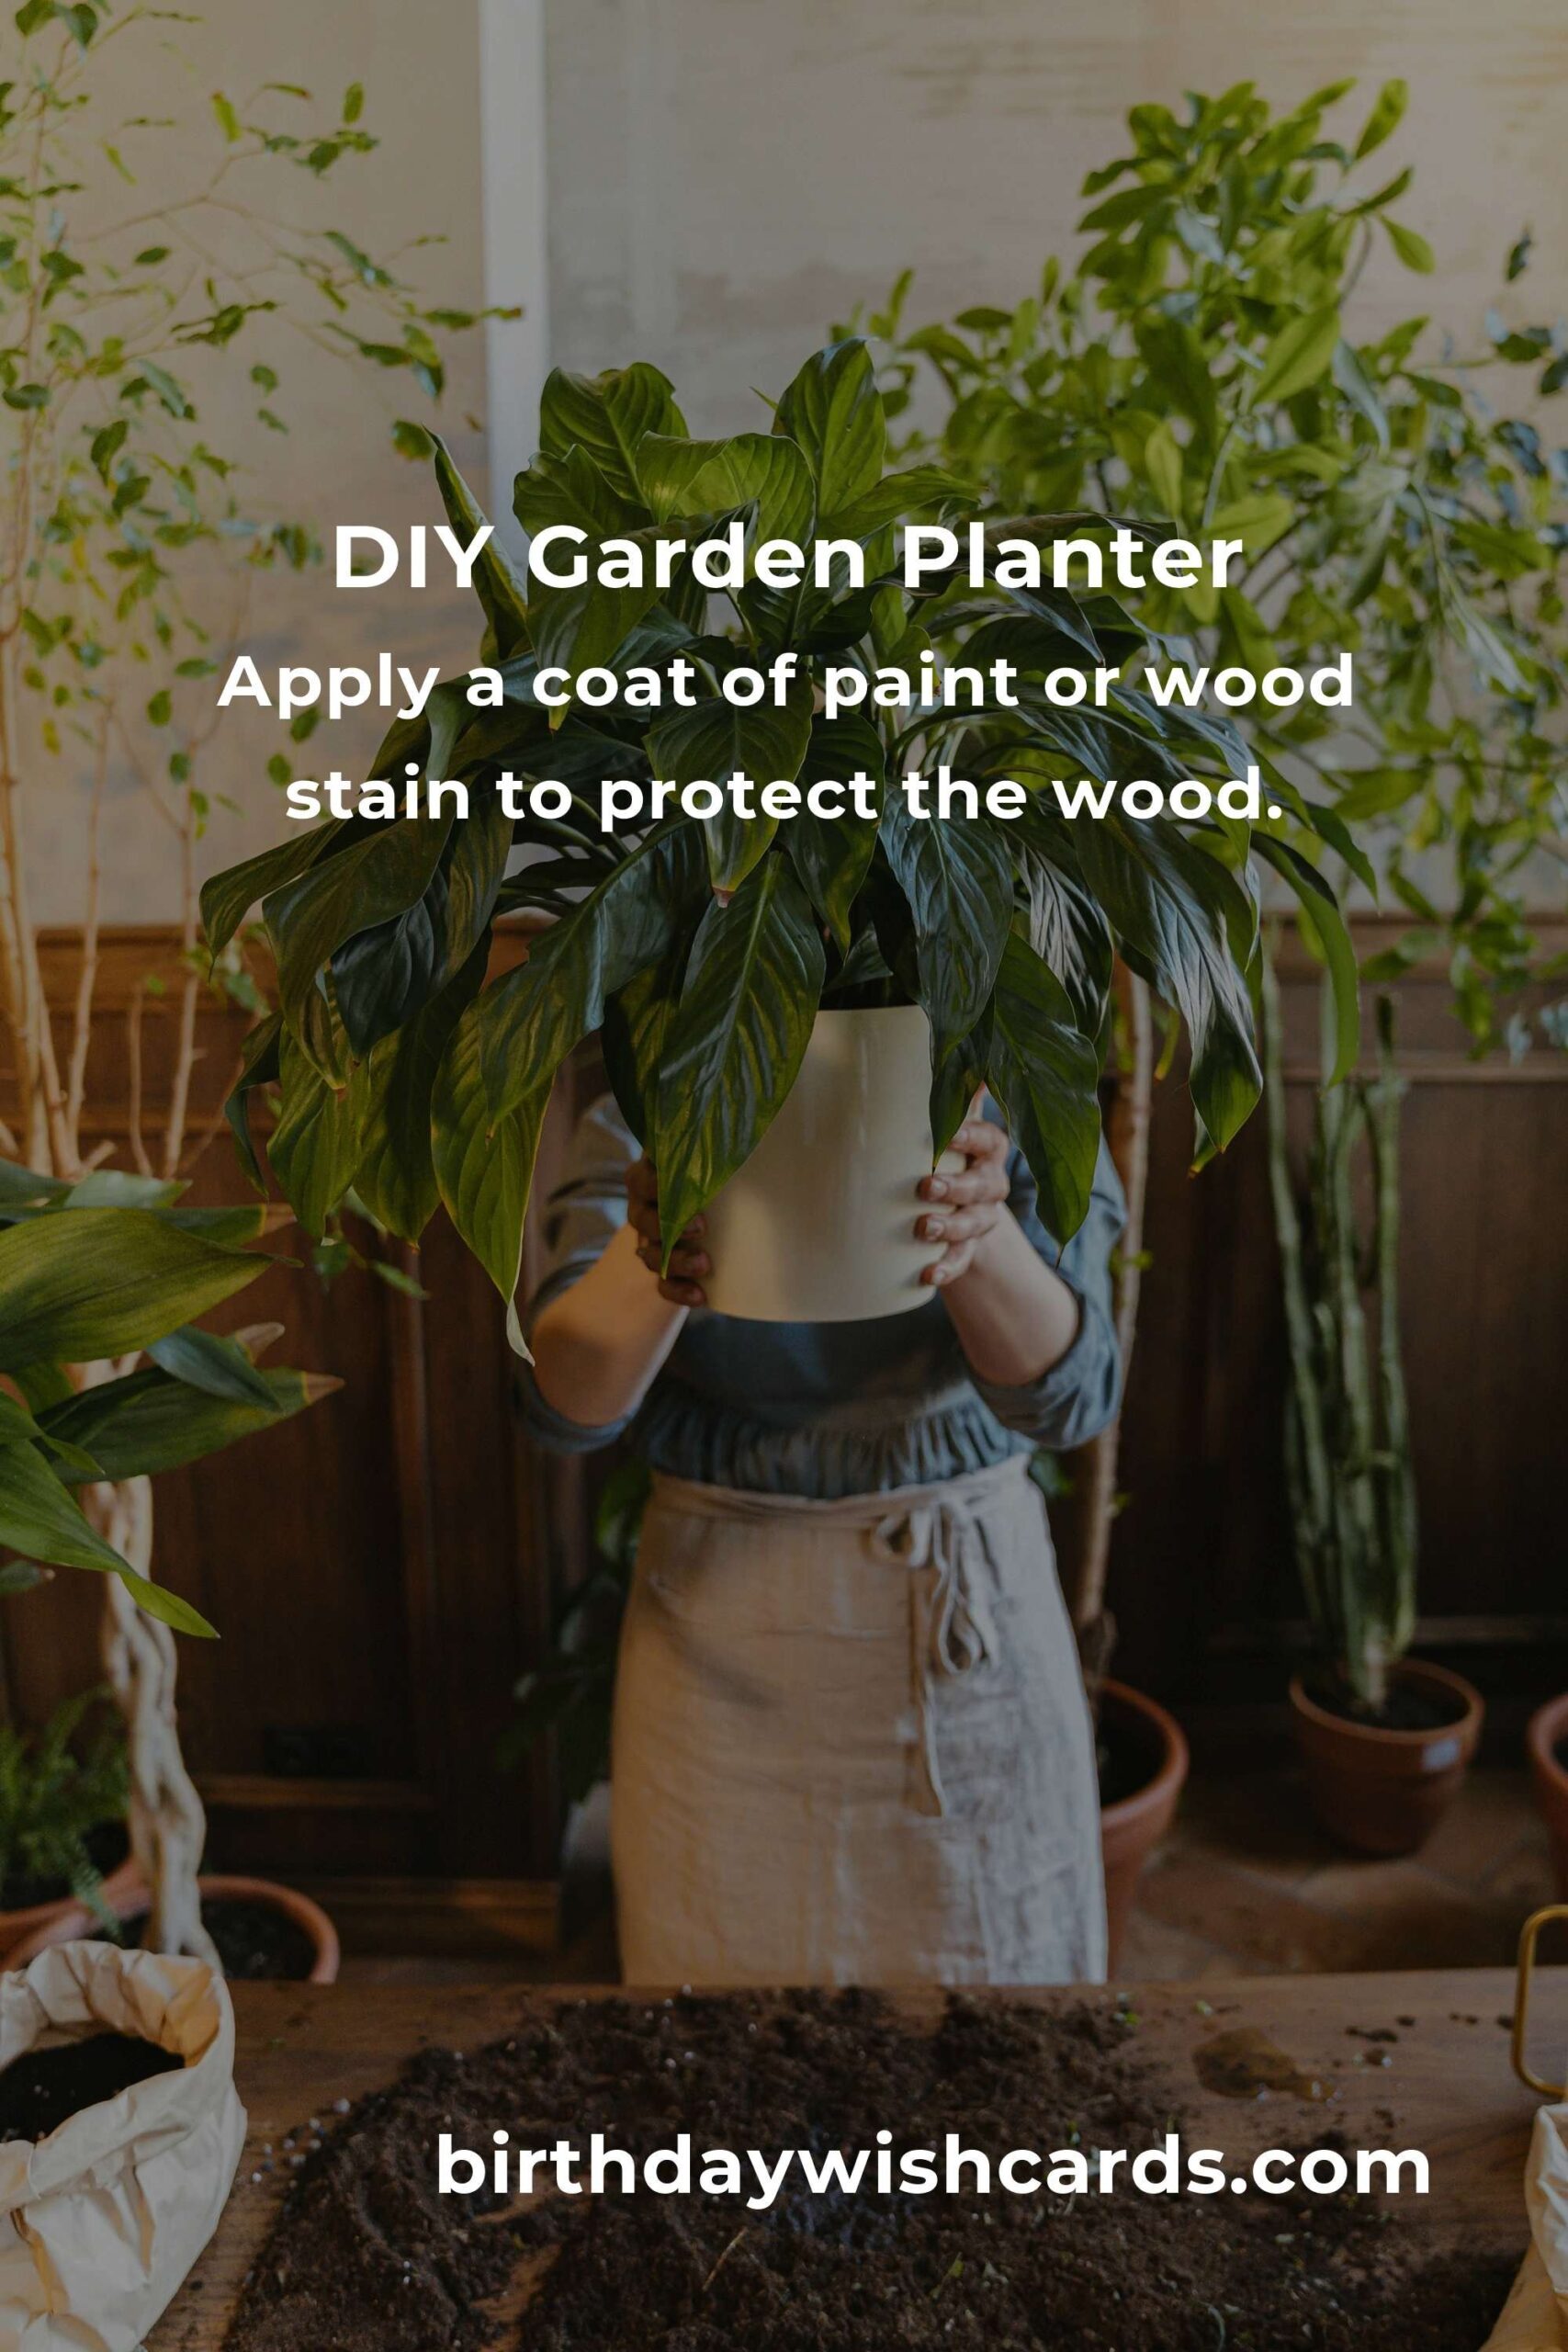
Apply a coat of paint or wood stain to protect the wood from the elements and enhance its appearance. Allow it to dry completely before proceeding.
Step 5: Fill with Soil and Plants
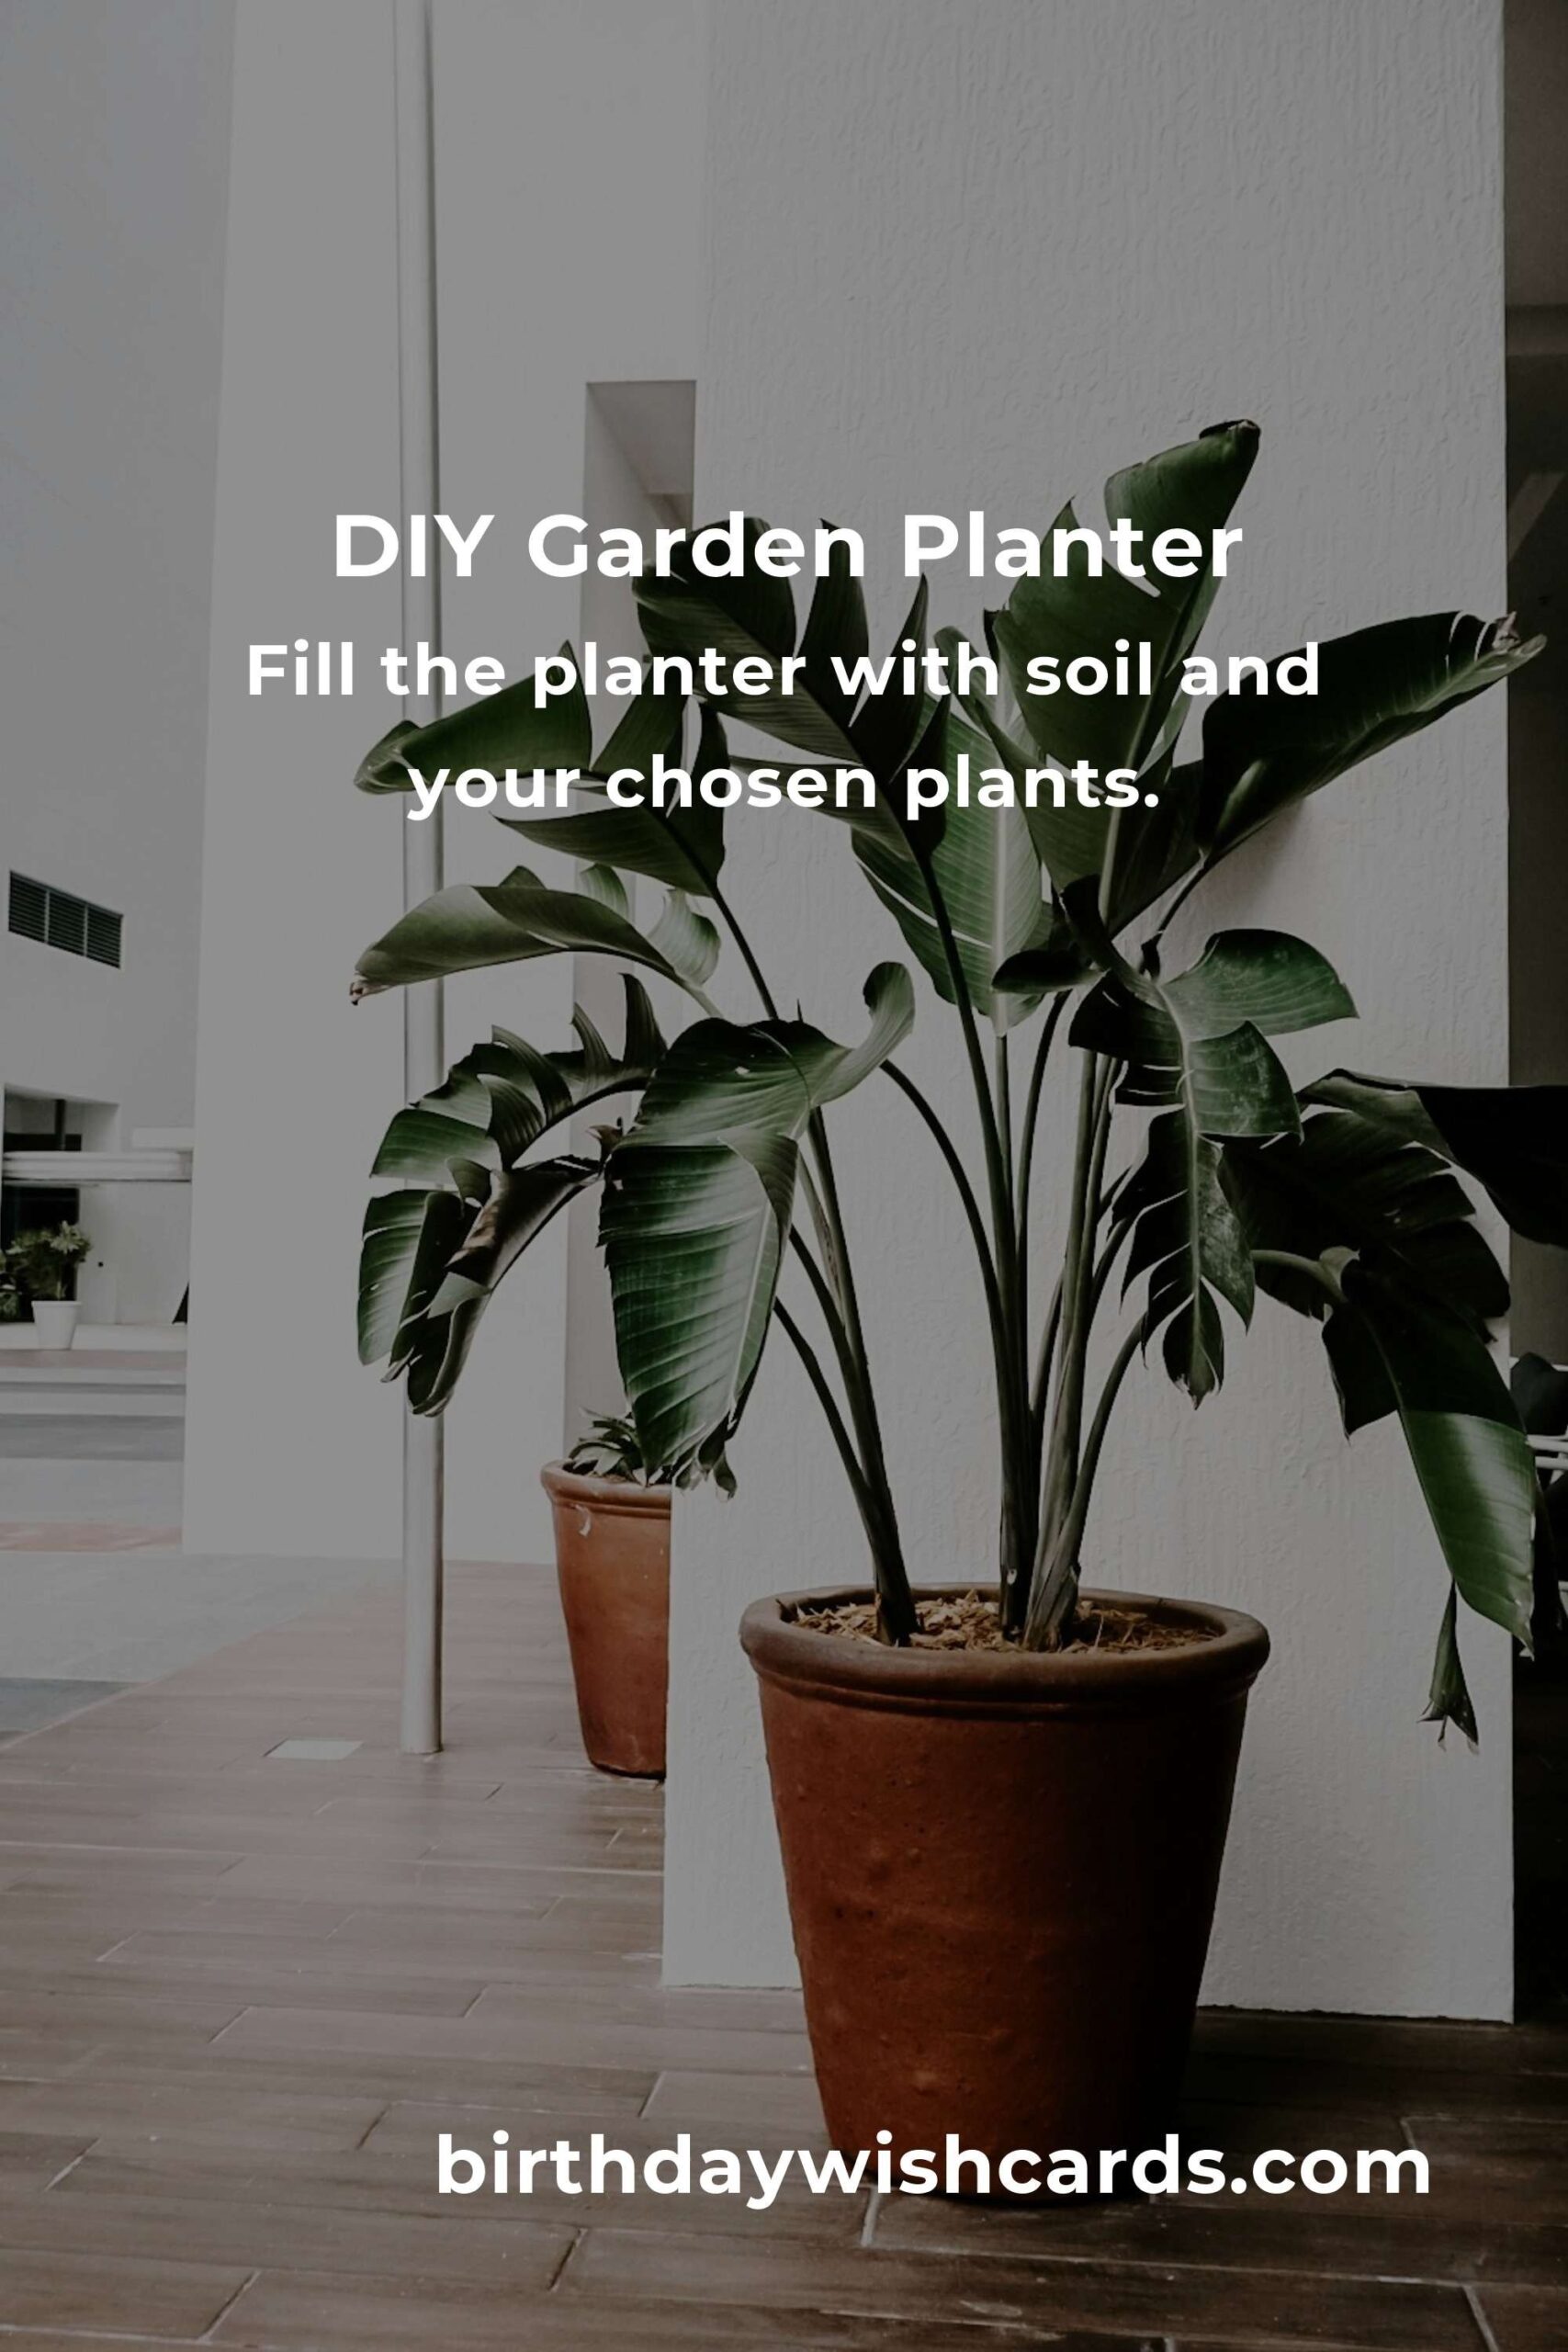
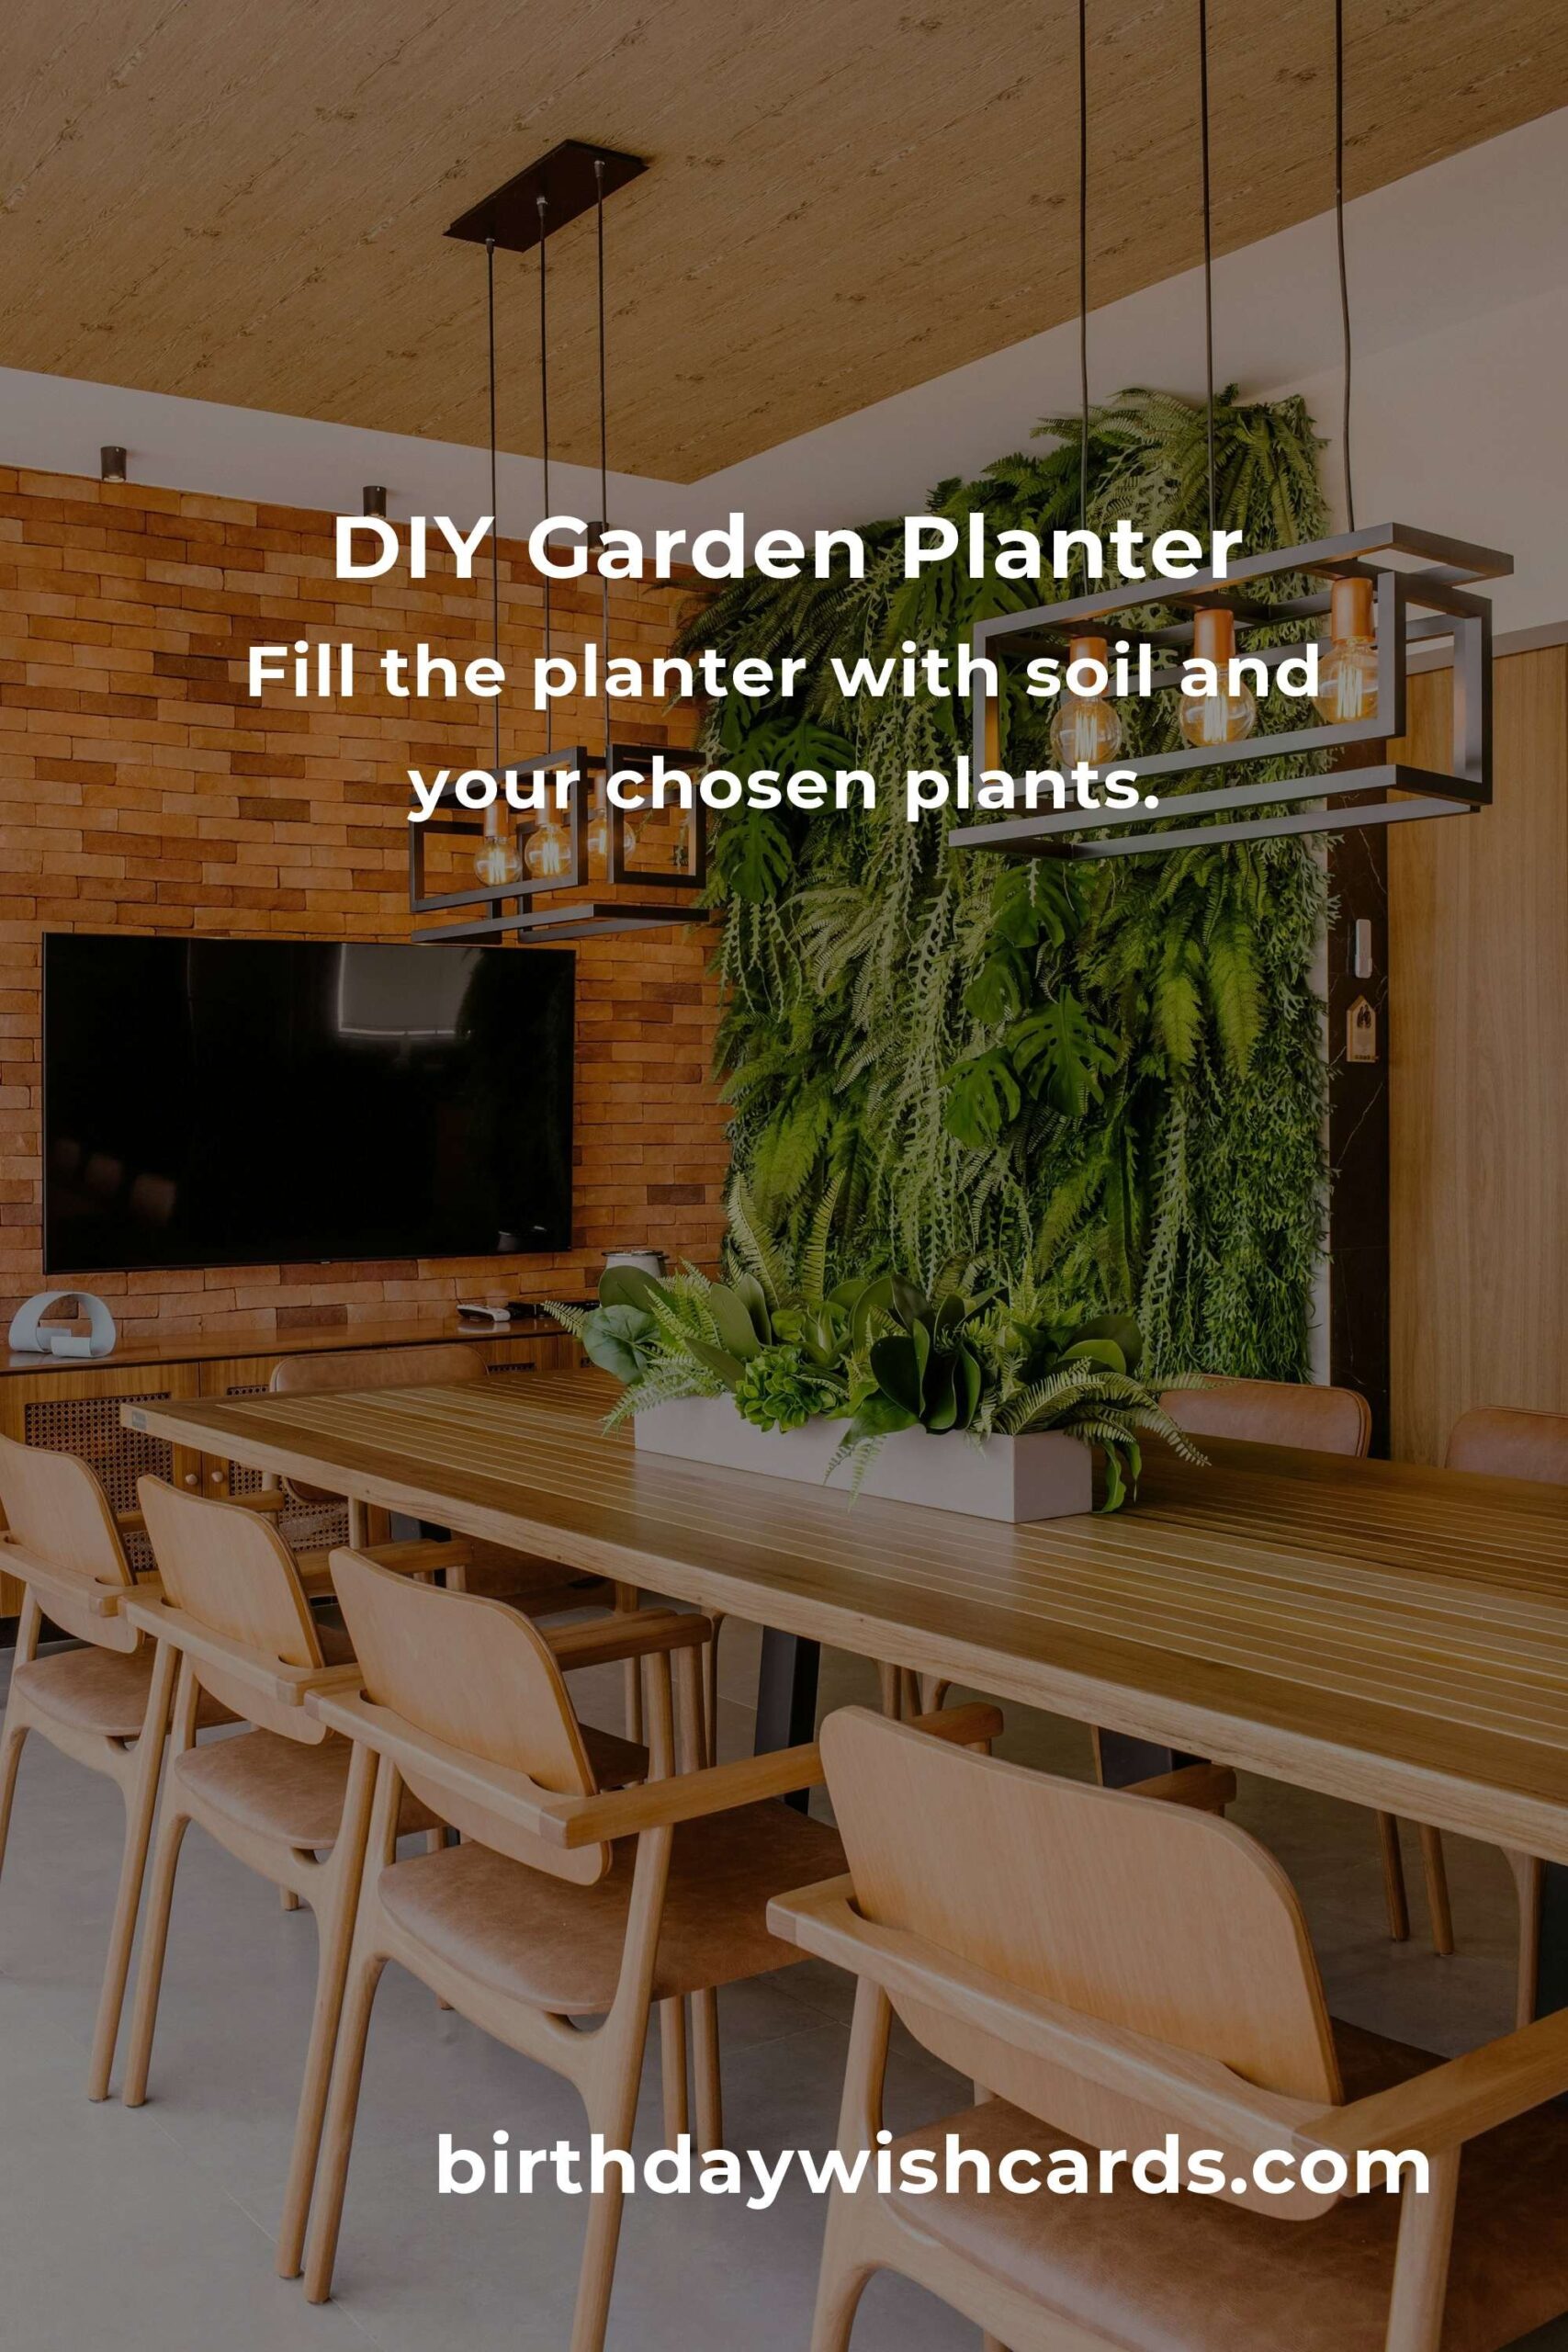
Once the planter is dry, fill it with soil and plant your chosen greenery. Arrange the plants in a way that allows room for growth and complements your space.
Maintaining Your Garden Planter
Regular maintenance is key to keeping your plants healthy. Ensure they receive adequate sunlight, water them regularly, and prune as necessary to promote growth.
Conclusion
With these simple steps, you can create a custom garden planter that enhances your home’s aesthetic and provides a sense of accomplishment. Starting with a clear design and using quality materials will ensure a long-lasting and beautiful addition to your home.
Enjoy your weekend project and the beauty it brings to your living space!
Creating a garden planter at home can add greenery and elegance to your living space.
Start by deciding on the size and shape of your planter.
Drill holes at the bottom of the planter for water drainage.
Apply a coat of paint or wood stain to protect the wood.
Fill the planter with soil and your chosen plants.
#DIY #GardenPlanter #HomeImprovement #Gardening #WeekendProject