Weekend DIY: Create Stunning Picture Frames for Your Home
With a few simple materials and a bit of creativity, you can create beautiful picture frames that not only showcase your favorite photos but also enhance the decor of your home. This weekend DIY project is perfect for those who love to add a personal touch to their living spaces. Let’s dive into the steps to create your very own picture frames.


Gather Your Materials
Before starting your DIY picture frame project, you need to gather all the necessary materials. Here’s a list of what you’ll need:


- Wooden planks or pre-cut frame pieces
- Wood glue or nails
- Sandpaper
- Paint or wood stain
- Paintbrushes
- Glass or acrylic sheet
- Backing board
- Hanging hardware
Having all these items ready will ensure that your DIY project goes smoothly without any interruptions.


Step-by-Step Guide to Crafting Your Picture Frame
Step 1: Cutting the Frame Pieces
Start by cutting your wooden planks or pre-cut frame pieces to the desired size. Ensure that the angles are cut at 45 degrees to fit together seamlessly. If using pre-cut frame pieces, this step might already be done for you.


Step 2: Assembling the Frame
Once you have your pieces ready, it’s time to assemble the frame. Use wood glue or nails to attach the pieces at the corners, forming a rectangle or square. Make sure the corners are aligned perfectly to avoid any gaps.

Step 3: Sanding and Finishing
After the frame has dried, use sandpaper to smooth out any rough edges. This step is crucial for achieving a professional look. Once sanded, choose your desired paint or wood stain to finish your frame. Apply evenly with a paintbrush and let it dry completely.
Step 4: Adding Glass and Backing
With your frame now painted and dried, insert the glass or acrylic sheet to protect your picture. Secure it in place, followed by the backing board. This will hold your photo securely in the frame.
Step 5: Attaching Hanging Hardware
The final step is to attach the hanging hardware. Depending on your preference, you can use sawtooth hangers, D-rings, or wire. Ensure that it is securely fastened to support the weight of the frame.
Creative Ideas for Your Picture Frames
Beyond the basic frame, you can get creative by adding embellishments such as beads, shells, or fabric. You can also experiment with different paint techniques, like distressing or layering colors, to give your frames a unique appearance.
Conclusion
Creating DIY picture frames is a rewarding project that not only saves money but also allows you to customize your home decor. With these steps, you can craft beautiful frames that highlight your photos and add a personal touch to your home.
With a few simple materials and a bit of creativity, you can create beautiful picture frames.
Gathering all necessary materials beforehand ensures a smooth DIY project.
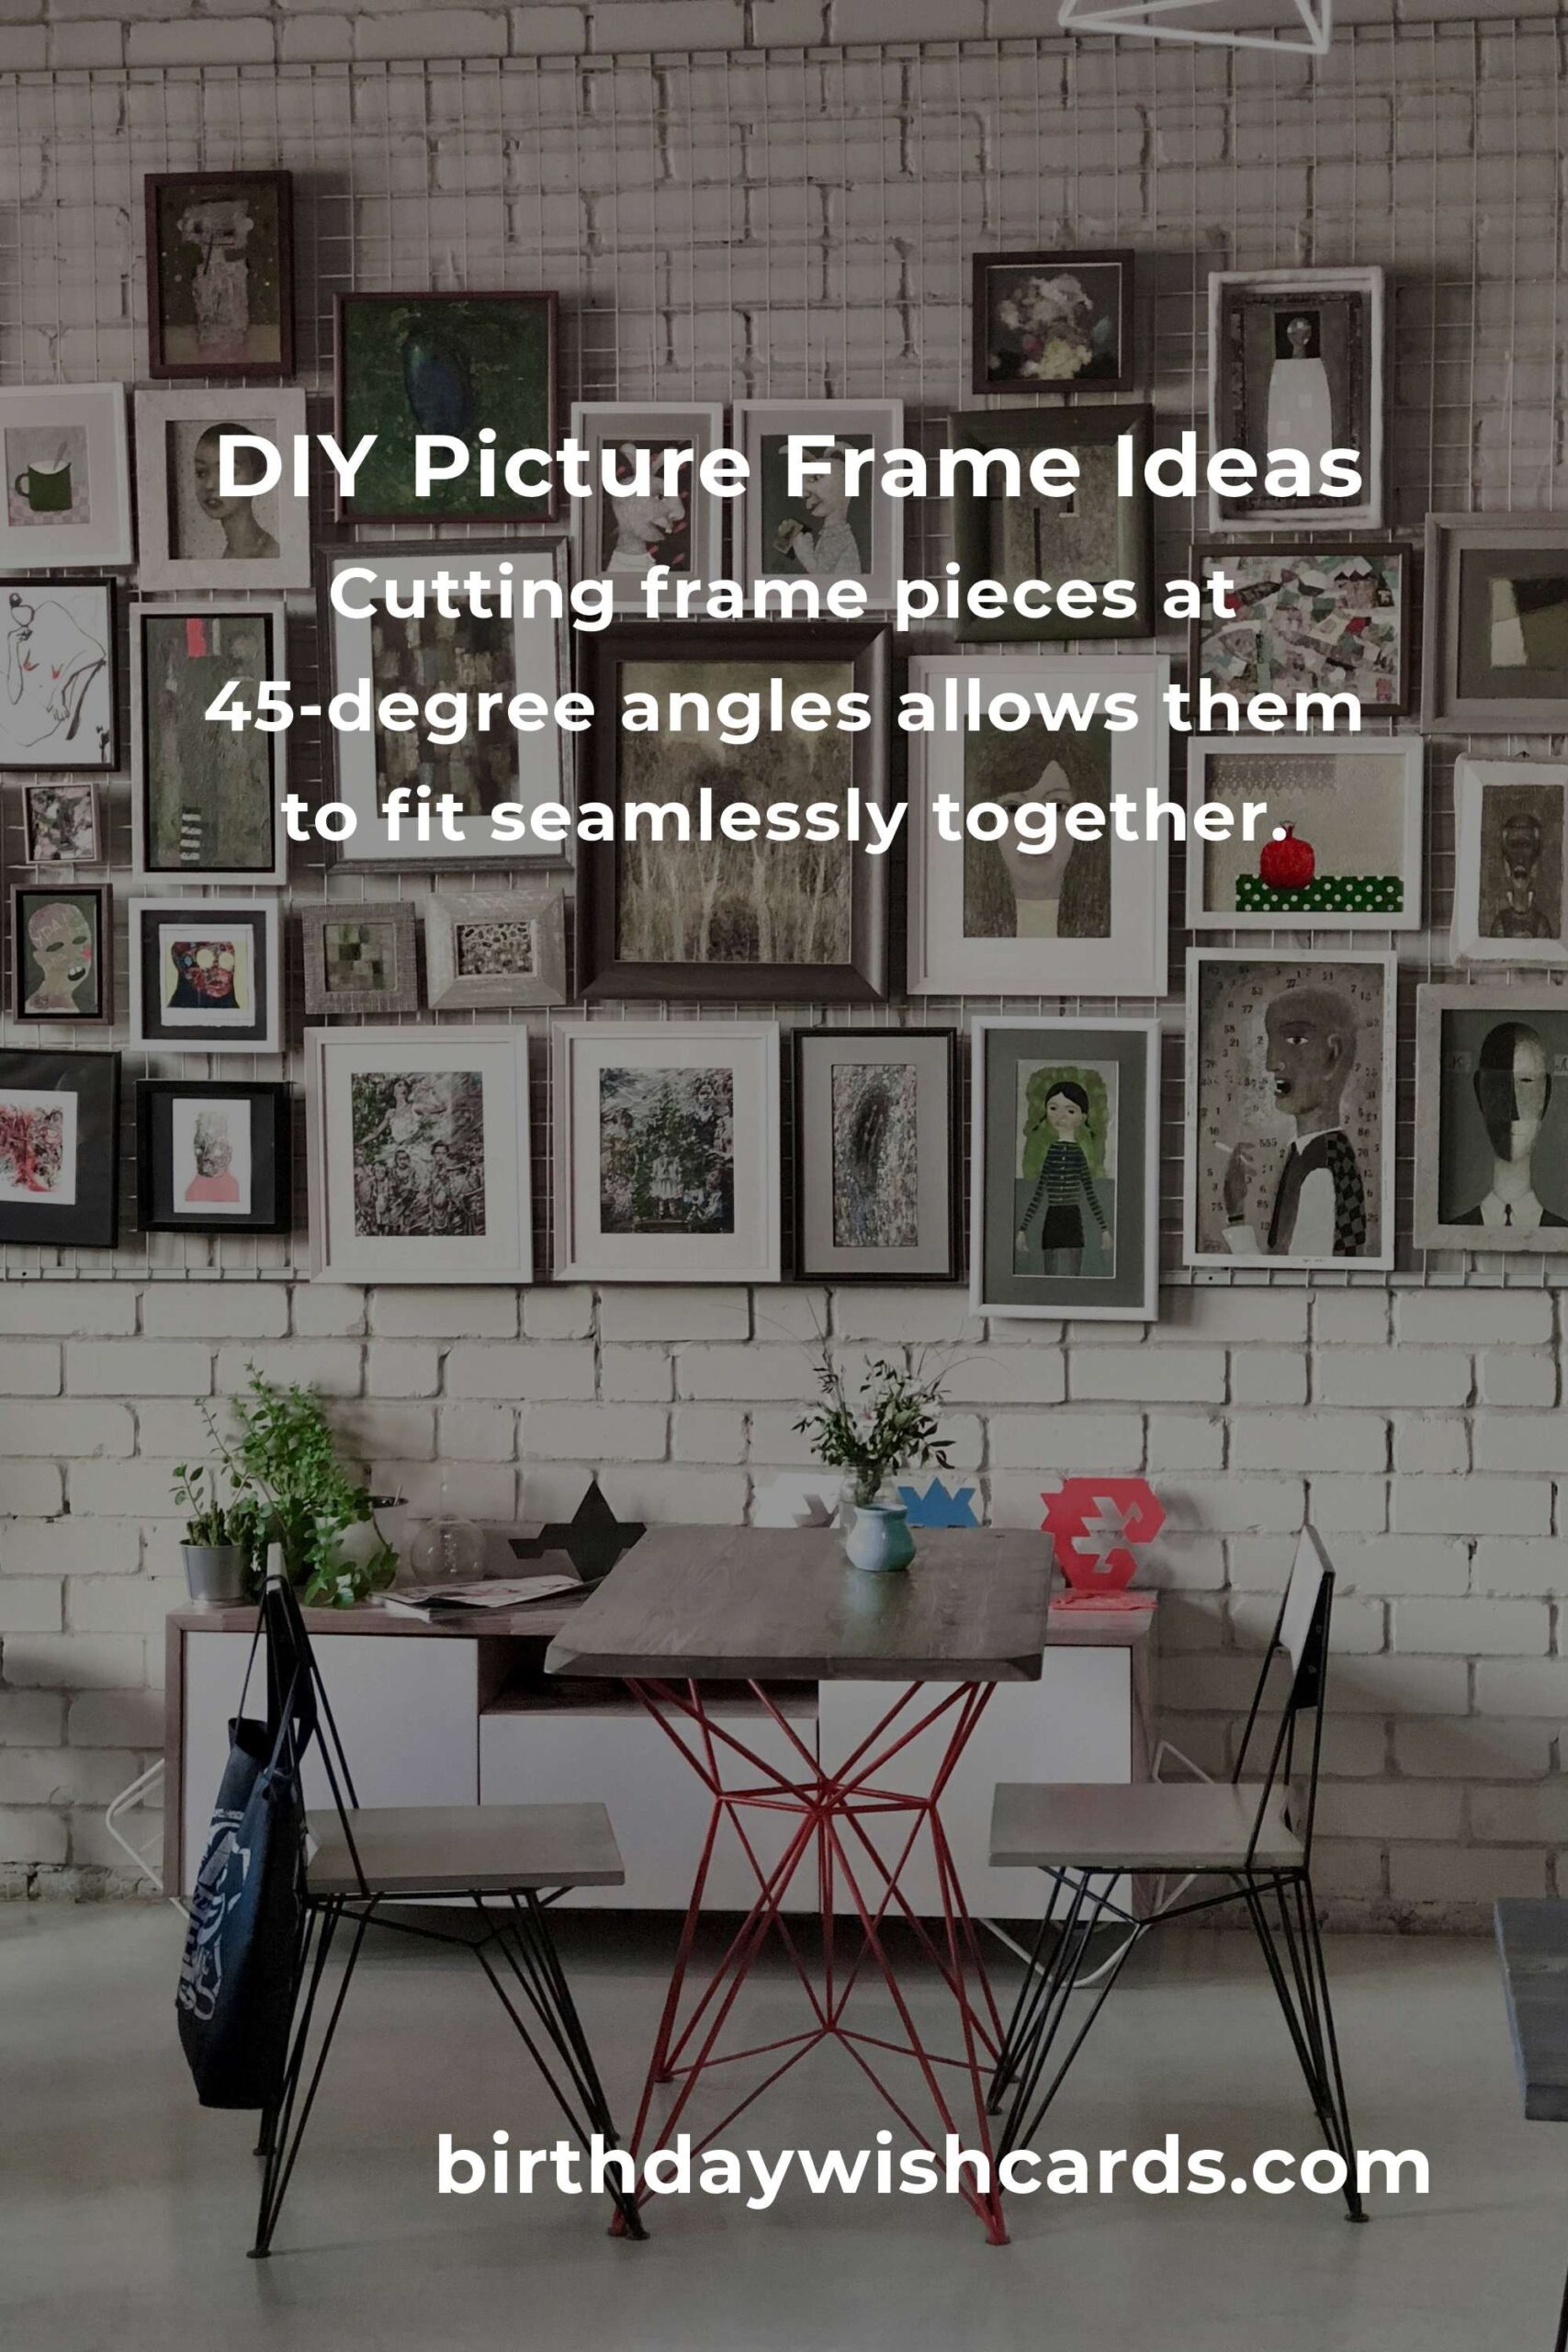
Cutting frame pieces at 45-degree angles allows them to fit seamlessly together.
Sanding and finishing are crucial steps for achieving a professional look.
Creative embellishments can give your frames a unique appearance.
#DIY #PictureFrames #HomeDecor #WeekendProject