Transforming your living space can be as simple as adding a touch of nature. With the rise of minimalism, many individuals are seeking ways to integrate natural elements into their home decor without compromising on style. DIY floating planter shelves offer a perfect solution, combining functionality with aesthetic appeal. This guide will walk you through the process of creating these elegant and minimalist floating shelves that will enhance your living space.
Why Choose Floating Planter Shelves?
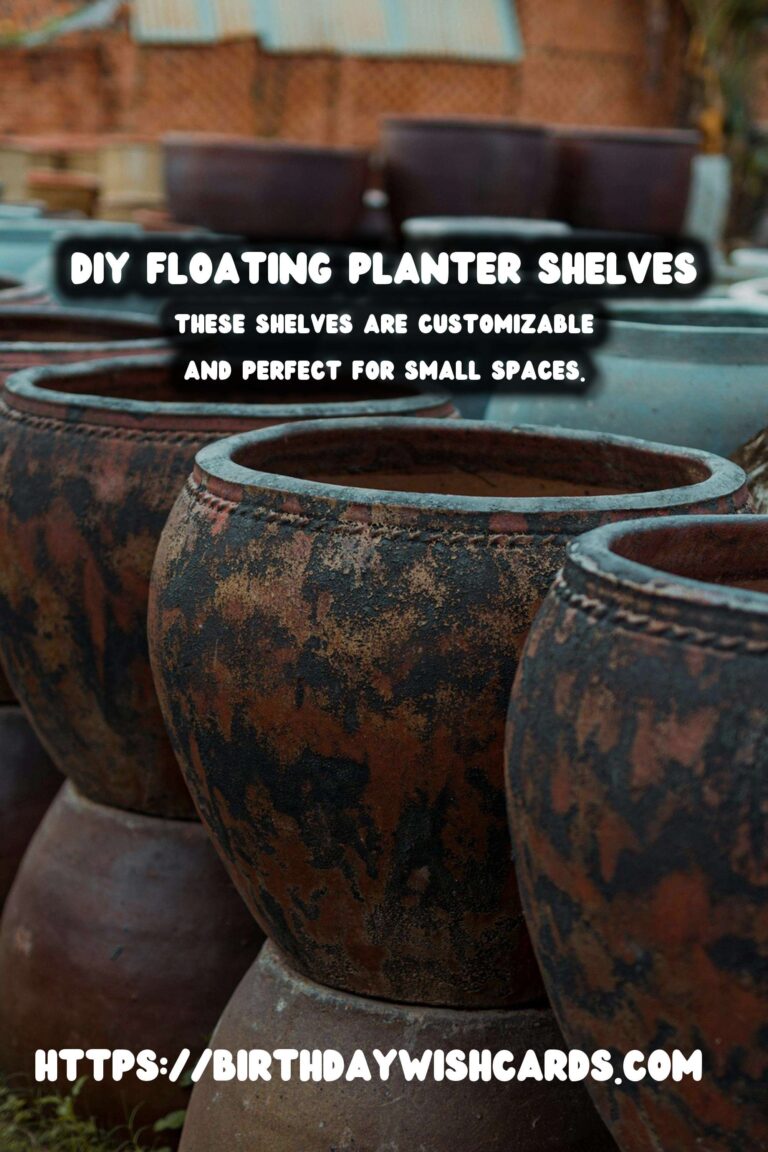
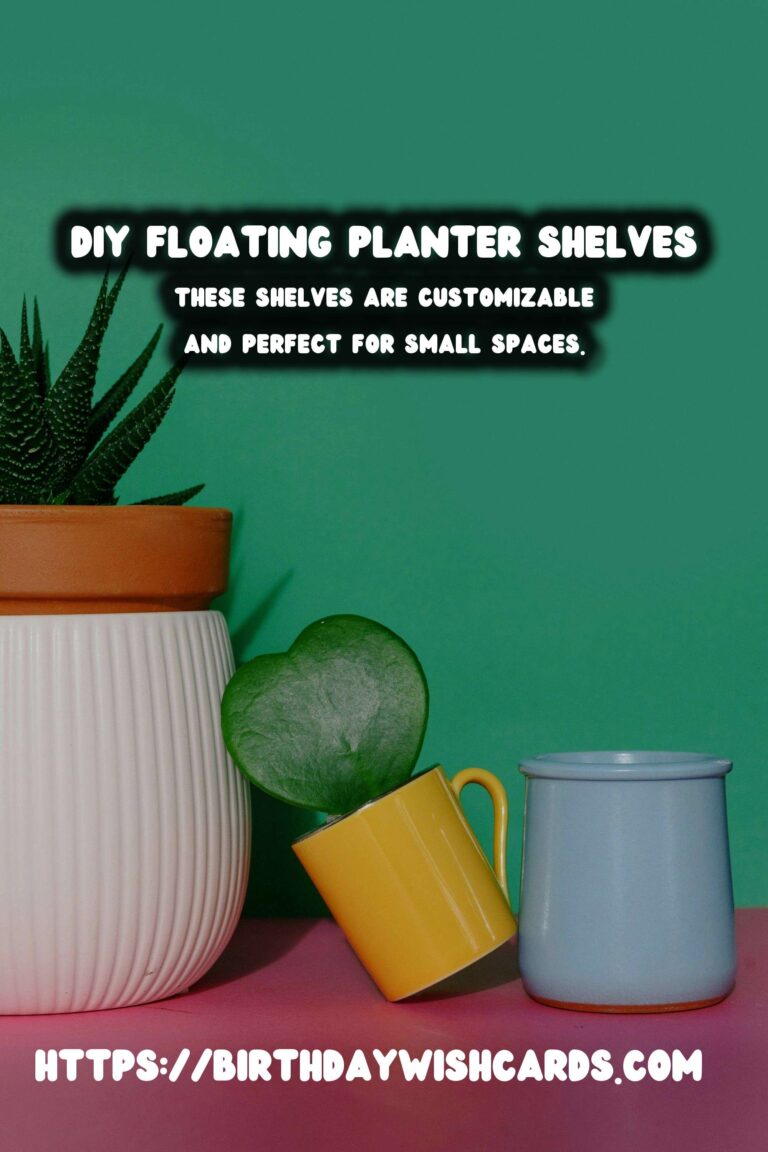
Floating planter shelves are a fantastic way to incorporate plants into your decor while maintaining a clean and uncluttered appearance. Unlike traditional shelves, these shelves provide the illusion of plants floating in mid-air, adding a unique and modern touch to any room. They are perfect for small spaces, as they take up minimal visual space and can be customized to fit any wall area.
Materials You Will Need
Before you begin your DIY project, gather the necessary materials. Here’s a list of what you’ll need:
- Wooden boards (choose a type of wood that complements your interior decor)
- Wall brackets or hidden shelf brackets
- Screws and anchors
- A drill and screwdriver
- Sandpaper
- Wood stain or paint (optional)
- Measuring tape
- Level
- Plants and pots
Step-by-Step Guide to Making Floating Planter Shelves
Step 1: Plan Your Design
Start by deciding on the number of shelves you want and their placement on the wall. Consider the size and number of plants you plan to display. Use a measuring tape to mark where each shelf will go, ensuring that they are evenly spaced and level.
Step 2: Prepare the Wooden Boards
Cut the wooden boards to your desired length. Sand the edges and surfaces to remove any rough patches. If you wish to stain or paint the wood, do so now and allow it to dry completely before proceeding.
Step 3: Install the Brackets
Using a drill, attach the wall brackets or hidden shelf brackets to the wall at the marked points. Ensure they are securely fastened, as they will support the weight of the shelves and plants.
Step 4: Mount the Shelves
Place the wooden boards onto the brackets. Use a level to ensure they are straight and adjust as necessary. Secure the boards to the brackets using screws.
Step 5: Add Your Plants
Once the shelves are securely in place, arrange your plants on them. Choose a variety of plants with different textures and colors for a visually appealing display. Ensure that the pots are stable and not too heavy for the shelves.
Maintenance Tips for Your Floating Planter Shelves
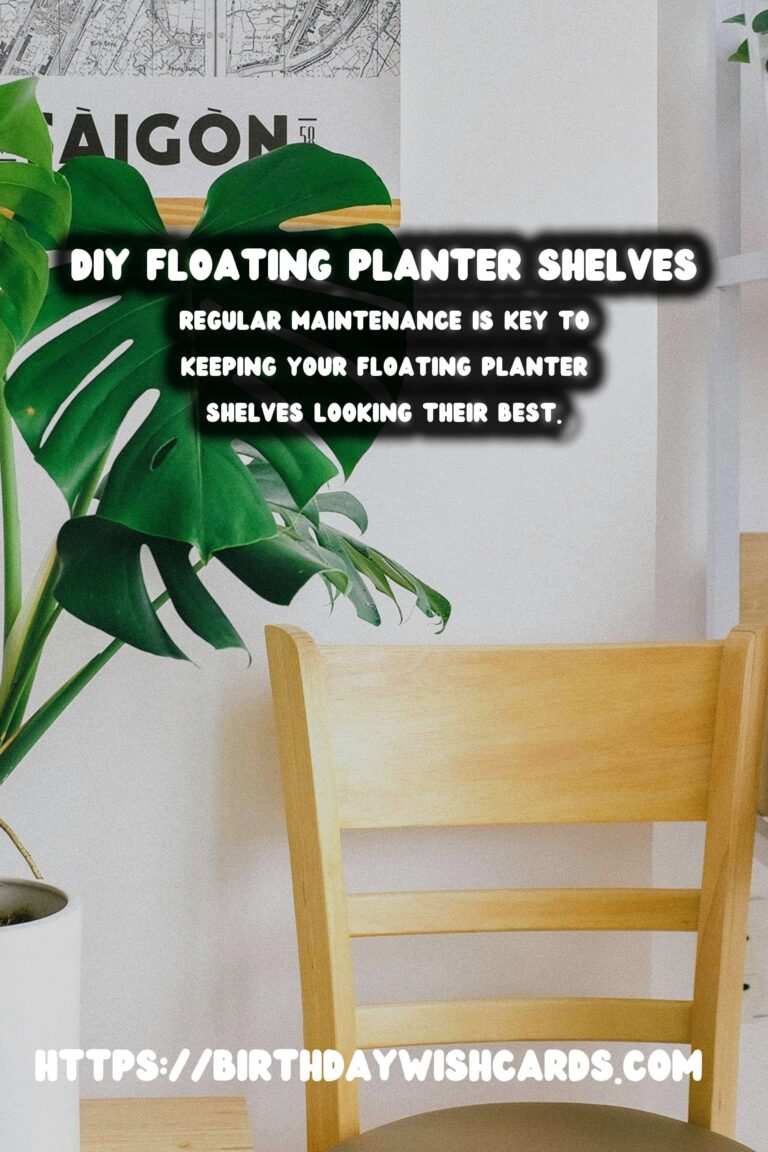
Regular maintenance is key to keeping your floating planter shelves looking their best. Water the plants as needed, and be mindful of any water runoff that could damage the wood. Dust the shelves and leaves regularly to keep them clean and vibrant.
Conclusion
DIY floating planter shelves are an excellent way to bring life into your home while maintaining a minimalist aesthetic. They are easy to make, customizable, and provide a beautiful display for your favorite plants. Whether you’re looking to add a touch of greenery to your living room, bedroom, or office, these shelves are sure to make a statement.
DIY floating planter shelves offer a minimalist way to incorporate plants into your decor. Floating planter shelves provide the illusion of plants floating in mid-air. Gather the necessary materials such as wooden boards, brackets, and plants before starting your project. These shelves are customizable and perfect for small spaces. Regular maintenance is key to keeping your floating planter shelves looking their best. 

#DIY #FloatingShelves #MinimalistDecor #HomeImprovement #PlantLovers