Creating your own concrete coasters with a photo transfer technique is an exciting way to personalize your home decor. This DIY project is not only fun but also allows you to showcase your favorite images in a functional way. Whether you’re looking to preserve memories or add a unique touch to your coffee table, these custom coasters serve as perfect conversation starters.
Materials Needed for DIY Concrete Coasters
To get started with making your own concrete coasters, you will need the following materials:
- Concrete mix
- Water
- Mixing bowl
- Square or round silicone molds
- Sandpaper (medium grit)
- Mod Podge or gel medium
- Laser-printed photos
- Paintbrush
- Sealer (optional)
Step-by-Step Guide to Making Concrete Coasters
Step 1: Mixing the Concrete
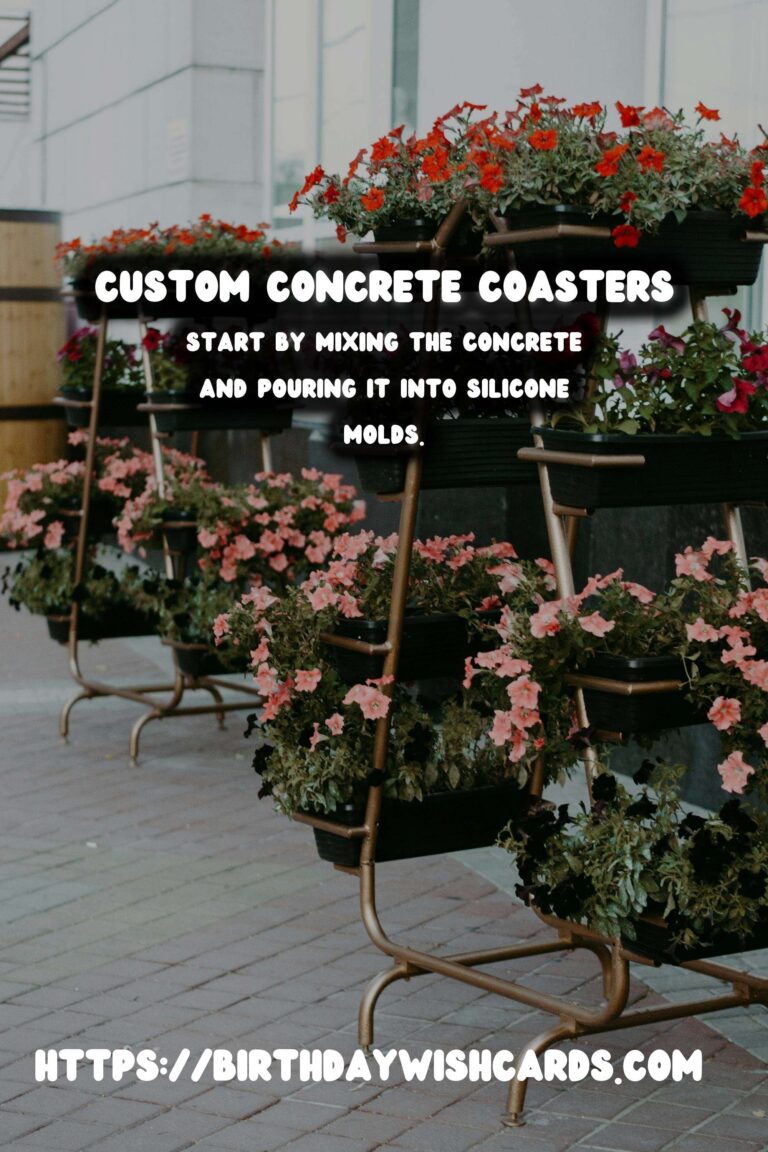
Begin by mixing the concrete according to the instructions on the package. Typically, you will need to add water to the dry mix and stir until you achieve a pancake batter-like consistency. Make sure there are no lumps for a smooth finish.
Step 2: Pouring into Molds
Once your concrete is mixed, pour it into your chosen silicone molds. Tap the molds gently on a flat surface to remove any air bubbles. Allow the concrete to set for at least 24 hours or until fully cured.
Step 3: Sanding the Edges
After the concrete is fully set, remove the coasters from the molds. Use medium-grit sandpaper to smooth out any rough edges or surfaces. This step is crucial for achieving a professional look.
Step 4: Preparing the Photos
Select the photos you wish to transfer onto the coasters. Remember, they should be laser printed for the best results. Cut them to fit the size of your coasters.
Step 5: Photo Transfer
Apply a generous layer of Mod Podge or gel medium onto the surface of the coaster where the photo will be placed. Carefully position your photo face down on the surface and press it firmly. Allow it to dry overnight for the best results.
Step 6: Revealing the Image
Once the medium is completely dry, use a damp cloth to gently rub away the paper backing. This process will reveal the transferred image on the concrete coaster. Be patient and careful to avoid removing the image itself.
Step 7: Sealing the Coasters
To protect your coasters and enhance their durability, apply a sealant over the image. This also adds a nice sheen to the finished product. Allow the sealant to dry completely before using the coasters.
Tips for Successful Photo Transfer
For the best results, ensure your photos are printed with a laser printer, as inkjet prints will not transfer as effectively. Additionally, using black and white images can add a chic and timeless appeal. If you’re using colored images, make sure they have high contrast to stand out against the concrete.
Creative Ideas for Your Coasters
Get creative with the design of your coasters by experimenting with different shapes, sizes, and photo themes. Consider using family portraits, vacation snapshots, or even abstract art. These personalized coasters make for thoughtful gifts or unique home accents that reflect your personal style.
Conclusion
DIY concrete coasters with photo transfer are a fantastic way to combine creativity with functionality. By following this guide, you can craft beautiful and personalized coasters that add a special touch to your home or make charming gifts for loved ones. Enjoy the process and let your imagination take the lead!
Creating your own concrete coasters with a photo transfer technique is an exciting way to personalize your home decor. This DIY project allows you to showcase your favorite images in a functional way. Start by mixing the concrete and pouring it into silicone molds. Transfer laser-printed photos onto the concrete surface using Mod Podge or gel medium. Seal the finished coasters to protect the images and enhance durability. 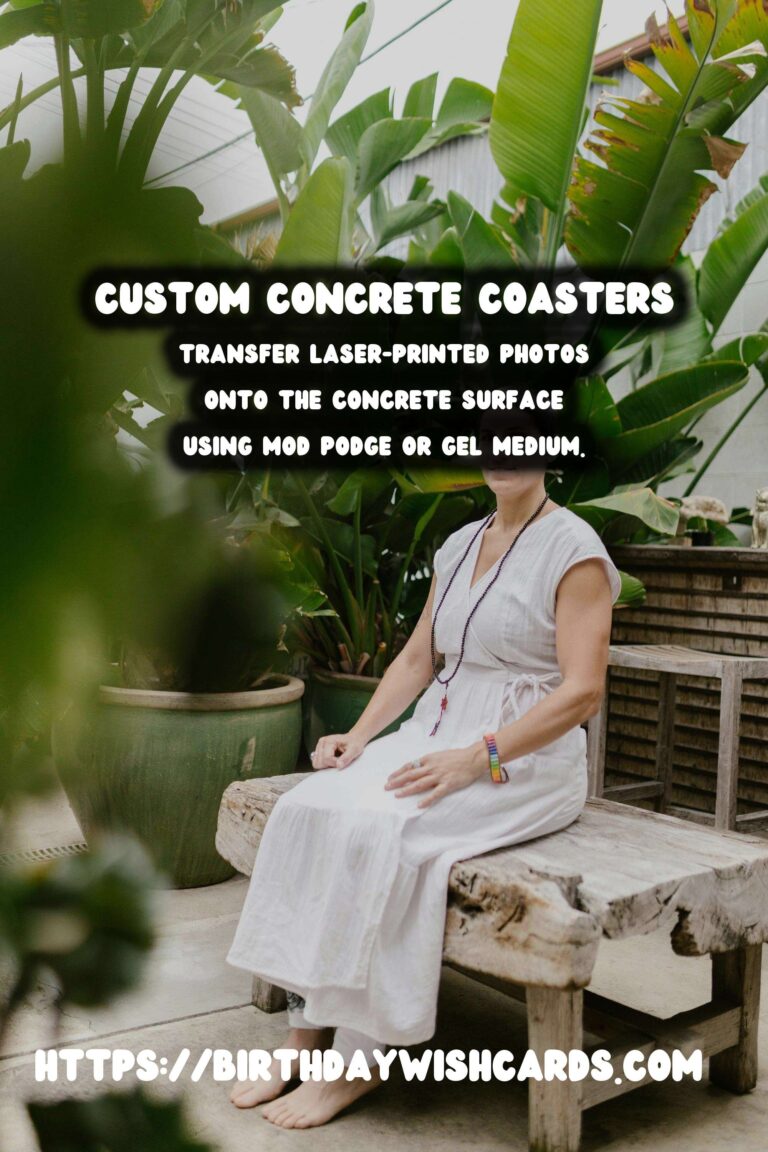


#DIY #ConcreteCoasters #PhotoTransfer #HomeDecor #Crafts