
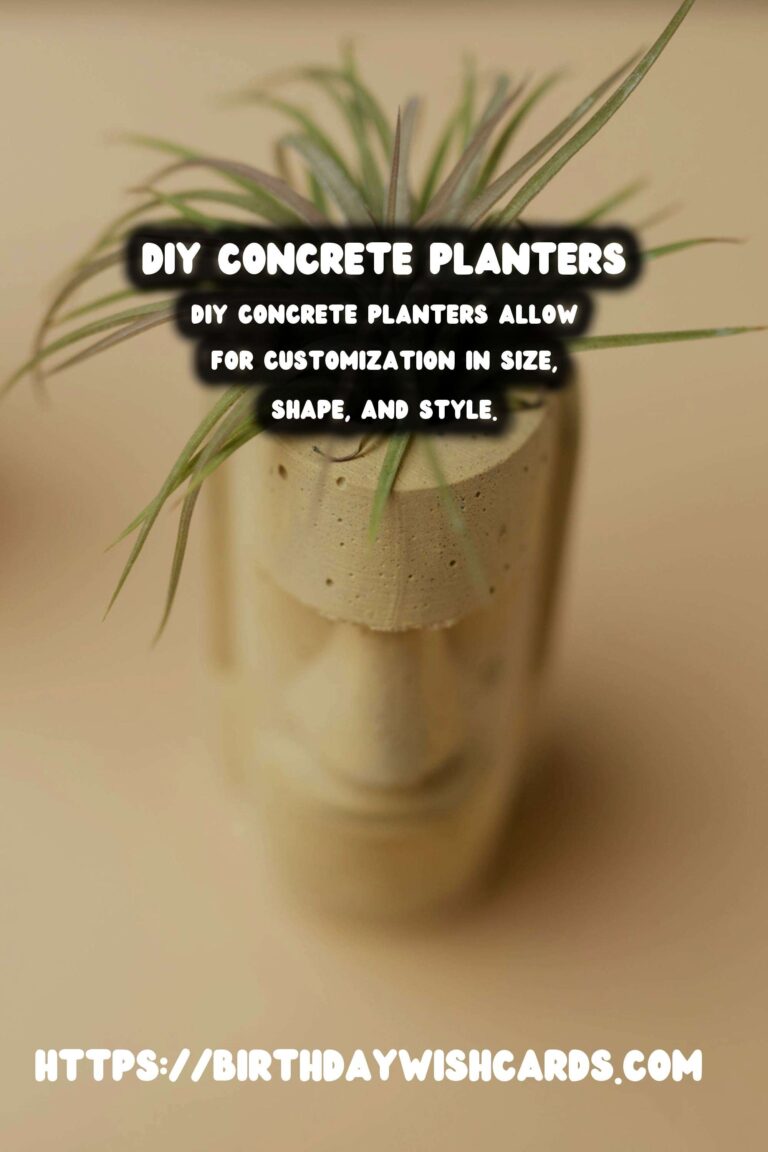
Concrete planters have become a popular choice for enhancing outdoor spaces due to their durability and modern aesthetic. Making your own concrete outdoor planters is not only a cost-effective solution but also allows you to customize the size, shape, and style to suit your garden’s needs.
Why Choose Concrete Planters?
Concrete planters are known for their strength and longevity. Unlike plastic or wood, concrete can withstand harsh weather conditions, making it an ideal material for outdoor use. Additionally, concrete’s natural, rustic look can complement a variety of garden styles, from contemporary to traditional.
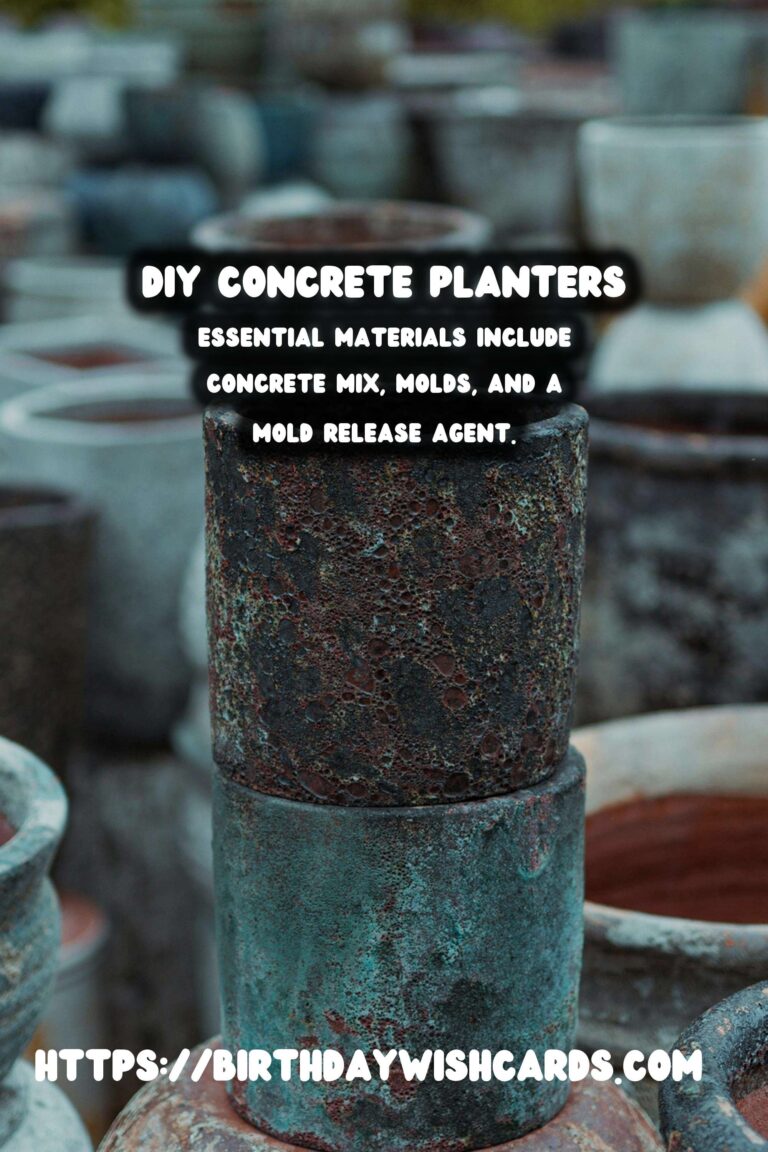
Materials Needed for DIY Concrete Planters
Before you begin, gather the following materials:
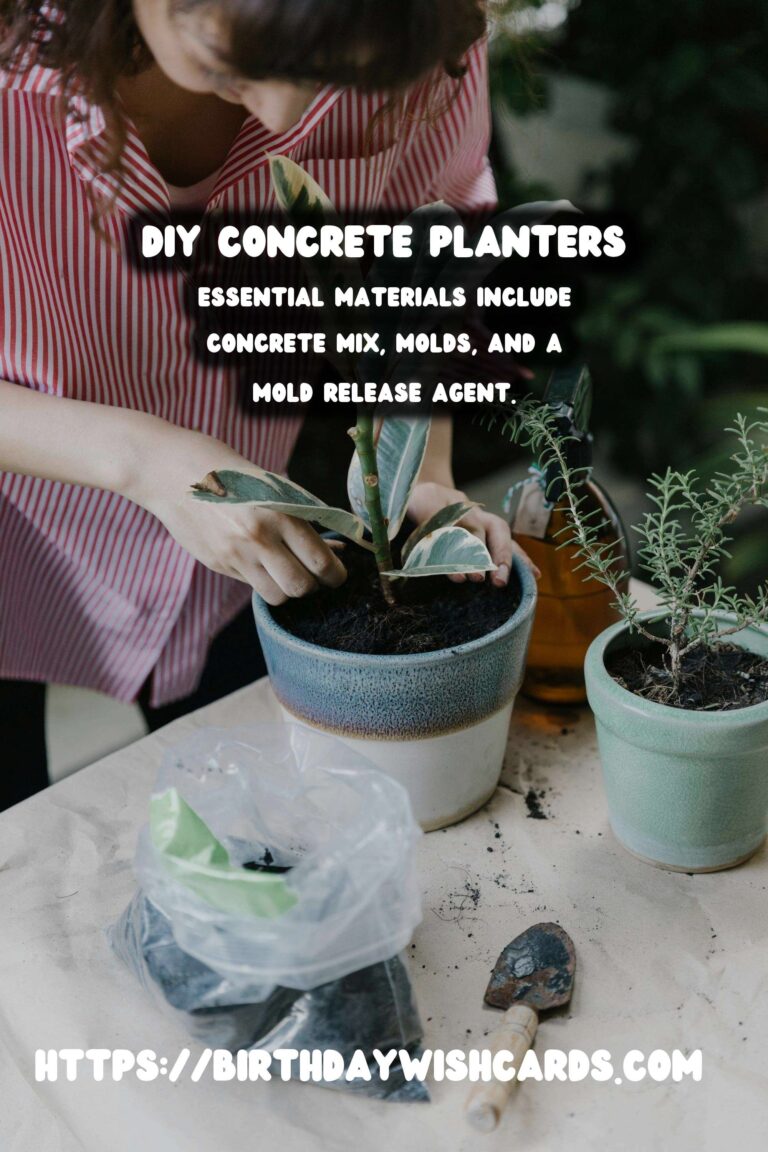
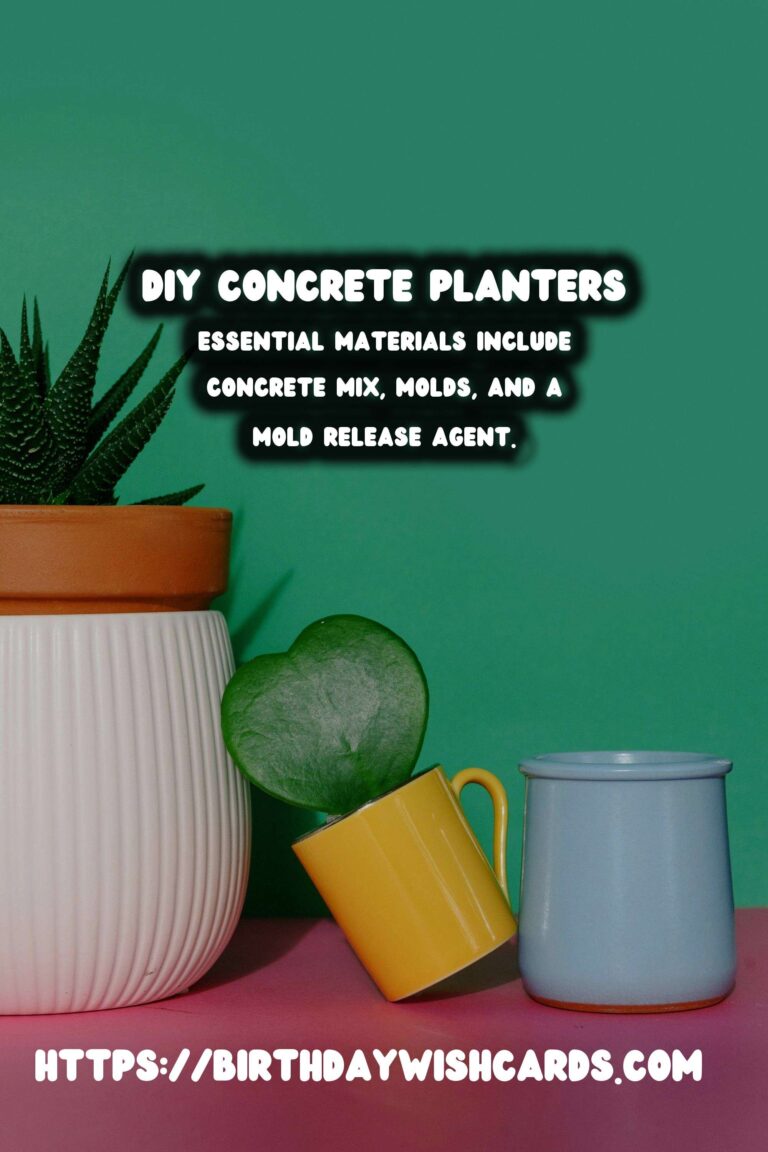
- Concrete mix
- Molds (plastic containers or cardboard boxes)
- Cooking spray or mold release spray
- Water
- Mixing bucket
- Trowel
- Sandpaper
- Paint or sealer (optional)
Step-by-Step Guide to Making Concrete Planters
1. Prepare Your Molds
Start by selecting molds for your planters. These could be any shape or size, depending on your preference. Apply a thin layer of cooking spray or mold release spray to the inside of the molds to ensure easy removal of the concrete once it has set.
2. Mix the Concrete
In a mixing bucket, combine the concrete mix with water according to the package instructions. Stir the mixture until it reaches a thick, oatmeal-like consistency.
3. Pour the Concrete
Pour the concrete mix into the prepared molds. Tap the sides gently to remove any air bubbles and ensure the concrete is evenly distributed.
4. Create Drainage Holes
Insert small sticks or dowels into the bottom of the mold to create drainage holes. This step is crucial to prevent waterlogging when you plant in your new concrete planters.
5. Let the Concrete Set
Allow the concrete to cure for at least 24 to 48 hours. The curing time may vary based on the size of the planter and the weather conditions.
6. Remove the Planters from the Molds
Once the concrete has fully set, carefully remove the planters from their molds. If the planter doesn’t easily come out, gently tap the mold with a mallet.
7. Smooth and Finish
Use sandpaper to smooth out any rough edges on your planters. If desired, you can paint or seal your planters to add color or enhance durability.
Creative Ideas for Your Concrete Planters
Once your planters are complete, consider these creative ideas to make them stand out:
- Paint them in bold colors for a vibrant garden display.
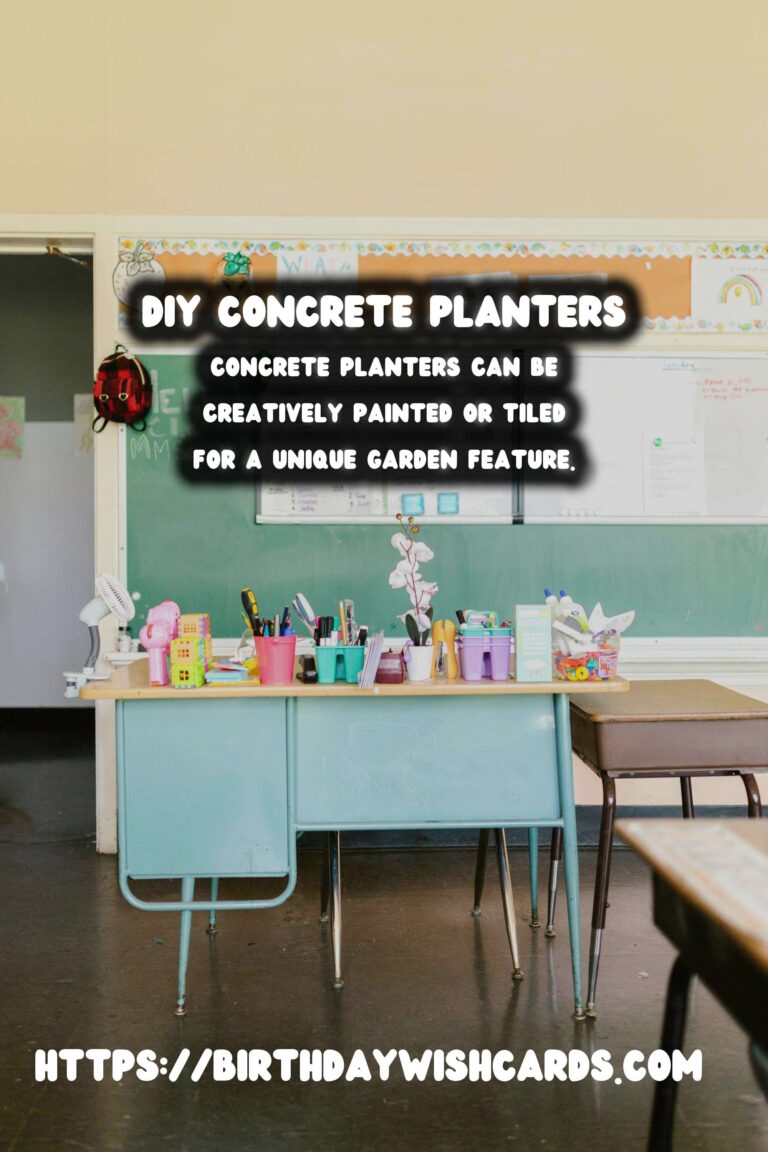
- Add mosaic tiles for a unique, artistic touch.
- Experiment with different shapes and sizes for a layered look.
- Incorporate them into a vertical garden or as part of a garden border.
Maintaining Your Concrete Planters
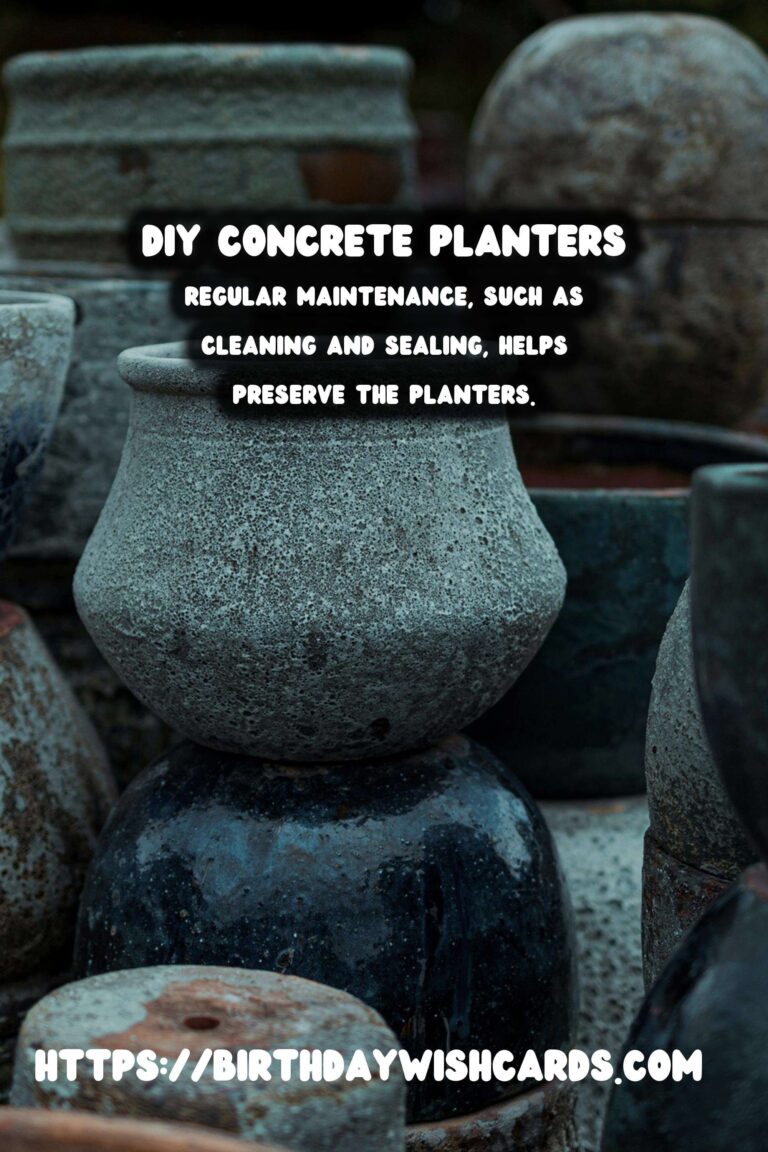
To keep your concrete planters looking their best, periodically clean them with a mild detergent and water. If you painted or sealed the planters, check the finish annually and reapply as necessary to maintain protection against the elements.
Conclusion
Creating your own DIY concrete outdoor planters is a rewarding project that enhances your garden’s appeal. With the right materials and a bit of creativity, you can craft beautiful, durable planters that will last for years to come.
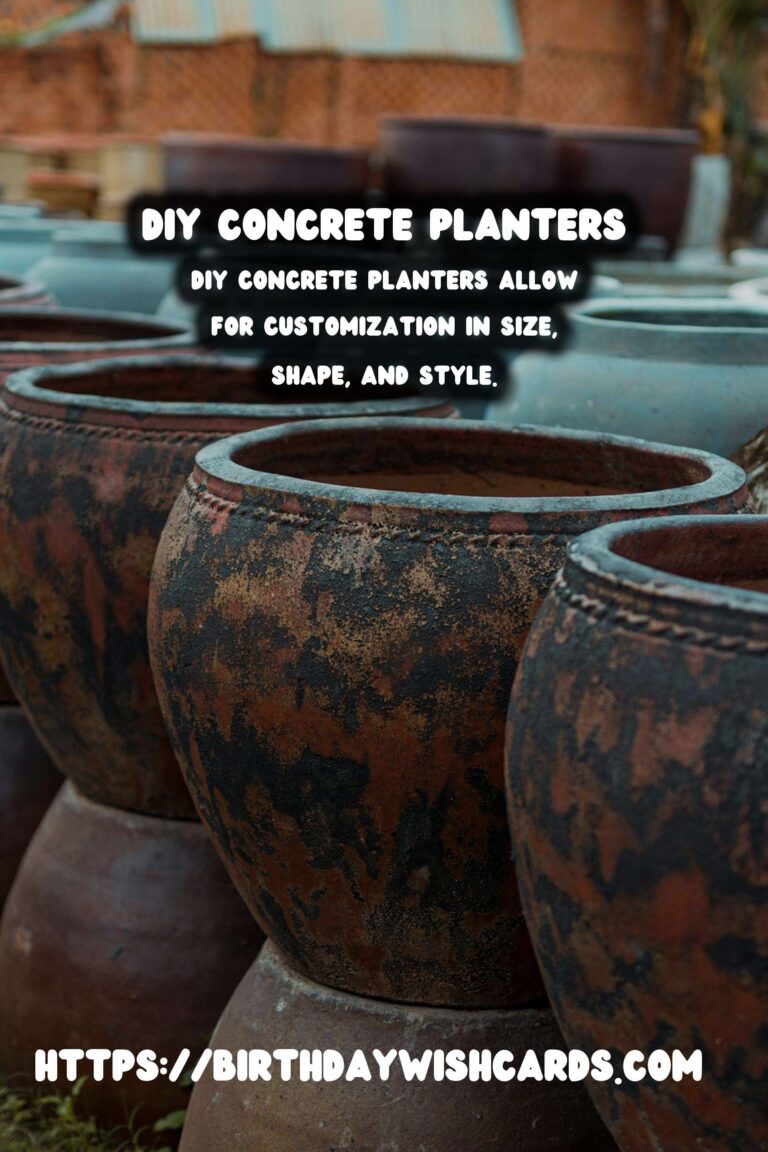
Concrete planters are durable and weather-resistant, making them ideal for outdoor use. DIY concrete planters allow for customization in size, shape, and style. Essential materials include concrete mix, molds, and a mold release agent. Concrete planters can be creatively painted or tiled for a unique garden feature. Regular maintenance, such as cleaning and sealing, helps preserve the planters. 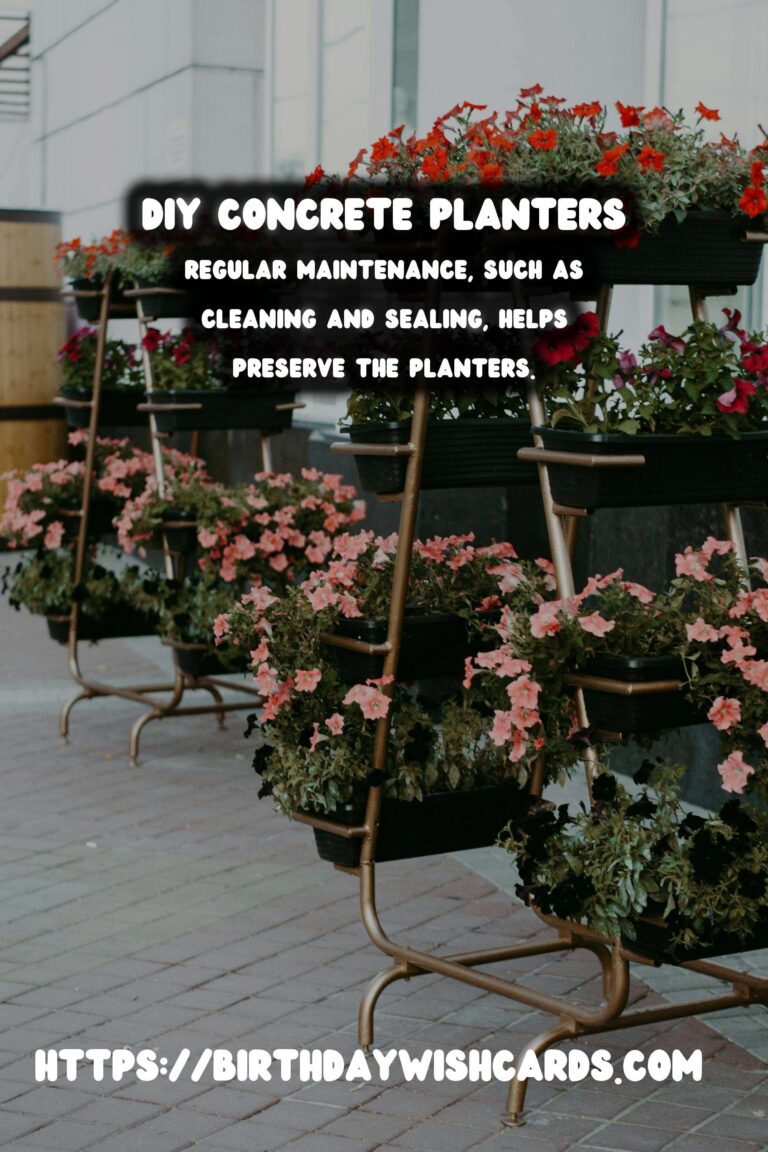
#ConcretePlanters #DIYGarden #OutdoorDecor #Gardening


