
Creating a balcony garden can be a refreshing addition to any home, especially when space is limited. One of the most effective ways to enhance the beauty of your balcony garden is by using concrete planters. These planters are not only durable but also lend a modern aesthetic to your outdoor space. In this article, we will guide you through the process of making DIY concrete planters, ensuring your balcony garden stands out.
Why Choose Concrete Planters?
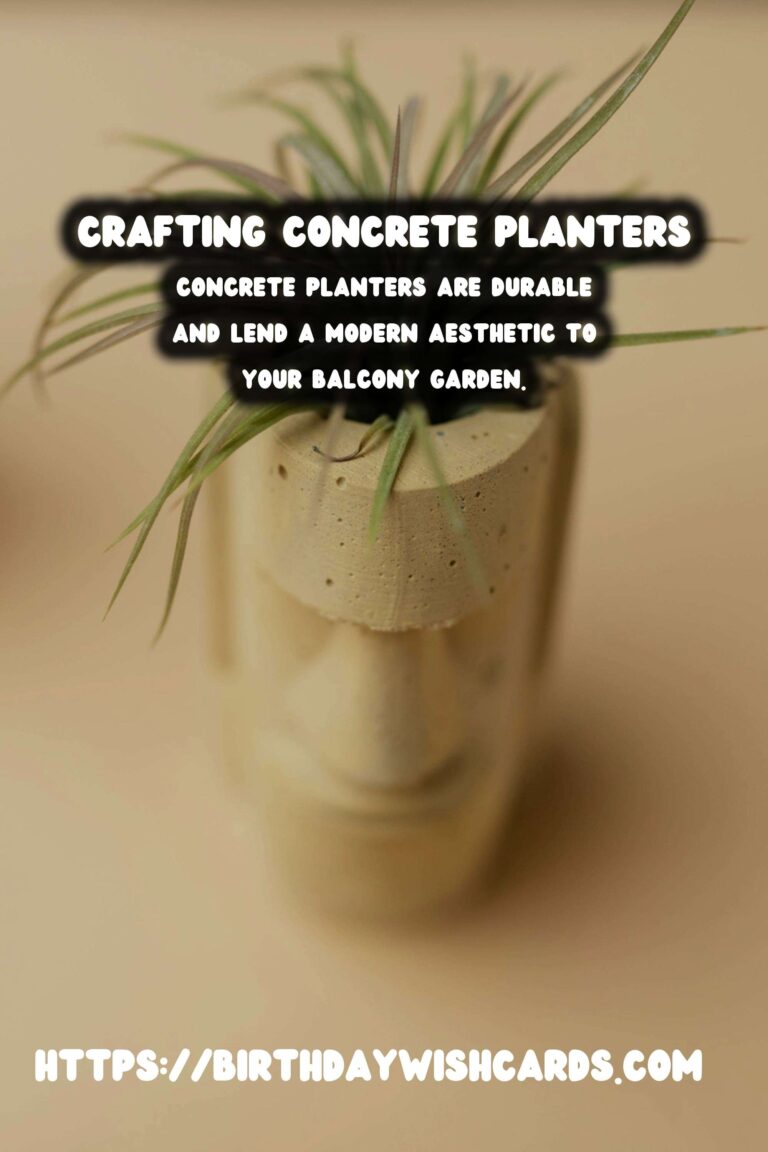
Concrete planters are a popular choice for balcony gardens due to their robustness and versatility. Unlike plastic or ceramic, concrete can withstand various weather conditions, making it ideal for outdoor settings. Additionally, the neutral color of concrete complements any plant, providing a clean and contemporary look.
Materials Needed for DIY Concrete Planters
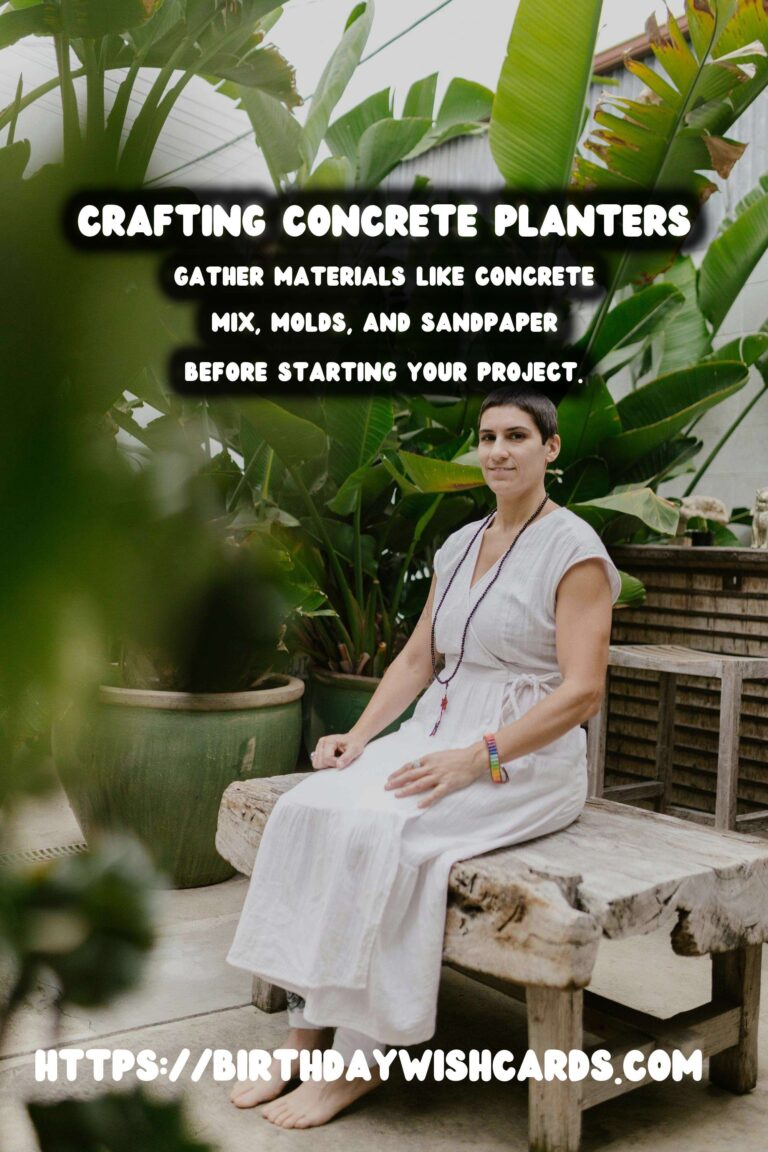
Before starting your project, gather the following materials:
- Concrete mix
- Water
- Molds (can be plastic containers, cardboard, or silicone molds)
- Cooking spray or mold release spray
- Sandpaper
- Paint or sealer (optional)
Step-by-Step Guide to Making Concrete Planters
Step 1: Prepare the Molds
Choose the right molds based on the size and shape of the planters you want. Apply a light coating of cooking spray or mold release spray inside the molds to ensure easy removal of the concrete.
Step 2: Mix the Concrete
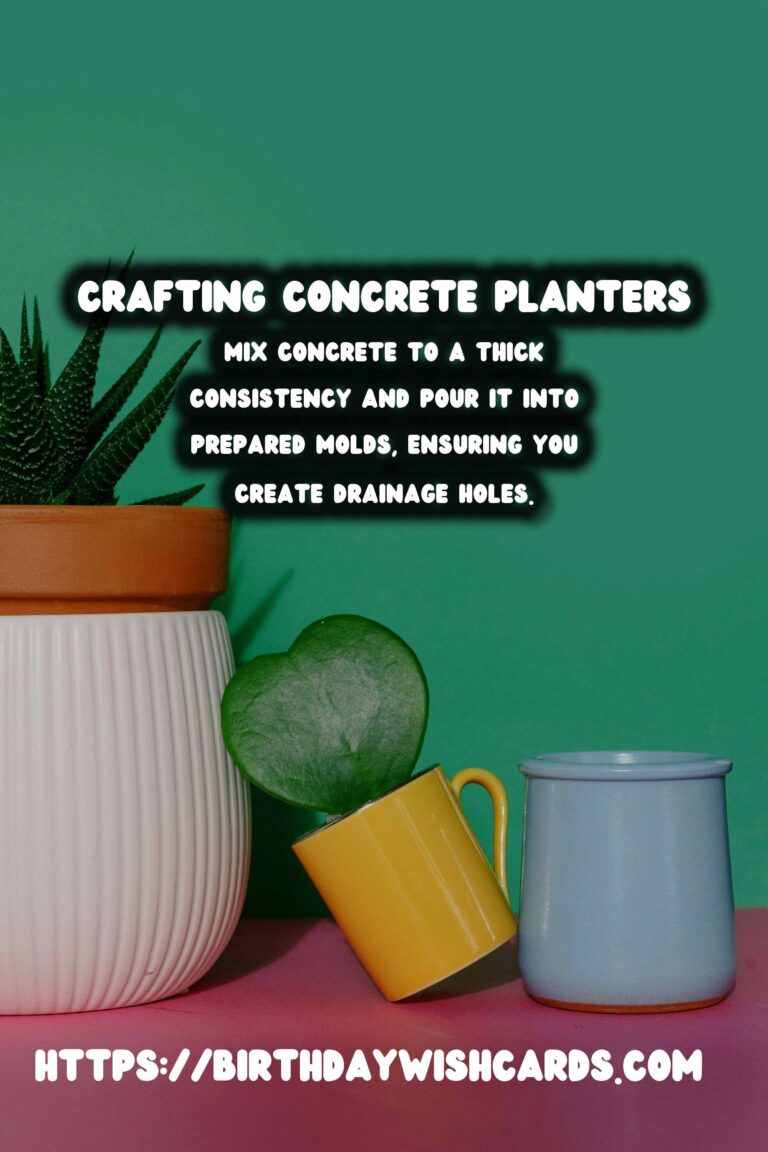
Follow the instructions on the concrete mix package. Generally, you will need to mix the concrete with water until it reaches a thick, oatmeal-like consistency. Be sure to mix thoroughly to avoid lumps.
Step 3: Pour the Concrete
Carefully pour the concrete mixture into the molds. Tap the sides of the molds gently to remove any air bubbles, ensuring a smooth finish.
Step 4: Create Drainage Holes
Once the concrete is poured, insert a small tube or straw into the center of the planter to create a drainage hole. This step is crucial for plant health.
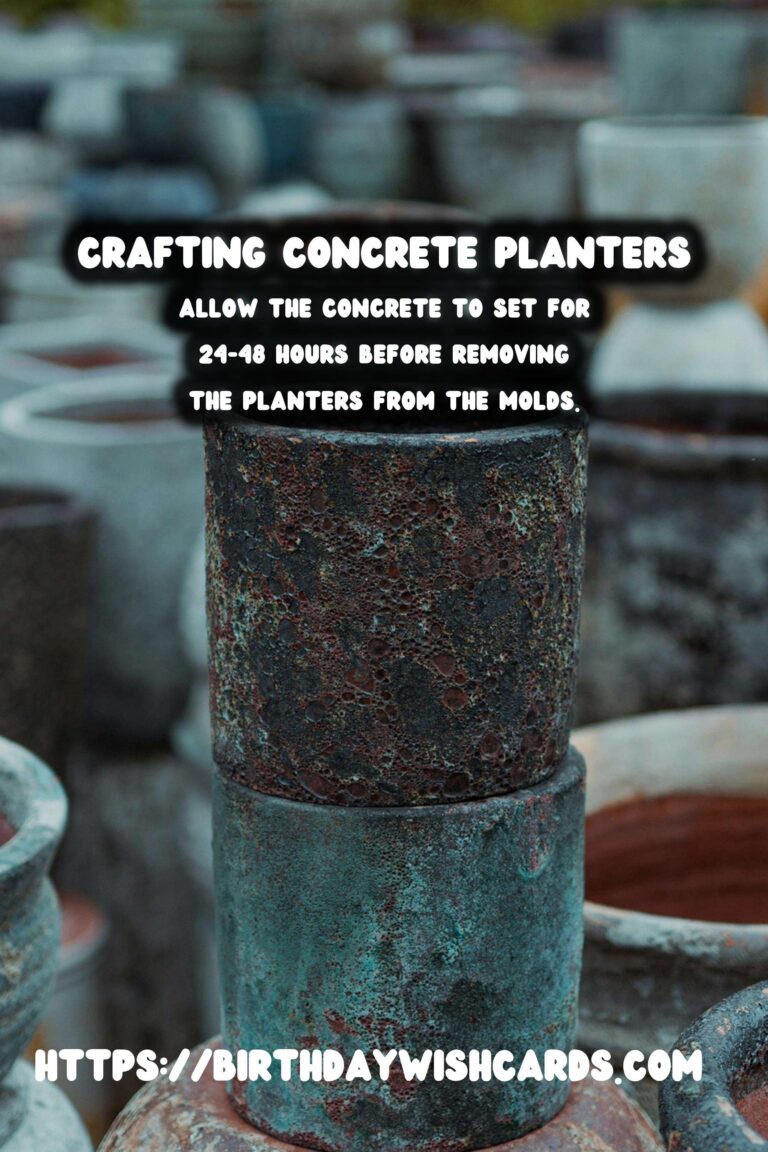
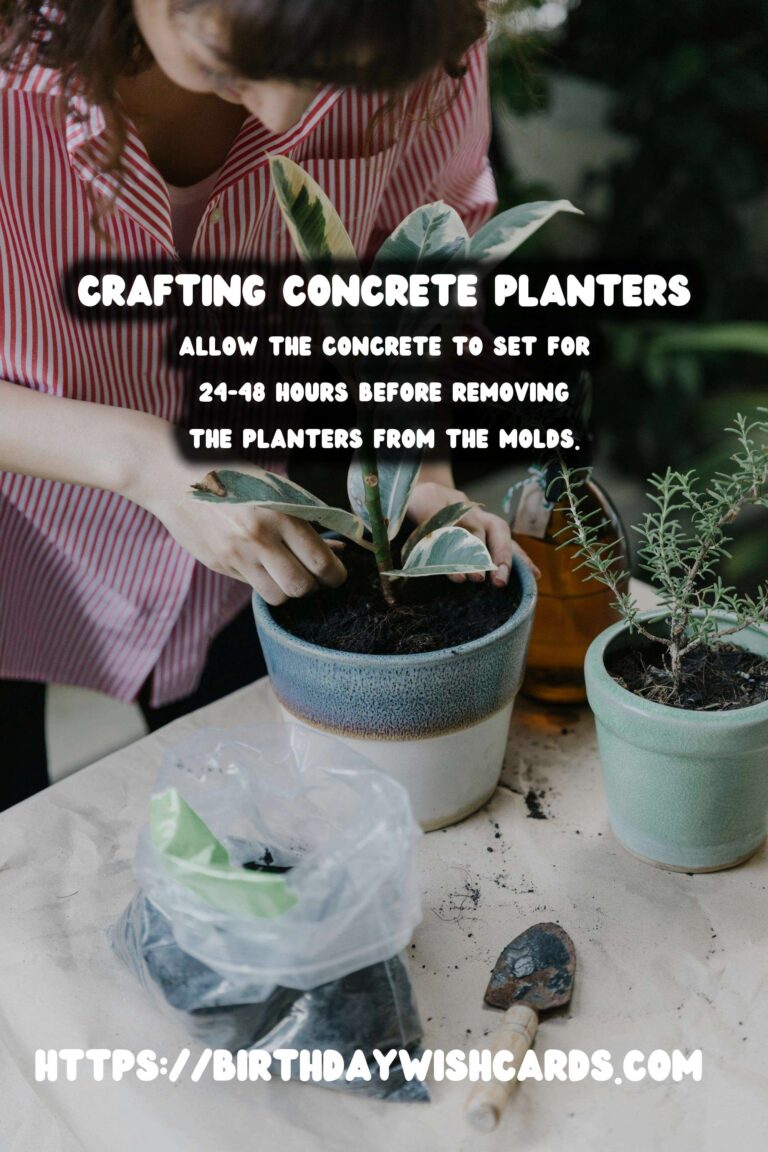
Step 5: Let the Concrete Set
Allow the concrete to set for at least 24 to 48 hours. The drying time may vary based on the size and thickness of the planters.
Step 6: Remove the Planters from the Molds
Once the concrete has fully set, carefully remove the planters from their molds. If needed, use sandpaper to smooth any rough edges.
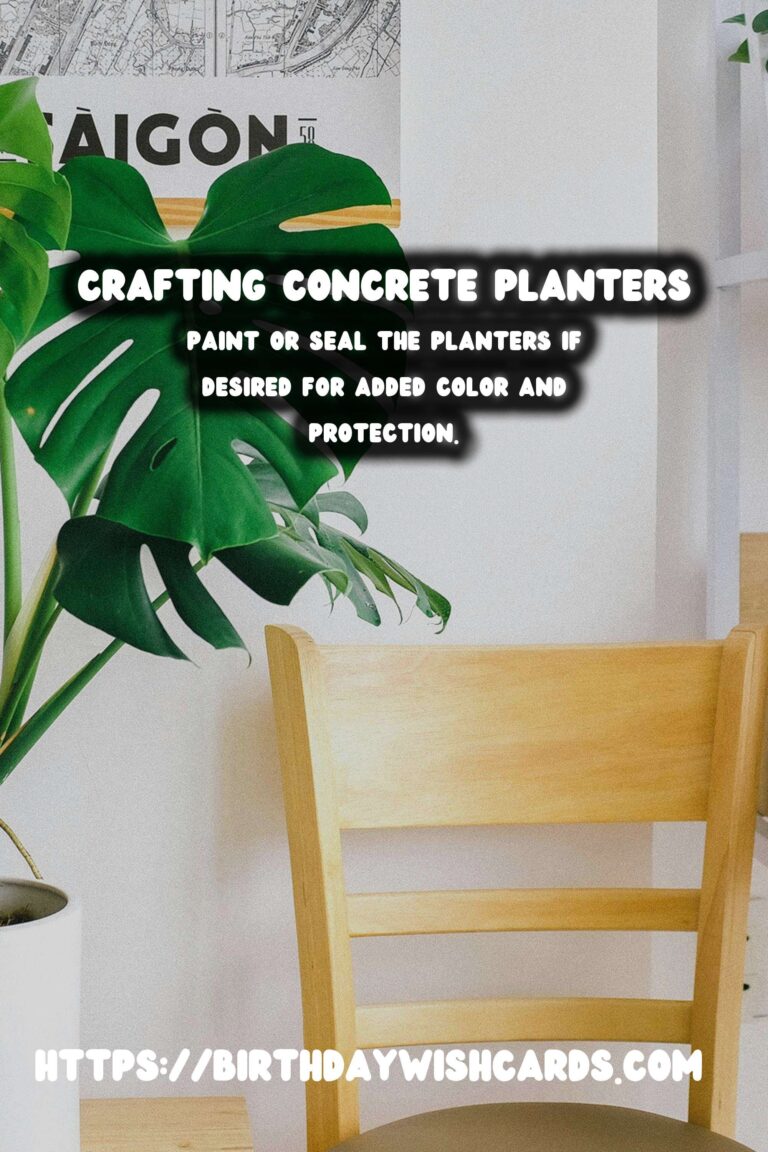
Step 7: Add Finishing Touches
If desired, paint or seal your concrete planters to add a splash of color or to protect them from the elements.
Tips for a Thriving Balcony Garden
Now that you have your concrete planters ready, here are some tips to ensure your balcony garden flourishes:
- Choose plants that thrive in the amount of sunlight your balcony receives.
- Ensure proper drainage to prevent waterlogging.
- Group plants with similar water and light needs together.
- Regularly check for pests and diseases.
Conclusion
DIY concrete planters are a creative and functional addition to any balcony garden. Not only do they allow you to customize the size and shape of your planters, but they also offer durability and a modern aesthetic. Follow the steps outlined above to create your own concrete planters and enjoy a lush, green balcony garden.
Concrete planters are durable and lend a modern aesthetic to your balcony garden. Gather materials like concrete mix, molds, and sandpaper before starting your project. Mix concrete to a thick consistency and pour it into prepared molds, ensuring you create drainage holes. Allow the concrete to set for 24-48 hours before removing the planters from the molds. Paint or seal the planters if desired for added color and protection. 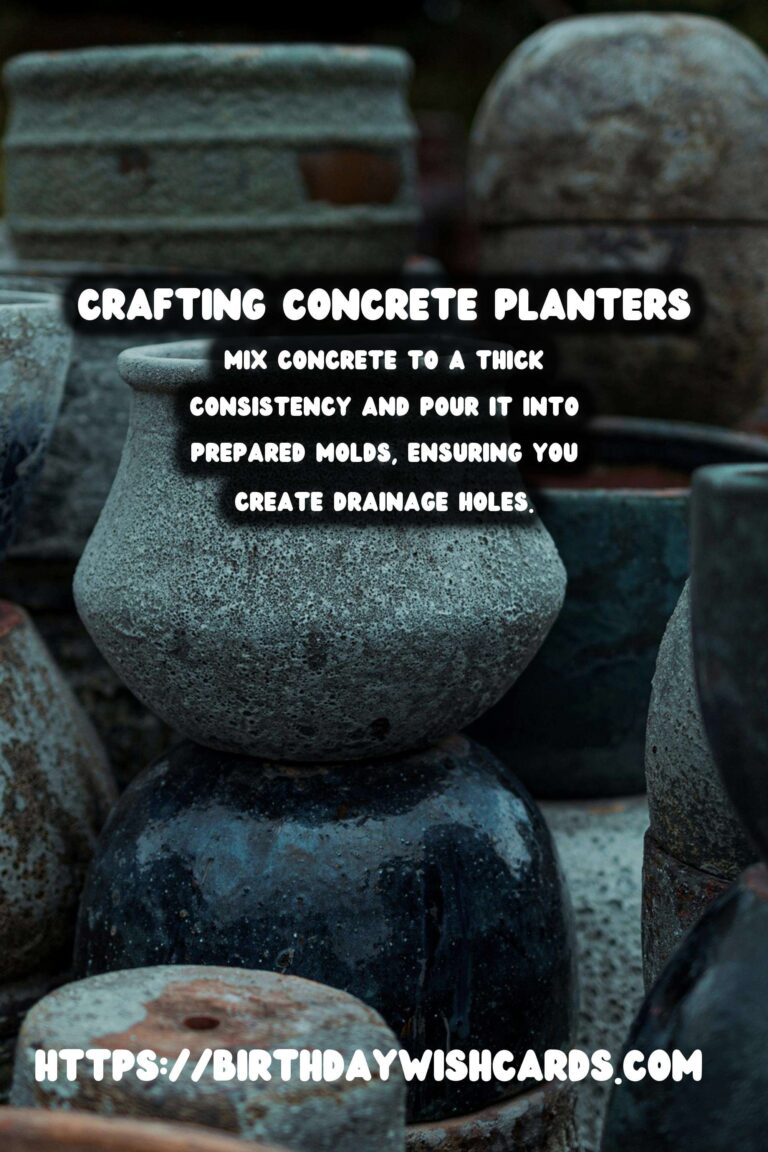


#DIY #ConcretePlanters #BalconyGarden #Gardening #HomeDecor


