

Concrete trays have become an increasingly popular choice in home decor. Their sleek, modern look combined with their functional utility makes them a perfect addition to any room. Whether you’re looking to add a touch of industrial charm to your living space or create a unique piece of art, DIY concrete trays offer a versatile solution. In this article, we will explore the benefits of concrete trays, provide a step-by-step guide on how to create your own, and offer creative ideas for incorporating them into your home decor.
Why Choose Concrete Trays for Your Home?
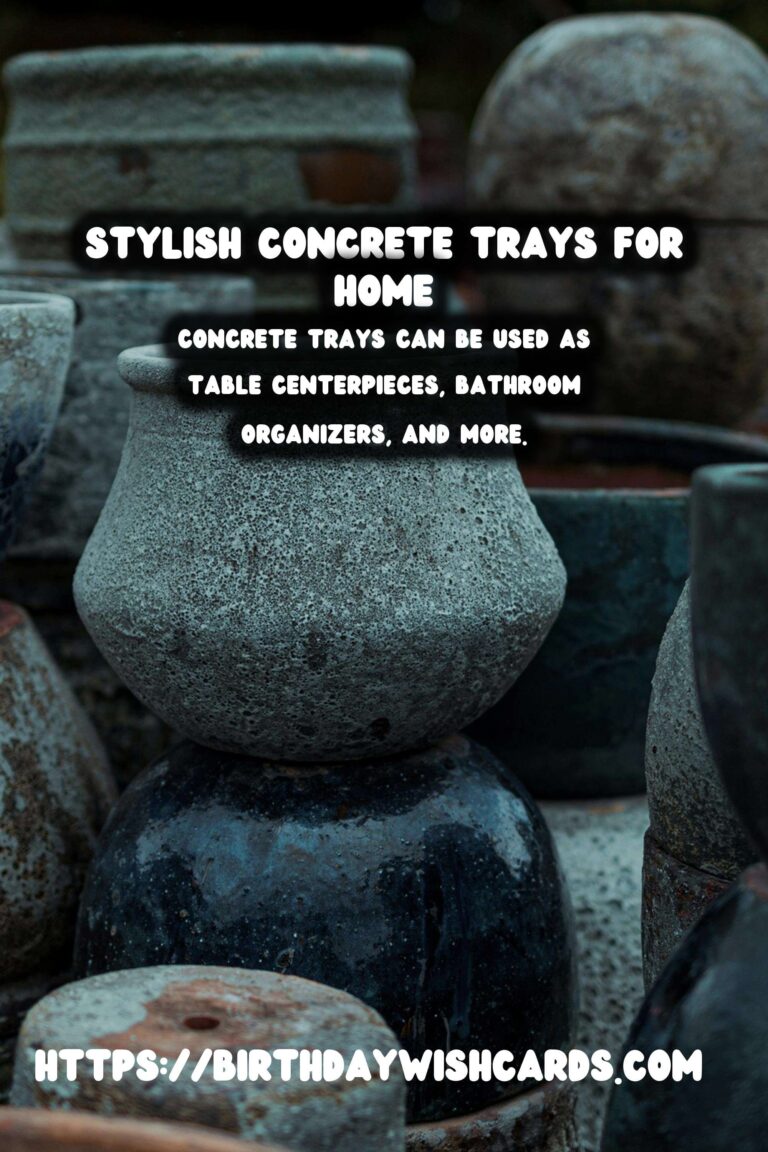
Concrete trays are not only aesthetically pleasing but also incredibly durable. The material’s robustness makes it ideal for everyday use, ensuring longevity and resistance to wear and tear. Furthermore, their neutral color palette complements a wide range of home decor styles, from minimalistic to rustic.
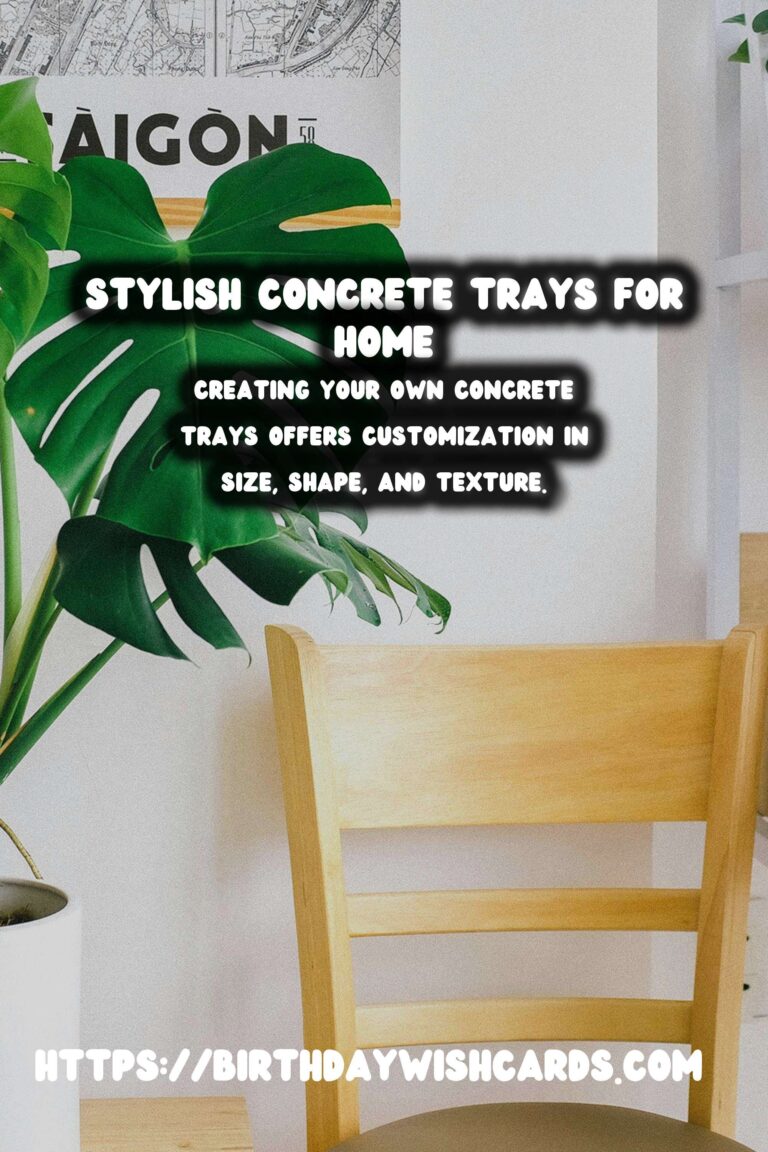
Moreover, creating your own concrete trays allows for customization in terms of size, shape, and texture. This DIY project is an excellent opportunity to express your creativity and craft a piece that perfectly fits your decor needs.
Materials Needed for DIY Concrete Trays
Before you start, gather the necessary materials:
- Concrete mix
- Water
- A mixing container
- A mold (silicone molds work best)
- Sandpaper
- Sealant (optional)
- Decorative elements (optional, such as pigments or gold leaf)
Step-by-Step Guide to Making Concrete Trays
Step 1: Prepare the Mold
Select a mold that aligns with your desired tray design. Silicone molds are recommended due to their flexibility, which makes unmolding easier. Ensure the mold is clean and dry before use.
Step 2: Mix the Concrete
In a mixing container, combine the concrete mix with water according to the package instructions. Stir until you achieve a smooth, pourable consistency. For a unique look, consider adding pigments to the mixture.
Step 3: Pour the Concrete
Carefully pour the concrete into the mold. Gently tap the sides to remove air bubbles, which can affect the finished product’s integrity and appearance. Smooth the surface with a spatula if necessary.
Step 4: Allow to Cure
Let the concrete cure for at least 24 hours. This process is crucial for achieving strength and durability. Avoid moving the mold during this time to prevent cracks or imperfections.
Step 5: Unmold and Finish
Once cured, gently remove the tray from the mold. Use sandpaper to smooth any rough edges or surfaces. If desired, apply a sealant to enhance the tray’s durability and give it a polished finish.
Creative Ideas for Using Concrete Trays in Home Decor
Concrete trays are incredibly versatile and can be used in various ways around the home:
- Table Centerpiece: Use a large concrete tray as a base for candles, vases, or seasonal decorations.
- Bathroom Organizer: Keep toiletries and cosmetics neatly arranged on a stylish tray.
- Office Desk Accessory: Organize pens, paper clips, and other small items.
- Kitchen Display: Showcase spices and oils on a durable and sleek surface.
The possibilities are endless, limited only by your creativity.
Conclusion
DIY concrete trays are a fantastic way to combine creativity with functionality. By crafting your own, you can tailor the design to fit your personal style and needs. These trays not only serve practical purposes but also enhance the aesthetic appeal of your home. Start your DIY journey today and transform your space with beautifully crafted concrete trays.
Concrete trays are a stylish and durable addition to any home decor. Creating your own concrete trays offers customization in size, shape, and texture. This DIY project allows you to express creativity and craft unique decor pieces. Concrete trays can be used as table centerpieces, bathroom organizers, and more. Start your DIY journey with concrete trays to enhance your home’s aesthetic appeal. 


#DIY #ConcreteTrays #HomeDecor #Crafting #InteriorDesign


