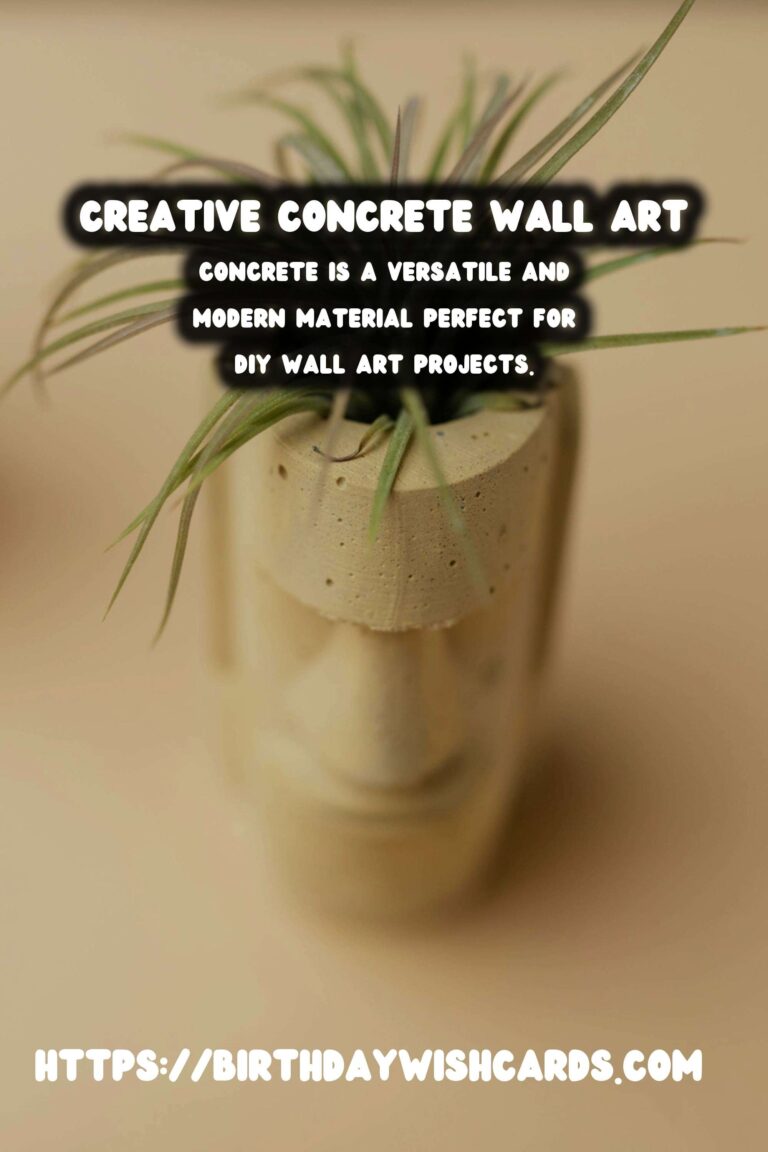
In recent years, concrete has emerged as a popular material not just for construction, but also in the realm of home décor. Its versatility, durability, and modern aesthetic make it an ideal choice for DIY projects. One of the most creative ways to incorporate concrete into your home is through DIY concrete wall art. This guide will walk you through the process of creating stunning wall art using concrete, offering tips, inspiration, and techniques to ensure your project is a success.
Understanding the Basics of Concrete Art
Concrete art might sound daunting at first, but it’s actually quite approachable. The fundamental ingredients for any concrete project are cement, sand, and water. These basic components can be combined in various ratios to create different textures and finishes. For beginners, working with a pre-mixed concrete blend can simplify the process. These mixes are readily available at most hardware stores and are designed to be easy to use for small projects.
Materials You Will Need
To create your own concrete wall art, you will need the following materials:
- Concrete mix
- Water
- Mold or frame
- Mixing tools (bucket, mixer)
- Protective gear (gloves, mask, goggles)
- Paints or stains (optional)
- Sealer (optional)
Having these materials on hand will prepare you for the crafting process and ensure a smooth workflow.
Step-by-Step Guide to Creating Concrete Wall Art
Step 1: Designing Your Art
Before you begin mixing concrete, it’s important to have a clear idea of what you want to create. Sketch your design on paper and consider the size and shape of your final piece. This will help you determine the size of the mold or frame you will need.
Step 2: Preparing the Mold
Once you have your design, prepare your mold. This could be a simple wooden frame or a more complex silicone mold, depending on your design. Make sure the mold is sturdy and coated with a release agent to prevent the concrete from sticking.
Step 3: Mixing the Concrete
Following the instructions on your concrete mix, combine the ingredients in a bucket. Mix until you achieve a smooth, paste-like consistency. Be sure to wear protective gear during this process to avoid inhaling dust or getting cement on your skin.
Step 4: Pouring the Concrete
Carefully pour the mixed concrete into your prepared mold. Use a stick or spatula to spread the mixture evenly and eliminate any air bubbles. Tap the sides of the mold gently to help settle the concrete.
Step 5: Curing the Concrete
Allow the concrete to cure for 24-48 hours. This step is crucial as it allows the concrete to harden fully. Keep the mold in a dry, warm area to facilitate proper curing.
Step 6: Finishing Touches
Once the concrete is fully set, carefully remove it from the mold. Sand any rough edges and consider adding color or texture with paint or stains. If you plan to hang your art outdoors, apply a sealer to protect it from the elements.
Creative Ideas and Inspirations
Concrete wall art offers endless possibilities for creativity. Consider incorporating natural elements like leaves or shells to create imprints, or use stencils to add intricate patterns. You can also experiment with different pigments to add color or blend concrete with other materials like wood or metal for a mixed-media effect.
Conclusion
DIY concrete wall art is a rewarding project that can add a unique and modern touch to any space. With the right materials and a bit of creativity, you can craft stunning pieces that not only reflect your personal style but also showcase the versatility of concrete as an artistic medium. Whether you’re a seasoned DIY enthusiast or a beginner looking to try something new, concrete wall art is a project worth exploring.
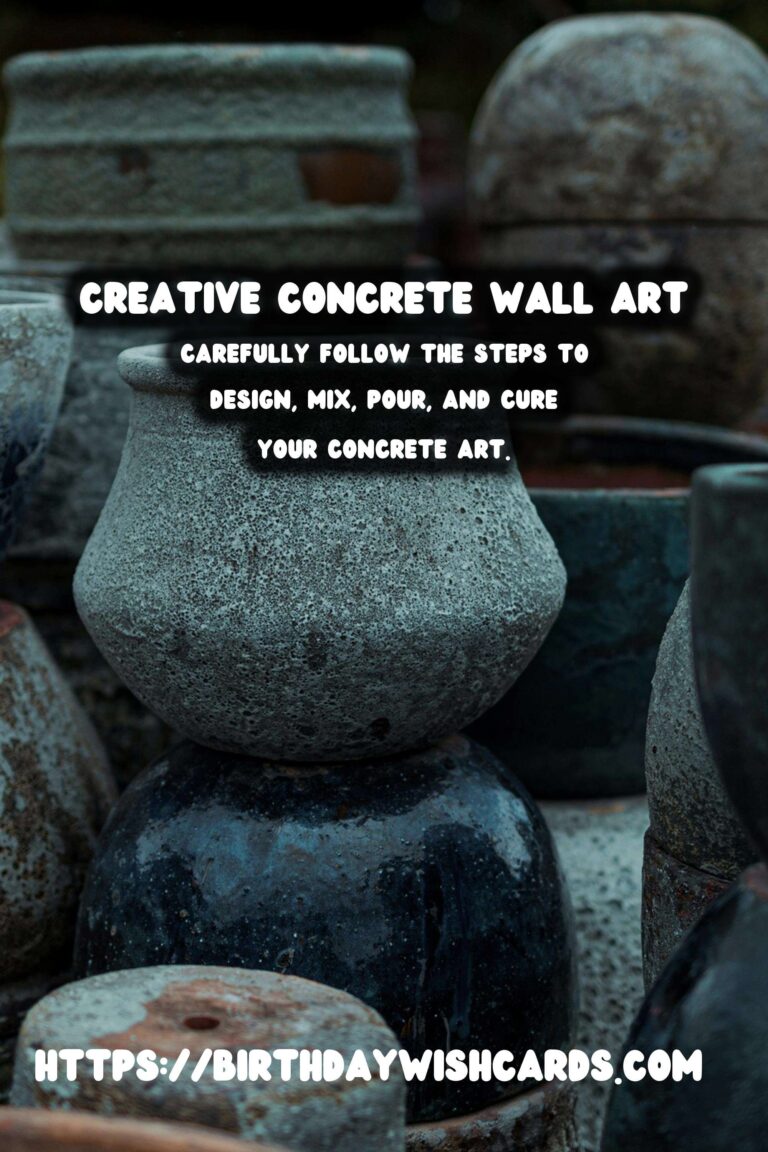
Concrete is a versatile and modern material perfect for DIY wall art projects. You will need basic materials like concrete mix, molds, and mixing tools. Carefully follow the steps to design, mix, pour, and cure your concrete art. Consider adding color, texture, or natural elements to personalize your design. DIY concrete wall art can transform your space with a unique and contemporary aesthetic. 


#DIY #ConcreteArt #WallArt #HomeDecor #Crafting


