
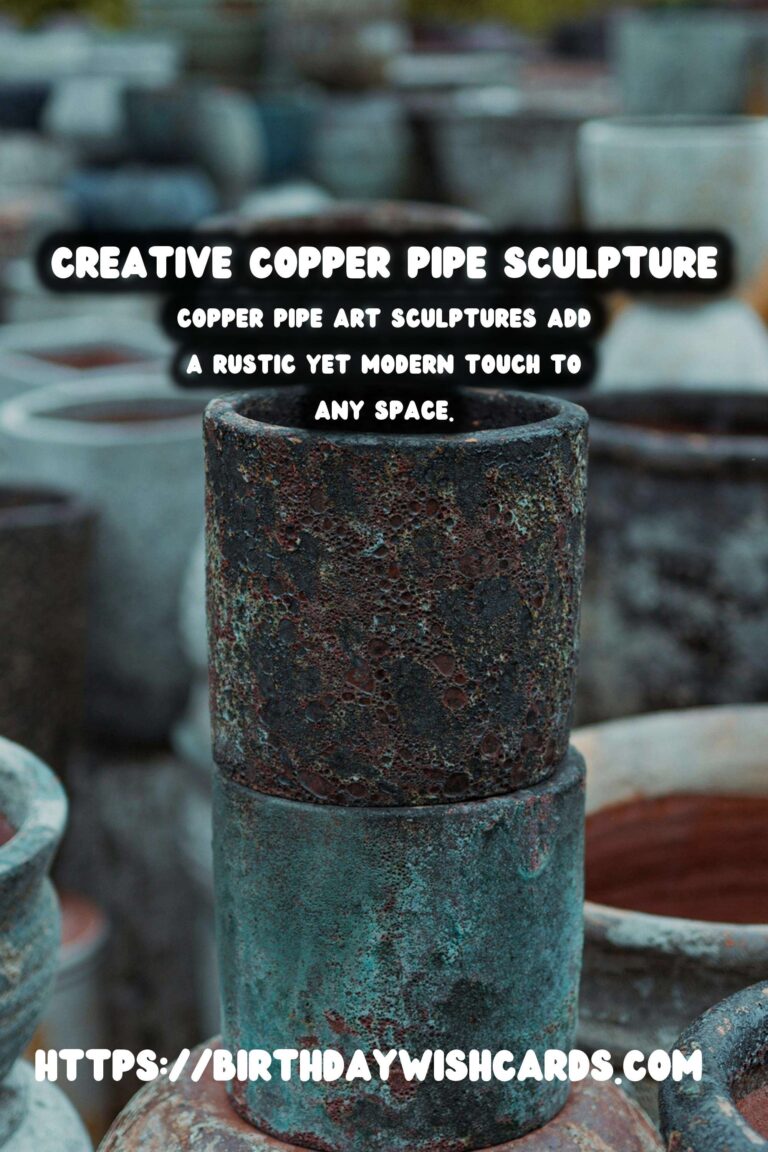
Copper pipe art sculptures have become a popular trend among DIY enthusiasts and professional artists alike. These unique pieces add a rustic yet modern touch to any space, combining the industrial aesthetic of copper with the elegance of artistic design. In this guide, we’ll take you through the process of creating your own copper pipe art sculpture, from gathering materials to finishing touches.
Why Choose Copper for Art Sculptures?
Copper is not only visually appealing, but it also offers versatility in design. Its malleability allows artists to bend and shape it into intricate patterns, while its durability ensures that sculptures withstand the test of time. Additionally, copper’s natural patina develops over time, adding character and depth to your artwork.
Materials Needed for Your Copper Sculpture
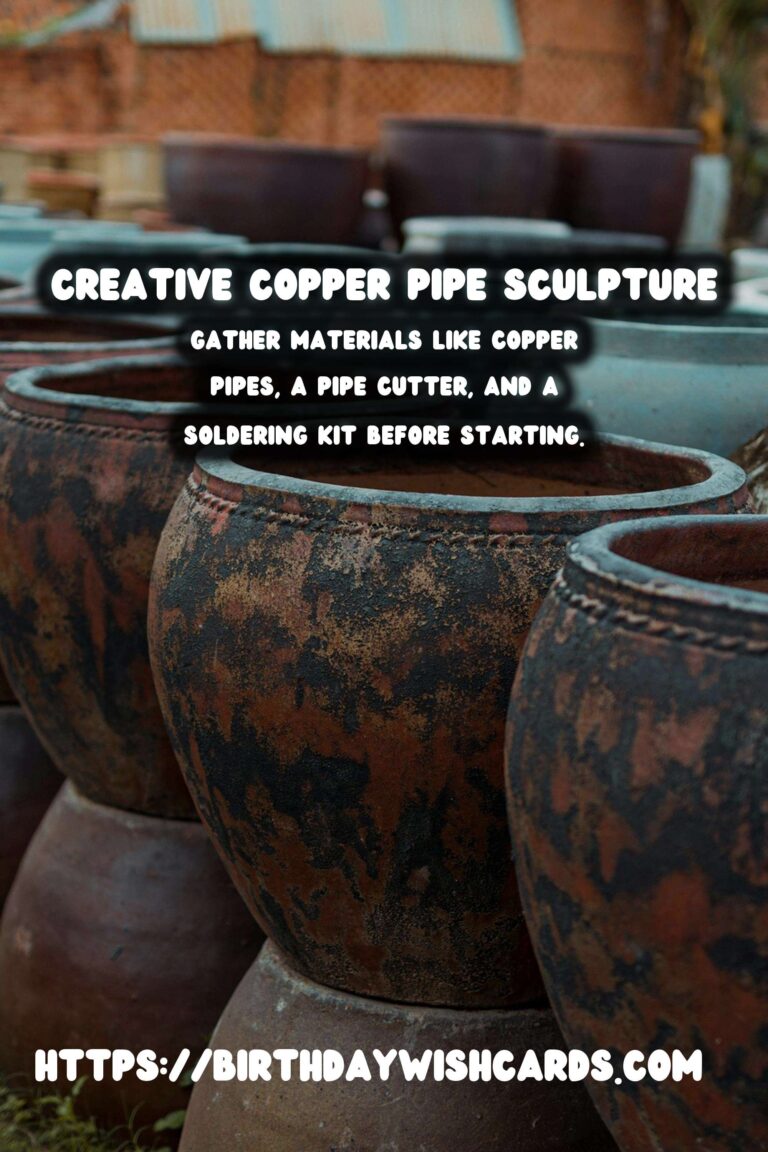
Before starting your project, gather the following materials:
- Copper pipes (various diameters)
- Pipe cutter
- Soldering kit
- Protective gloves and goggles
- Metal file
- Sandpaper
- Measuring tape
- Design sketch (optional)
Step-by-Step Guide to Creating a Copper Pipe Sculpture
Step 1: Design Your Sculpture
Start by sketching your design on paper. Consider the space where the sculpture will be displayed and choose a size and style that complements the environment. Think about how the sculpture will be constructed and identify key components.
Step 2: Cut the Copper Pipes
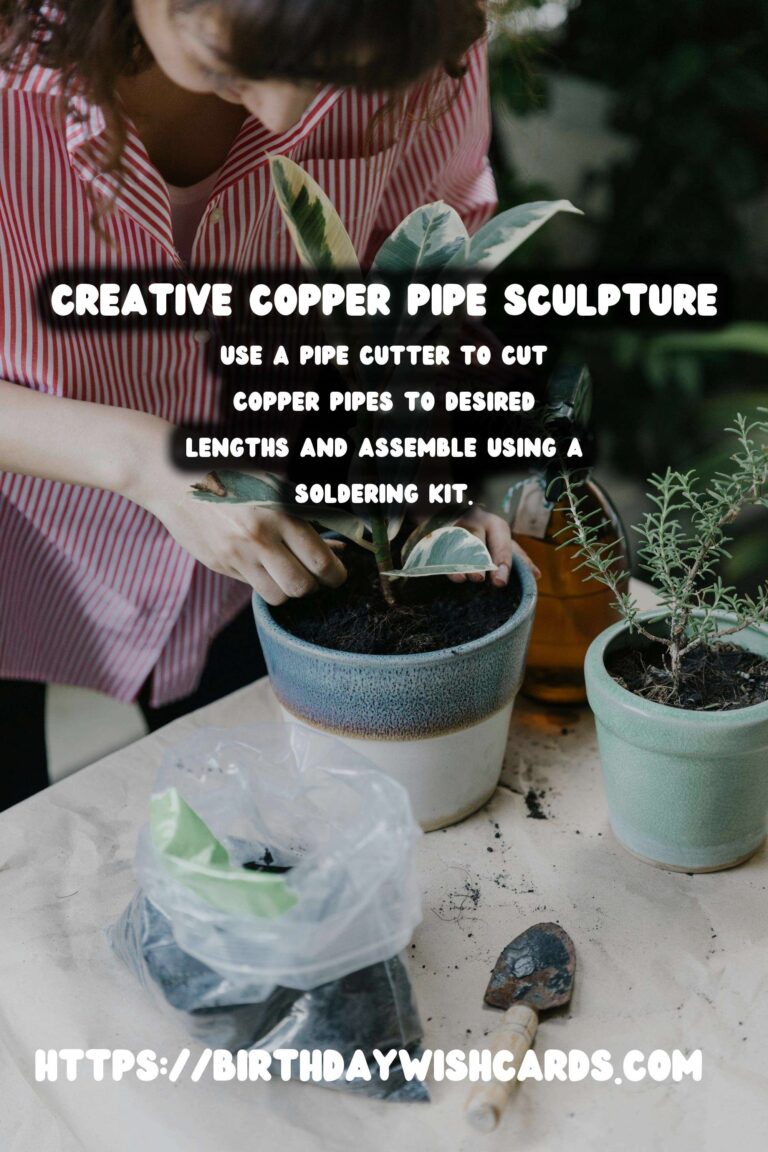
Using a pipe cutter, carefully cut the copper pipes to the desired lengths. Ensure all cuts are clean and smooth using a metal file to remove any burrs.
Step 3: Assemble the Pieces
Begin assembling the pieces according to your design. Use the soldering kit to join sections securely. Always wear protective gloves and goggles during this process to prevent injury.
Step 4: Finishing Touches
Once the sculpture is assembled, use sandpaper to smoothen any rough edges. You can also polish the copper if a shinier finish is desired. Alternatively, leave the natural patina to develop for an antique look.
Displaying Your Copper Sculpture
Choose a location that highlights your sculpture’s unique design. Consider using lighting to enhance the copper’s natural sheen and the sculpture’s intricate details.
Creating a copper pipe art sculpture is a rewarding DIY project that results in a stunning piece of art. With the right materials and a bit of creativity, you can craft a sculpture that is not only a conversation starter but also a testament to your artistic skills.
Copper pipe art sculptures add a rustic yet modern touch to any space. Copper is visually appealing and offers versatility in design. Gather materials like copper pipes, a pipe cutter, and a soldering kit before starting. Design your sculpture considering the space where it will be displayed. Use a pipe cutter to cut copper pipes to desired lengths and assemble using a soldering kit. Finish your sculpture by smoothing rough edges and polishing for shine or allowing natural patina. 


#CopperArt #DIYProjects #ArtSculpture #CopperSculpture #HandmadeArt


