
Creating DIY painted rock garden art is a delightful way to add a splash of color and personality to your outdoor space. This fun and engaging project can be enjoyed by individuals of all ages, making it perfect for families, craft groups, or solo artists looking to express their creativity.
Why Choose Painted Rock Art for Your Garden?
Painted rock art is an excellent addition to any garden due to its versatility and durability. Unlike other garden decorations, painted rocks withstand various weather conditions and require minimal maintenance. Moreover, they provide an opportunity for artistic expression and can be tailored to suit any garden theme or personal aesthetic.
Materials Needed for Painted Rock Art
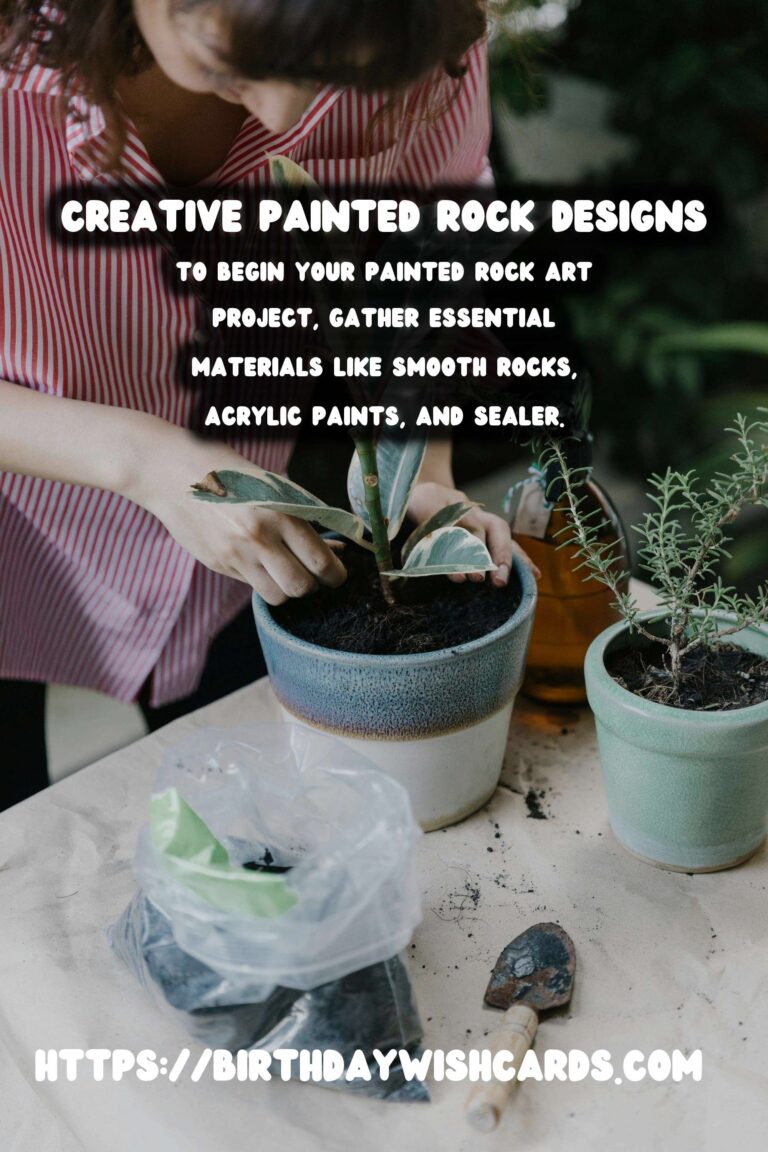
To begin your painted rock art project, gather the following materials:
- Smooth, flat rocks (preferably collected from a reliable source or purchased from a craft store).
- Acrylic paints in various colors.
- Paintbrushes of different sizes, including fine-tipped brushes for detail work.
- Paint markers or pens for intricate designs.
- Sealer or varnish to protect your finished work from the elements.
- A palette or disposable plates for mixing colors.
- Water and cloths for cleaning brushes.
Step-by-Step Guide to Painting Rocks
Step 1: Prepare Your Rocks
Before you start painting, ensure your rocks are clean and dry. Wash them thoroughly to remove any dirt or debris, then let them air dry completely.
Step 2: Plan Your Design
Consider what designs or themes you want to depict on your rocks. You can sketch your ideas on paper or directly onto the rocks with a pencil. Popular themes include flowers, animals, mandalas, or abstract patterns.
Step 3: Base Coat
Apply a base coat of acrylic paint to your rock if you want a solid background color. Allow it to dry before proceeding to the next step.
Step 4: Paint Your Design
Using your paintbrushes and markers, apply your design to the rock. Start with larger shapes and fill in details with smaller brushes. Be patient and let each layer dry before adding more detail.
Step 5: Seal Your Artwork
Once your design is complete and dry, apply a clear sealer or varnish to protect it from weather damage. This step is crucial for ensuring the longevity of your garden art.
Creative Ideas for Painted Rock Art
Get inspired with these creative ideas for your painted rock garden art:
- Garden Markers: Paint rocks with the names of plants or herbs to use as distinctive garden markers.
- Animal Characters: Create a series of adorable animal characters to populate your garden with whimsy and charm.
- Inspirational Quotes: Paint motivational quotes or words of encouragement to uplift your spirit every time you visit your garden.
- Seasonal Themes: Design rocks reflecting the changing seasons or holidays to keep your garden art fresh and relevant throughout the year.
Conclusion
DIY painted rock garden art is a fantastic way to personalize your outdoor space while engaging in a fulfilling creative activity. Whether you’re a seasoned artist or a beginner, this project offers endless possibilities to explore your artistic skills and connect with nature in a meaningful way.
Creating DIY painted rock garden art is a delightful way to add a splash of color and personality to your outdoor space. Painted rock art is an excellent addition to any garden due to its versatility and durability. To begin your painted rock art project, gather essential materials like smooth rocks, acrylic paints, and sealer. Consider what designs or themes you want to depict on your rocks, such as flowers, animals, or abstract patterns. Applying a clear sealer or varnish is crucial for ensuring the longevity of your garden art. 




#DIY #PaintedRocks #GardenArt #Crafting #OutdoorDecor


