Wax melts have become a popular choice for those who want to infuse their homes with delightful scents without the use of candles. These small, scented pieces of wax can be melted in a warmer to release their fragrance, offering a safe and flame-free option to enhance the ambiance of any room. Making your own DIY wax melts at home allows you to customize the scents and ingredients used, ensuring that they are natural and free from harmful chemicals.
Why Choose DIY Wax Melts?
Commercially available wax melts often contain synthetic fragrances and paraffin wax, which can emit harmful toxins when heated. By creating your own wax melts, you have control over the ingredients, allowing you to choose natural waxes and essential oils. This not only benefits your health but also the environment.
Ingredients Needed for DIY Wax Melts
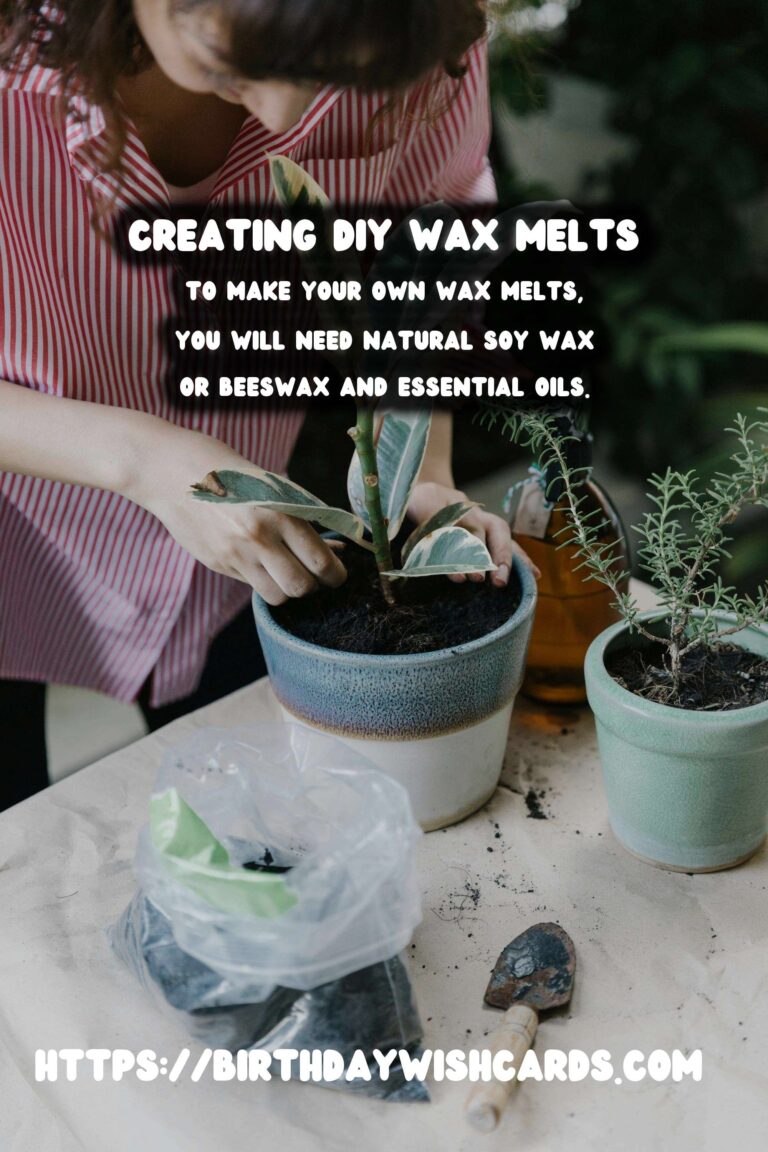
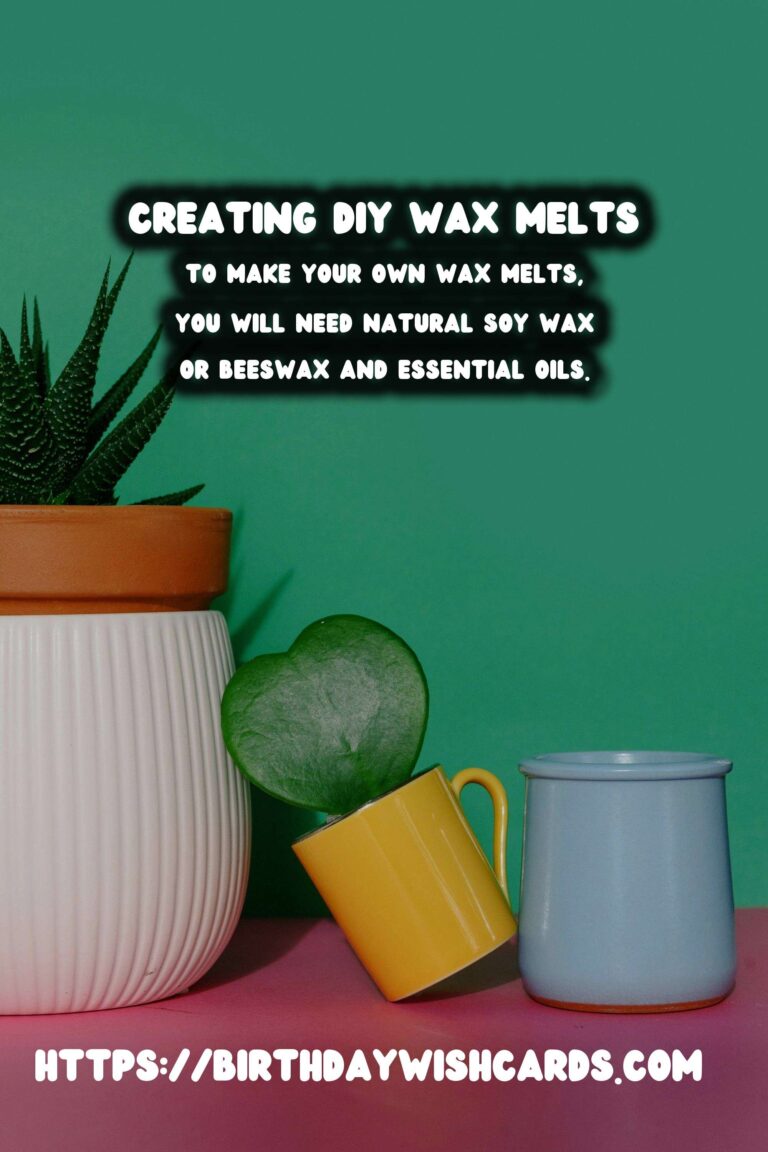
To make your own wax melts, you will need the following ingredients:
- 1 cup of natural soy wax or beeswax
- Essential oils of your choice (e.g., lavender, eucalyptus, or lemon)
- Silicone molds
- Double boiler or microwave-safe container
- Optional: Dried herbs or flowers for decoration
Step-by-Step Guide to Making Wax Melts
Step 1: Melt the Wax
Start by melting the wax using a double boiler or microwave. If using a microwave, heat the wax in 30-second intervals, stirring in between, until fully melted.
Step 2: Add the Essential Oils
Once the wax is melted, remove it from the heat and let it cool slightly before adding your chosen essential oils. Add about 20-30 drops of essential oil per cup of wax, adjusting based on your preference for scent strength.
Step 3: Pour into Molds
Carefully pour the wax mixture into silicone molds. If you wish, sprinkle dried herbs or flowers into the molds for added decoration and fragrance.
Step 4: Let Them Set
Allow the wax melts to cool and harden completely. This can take several hours, or you can place the molds in the refrigerator to speed up the process.
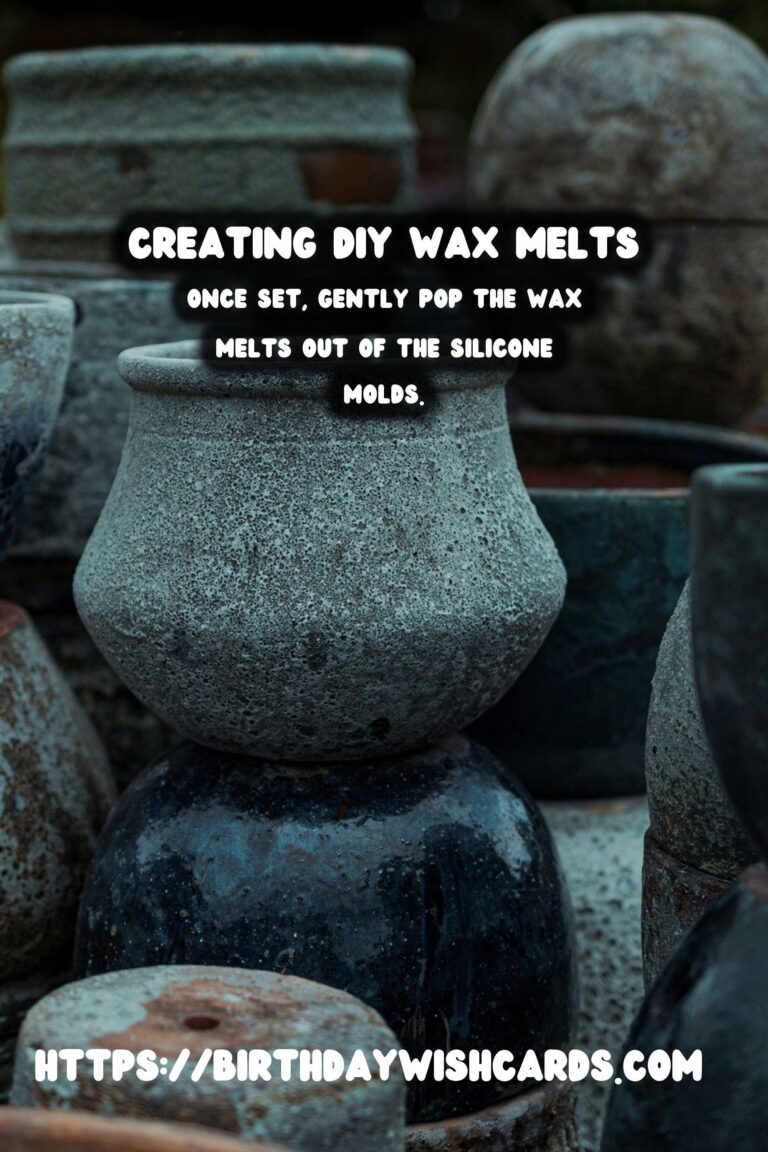
Step 5: Remove and Store
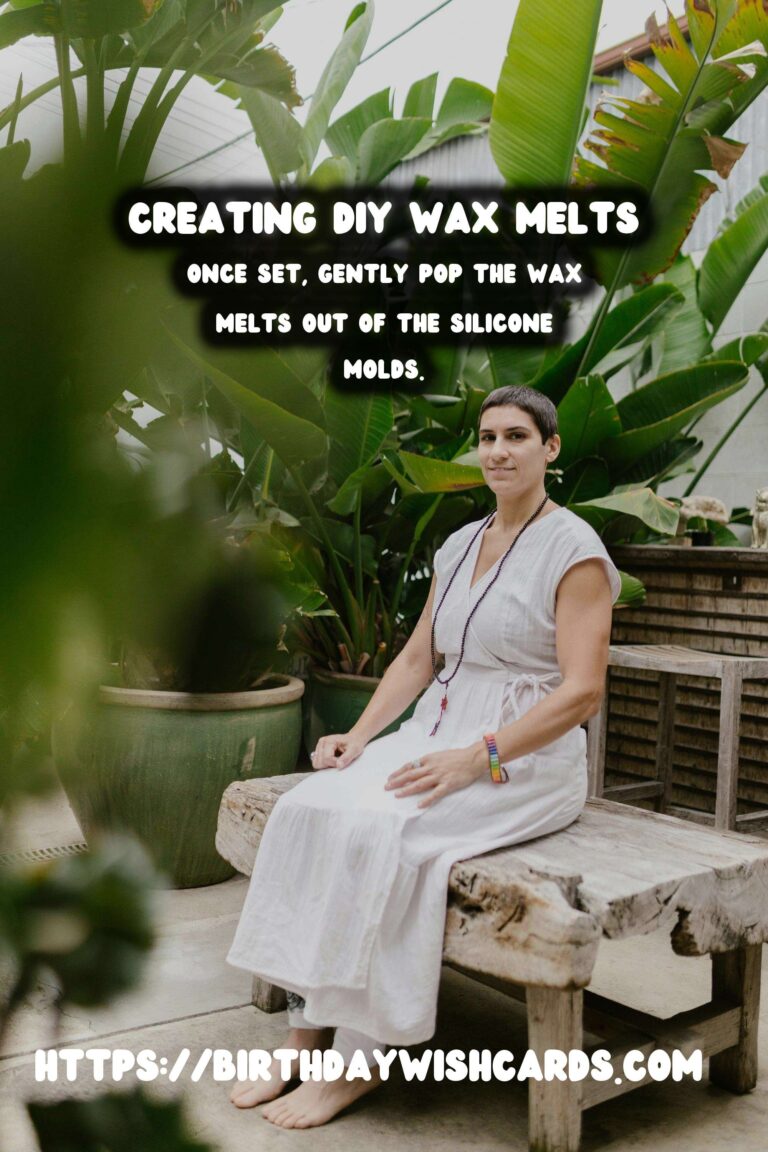
Once set, gently pop the wax melts out of the silicone molds. Store them in a cool, dry place in an airtight container until you’re ready to use them.
Tips for Customizing Your Wax Melts
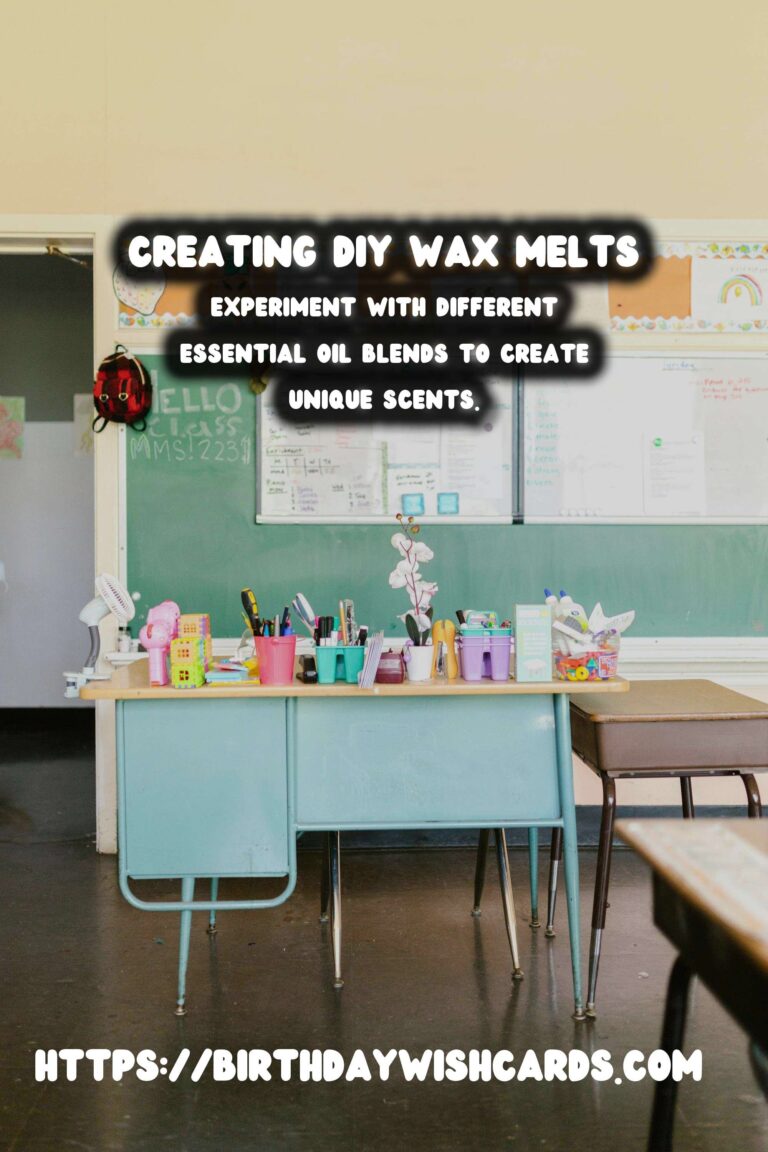
Creating your own wax melts offers endless possibilities for customization. Consider experimenting with different essential oil blends to create unique scents. You can also adjust the ratio of wax to oil to achieve your desired scent intensity. Adding color is another option, although it’s best to use natural colorants to maintain the benefits of a natural product.
Using Your DIY Wax Melts
To use your DIY wax melts, simply place one or two pieces in a wax warmer and turn it on. The heat will slowly melt the wax, releasing the fragrance throughout your space. Wax melts are a great way to create a cozy atmosphere and can be used in any room of your home.
Conclusion
Making your own DIY wax melts is a simple and rewarding project that allows you to enjoy the benefits of natural fragrances in your home. By choosing natural ingredients and customizing the scents to your liking, you can create a personalized home fragrance experience that is both safe and sustainable.
Wax melts offer a safe and flame-free option to enhance the ambiance of any room. Creating your own wax melts allows you to choose natural waxes and essential oils. To make your own wax melts, you will need natural soy wax or beeswax and essential oils. Once set, gently pop the wax melts out of the silicone molds. Experiment with different essential oil blends to create unique scents. 

#DIY #WaxMelts #NaturalFragrance #HomeFragrance #EssentialOils