
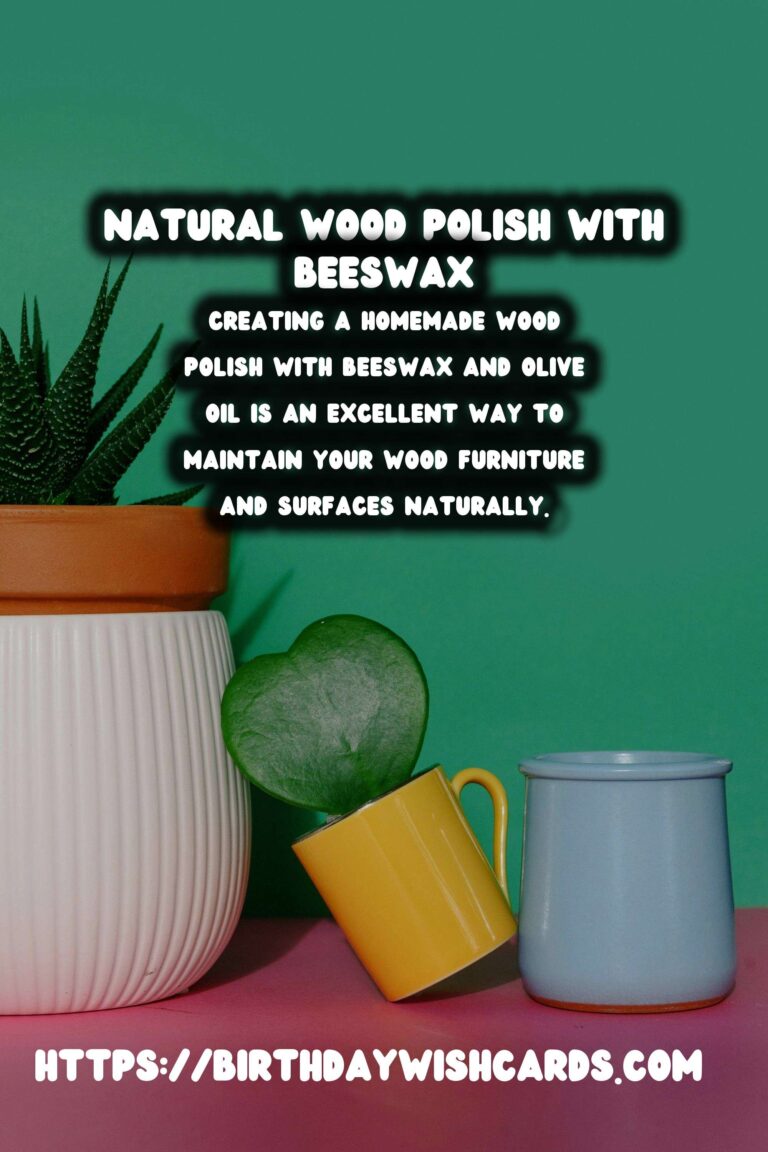
Wood furniture and surfaces require regular maintenance to keep them looking their best. While there are numerous commercial products available, many contain harsh chemicals that can be harmful to both people and the environment. An excellent alternative is creating a homemade wood polish using natural ingredients like beeswax and olive oil. This DIY approach not only offers a chemical-free solution but also nourishes the wood, enhancing its natural beauty and extending its lifespan.
Benefits of Using Homemade Wood Polish
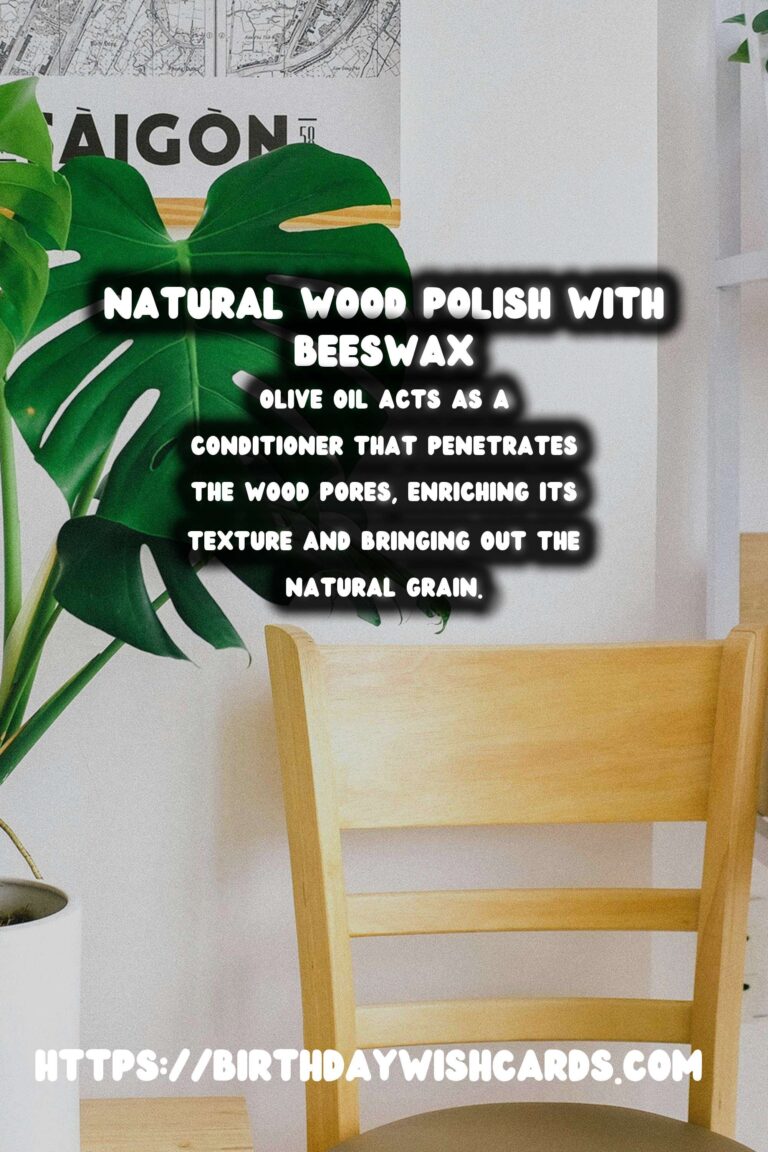
Using a homemade wood polish crafted from beeswax and olive oil provides numerous benefits. This natural polish is free from synthetic chemicals and preservatives, making it safe for both your household and the environment. Beeswax is known for its protective qualities, creating a barrier that helps seal moisture in the wood and protect it from drying out. Olive oil, on the other hand, acts as a conditioner that penetrates the wood pores, enriching its texture and bringing out the natural grain.
Ingredients and Tools Required
To make your homemade wood polish, you will need the following ingredients:
- 1 cup of olive oil
- 1/4 cup of beeswax pellets
- Optional: a few drops of essential oils like lemon or lavender for fragrance
In terms of tools, gather the following:
- A double boiler or a heat-safe bowl and pot
- A wooden spoon or stirrer
- A clean, empty jar or container for storage
Step-by-Step Guide to Making Beeswax & Olive Oil Polish
Follow these simple steps to create your own homemade wood polish:
Step 1: Melt the Beeswax
Start by placing the beeswax pellets in a double boiler over low heat. If you don’t have a double boiler, you can use a heat-safe bowl placed over a pot of simmering water. Stir occasionally with a wooden spoon until the beeswax is completely melted.
Step 2: Add the Olive Oil
Once the beeswax is melted, slowly add the olive oil to the mixture. Continue stirring until the two ingredients are thoroughly combined. If you wish to add a pleasant scent to your polish, now is the time to include a few drops of essential oils.
Step 3: Pour and Cool
Carefully pour the mixture into your clean jar or container while it’s still warm. Allow it to cool and solidify completely before sealing the container with a lid.
How to Use Your Homemade Wood Polish
To use your homemade wood polish, scoop a small amount onto a clean, soft cloth. Rub the polish onto the wood surface using circular motions, ensuring that you cover the entire area. Let the polish sit for a few minutes to allow the wood to absorb the oils and beeswax. Finally, buff the surface with another clean cloth to remove excess polish and achieve a beautiful shine.
Storage and Shelf Life
Your homemade wood polish should be stored in a cool, dry place to maintain its quality. It can last for several months if kept properly sealed and away from direct sunlight. Periodically check for any changes in texture or smell to ensure it remains effective.
Conclusion
Creating a homemade wood polish with beeswax and olive oil is an excellent way to maintain your wood furniture and surfaces naturally. This eco-friendly option not only protects and beautifies your wood but also provides peace of mind knowing that you are using safe, non-toxic ingredients. Try making your own polish today and enjoy the benefits of a healthy and gleaming wood finish.
Wood furniture and surfaces require regular maintenance to keep them looking their best. Beeswax is known for its protective qualities, creating a barrier that helps seal moisture in the wood. Olive oil acts as a conditioner that penetrates the wood pores, enriching its texture and bringing out the natural grain. Creating a homemade wood polish with beeswax and olive oil is an excellent way to maintain your wood furniture and surfaces naturally. 


#WoodPolish #DIYWoodCare #NaturalCleaning #EcoFriendly #BeeswaxPolish


