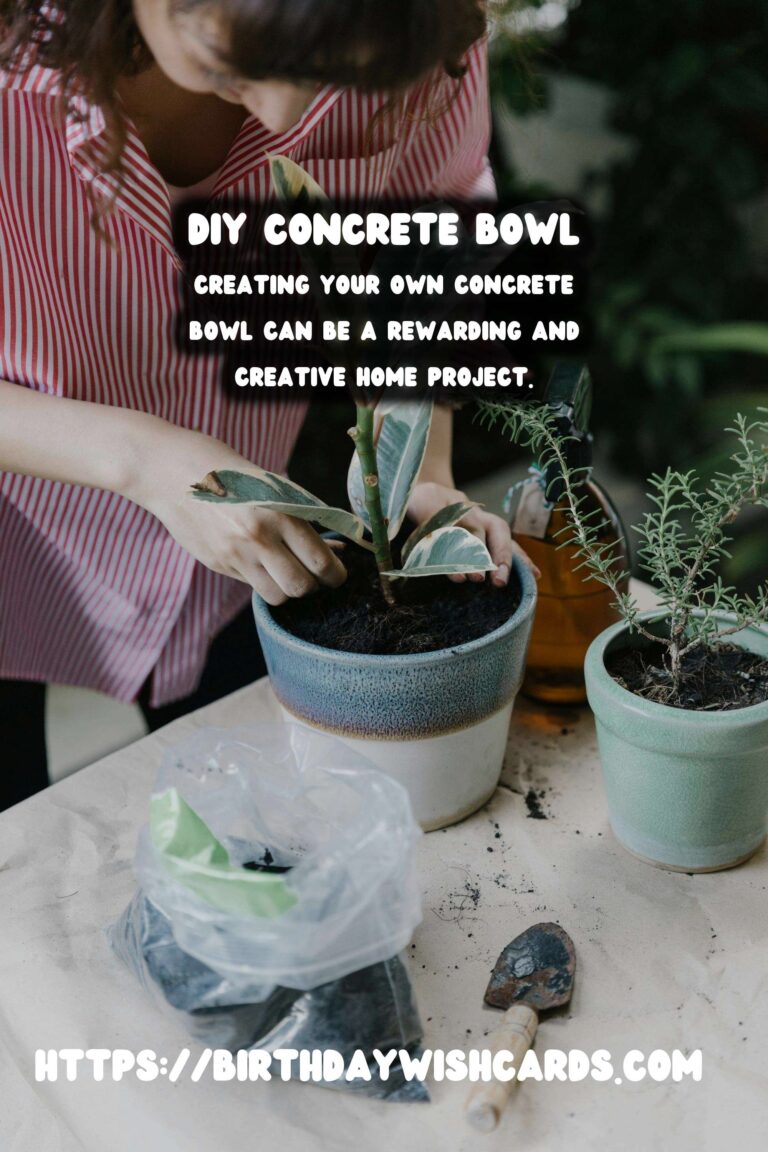
Creating your own concrete bowl can be a rewarding and creative home project. These bowls are not only sturdy and durable but also offer a rustic charm that can enhance any decor. Whether you want to use it as a planter, a fruit bowl, or a decorative piece, making a concrete bowl is simpler than you might think.
Materials Needed for DIY Concrete Bowl
Before starting, gather all necessary materials. You will need a concrete mix, which can be found at most hardware stores, a mixing container, water, a stirring stick, and two bowls of different sizes. The larger bowl will serve as the mold, while the smaller one will be used to create the hollow center. Additionally, you’ll need a release agent, such as cooking spray or petroleum jelly, to ensure that the concrete does not stick to the molds.
Step-by-Step Guide to Making a Concrete Bowl
Step 1: Prepare the Molds
To begin, choose two bowls that will create the desired thickness for your concrete bowl. Coat the inside of the larger bowl and the outside of the smaller bowl with your release agent. This step is crucial for easy removal of the concrete once it has set.
Step 2: Mix the Concrete
In your mixing container, combine the concrete mix with water according to the package instructions. Stir the mixture thoroughly with a stick until it reaches a smooth, pudding-like consistency. Be careful not to add too much water, as this can weaken the final product.
Step 3: Pour and Shape the Concrete
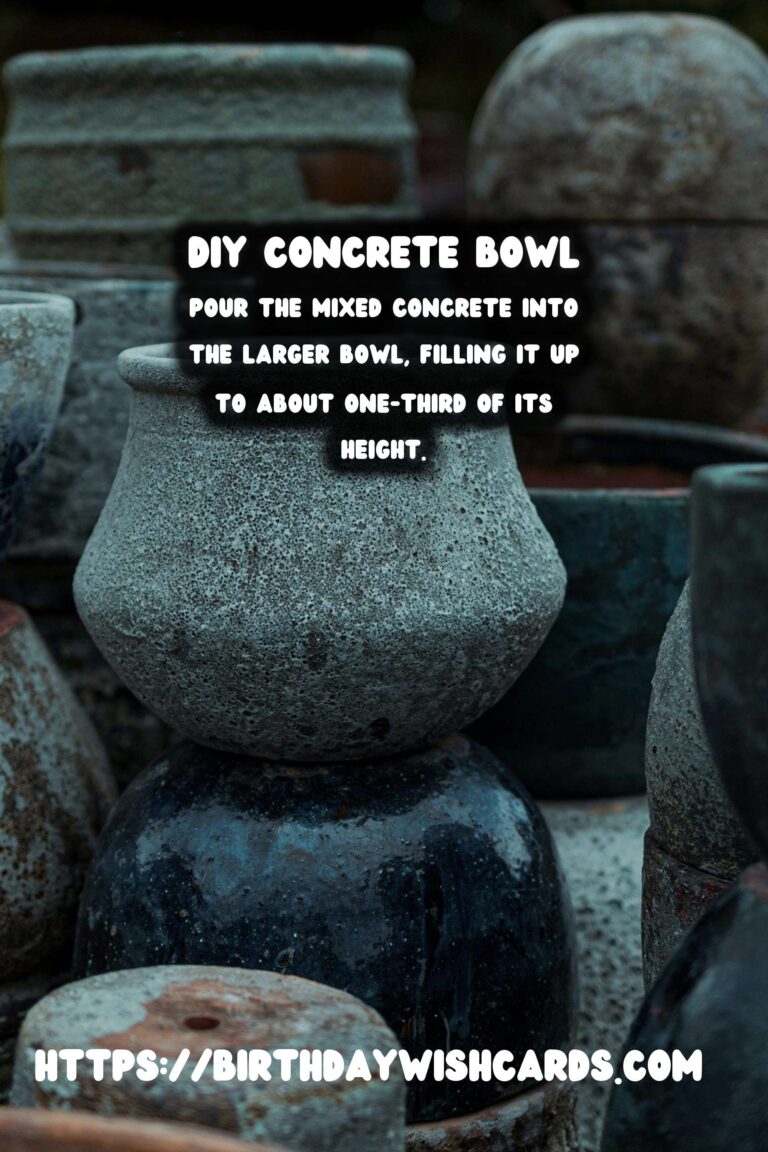
Pour the mixed concrete into the larger bowl, filling it up to about one-third of its height. Then, press the smaller bowl into the concrete, ensuring it is centered. Gently push it down until the concrete rises to the desired height between the two bowls. You may need to place a weight in the smaller bowl to keep it in place.
Step 4: Allow to Set
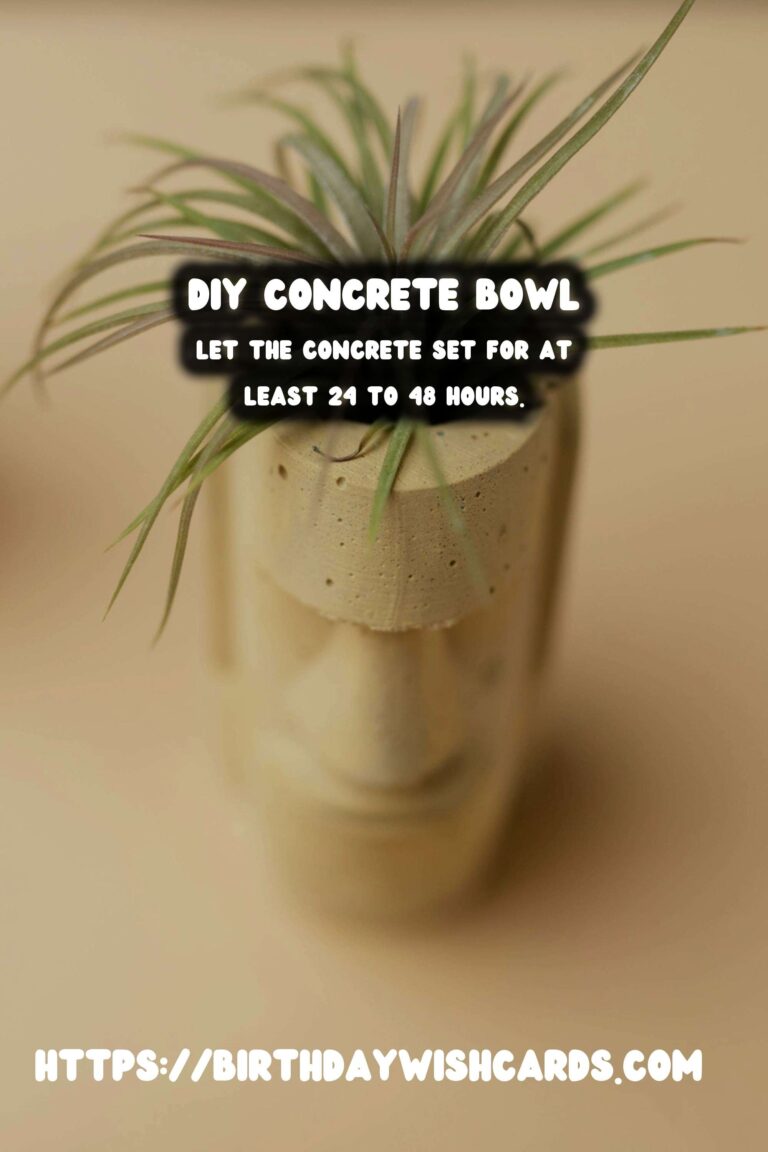
Let the concrete set for at least 24 to 48 hours, depending on the temperature and humidity in your environment. Do not disturb the setup during this time to ensure the concrete cures evenly and develops strength.
Step 5: Remove the Bowl from the Mold
Once the concrete has fully set, carefully remove the smaller bowl first. Then, gently invert the larger bowl and tap it to release the concrete bowl. If resistance is met, apply a bit more release agent and try again.
Step 6: Finishing Touches
After removing the mold, you may find some rough edges or uneven surfaces. Use sandpaper to smooth out any imperfections. If desired, you can apply a sealant to enhance the bowl’s durability and appearance.
Decorating and Using Your Concrete Bowl
Your concrete bowl is now ready for use. It can serve as a striking centerpiece filled with decorative fillers such as stones, shells, or seasonal items. Alternatively, use it as a planter for succulents or small indoor plants. The possibilities are endless, limited only by your imagination. Enjoy your custom creation!
Creating your own concrete bowl can be a rewarding and creative home project. These bowls are not only sturdy and durable but also offer a rustic charm. You will need a concrete mix, a mixing container, water, a stirring stick, and two bowls of different sizes. Coat the inside of the larger bowl and the outside of the smaller bowl with your release agent. Pour the mixed concrete into the larger bowl, filling it up to about one-third of its height. Let the concrete set for at least 24 to 48 hours. Use sandpaper to smooth out any imperfections. 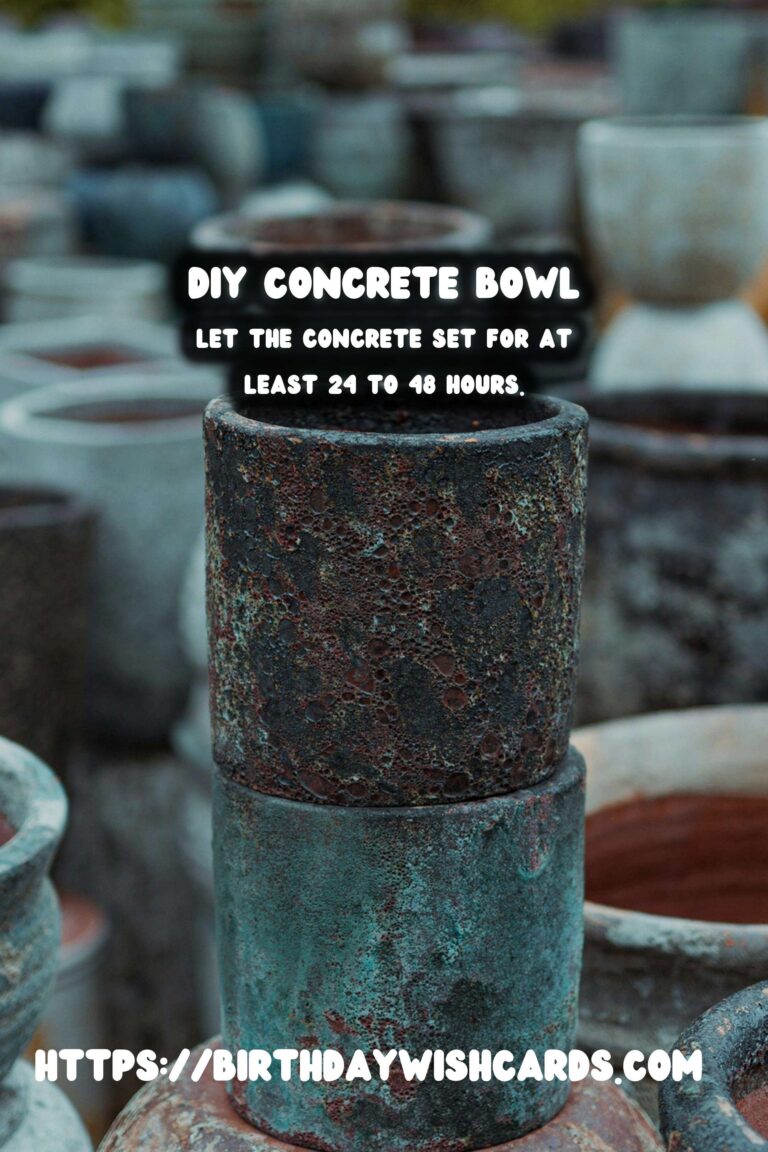
#DIY #Concrete #HomeDecor #Crafts #InteriorDesign