

Houseplants can transform any living space into a lush, vibrant oasis. However, to ensure their continued growth and vitality, repotting is an essential task that plant owners must undertake periodically. This guide will walk you through the art of repotting houseplants, ensuring they stay healthy and thrive in their new homes.
Why Repotting is Essential for Houseplants
Repotting is crucial for houseplants for several reasons. Firstly, as plants grow, their roots can outgrow the current pot, leading to a condition known as root bound. This limits the plant’s ability to absorb water and nutrients effectively. Repotting provides more space for the roots to expand, promoting healthier growth.
Moreover, old soil can become compacted over time, reducing aeration and water absorption. Fresh soil provides a renewed source of nutrients and better drainage, allowing the plant to flourish.
Signs Your Houseplant Needs Repotting
Knowing when to repot is vital. Common signs include roots growing through the drainage holes, soil drying out faster than usual, or the plant appearing top-heavy and imbalanced. Additionally, if your plant’s growth has stagnated despite proper care, it may be time to consider repotting.
Preparing to Repot Your Houseplant
Before you begin, gather all necessary supplies. You will need a new pot that is slightly larger than the current one, fresh potting soil appropriate for your plant type, and tools such as a trowel or a pair of gloves. Ensure the new pot has adequate drainage holes to prevent waterlogging.
Water your plant a day or two before repotting. This makes it easier to remove the plant from its current pot and reduces transplant shock.
Step-by-Step Guide to Repotting
Step 1: Remove the Plant Gently turn the pot on its side and carefully coax the plant out. If the plant is stubborn, lightly tap the sides and bottom of the pot to loosen it. Avoid pulling on the plant directly, as this can damage the roots.
Step 2: Inspect and Trim the Roots Once removed, inspect the roots. Trim any dead or overly long roots with clean scissors. This encourages the growth of new roots and helps prevent root rot.
Step 3: Prepare the New Pot Add a layer of fresh potting soil to the bottom of the new pot. This provides a base for the plant to sit on and ensures good drainage.
Step 4: Position and Fill Place the plant in the center of the new pot. Fill around it with potting soil, ensuring the plant is at the same soil level as before. Gently firm the soil around the plant to secure it in place.
Step 5: Water Thoroughly After repotting, water the plant thoroughly to help settle the soil and eliminate any air pockets. Ensure excess water drains out to prevent root rot.
Post-Repotting Care Tips
After repotting, keep the plant in a shaded area for a few days to help it adjust to its new environment. Avoid fertilizing immediately after repotting, as this can stress the plant. Resume regular care, gradually reintroducing it to direct sunlight and feeding once the plant shows signs of new growth.
Common Mistakes to Avoid
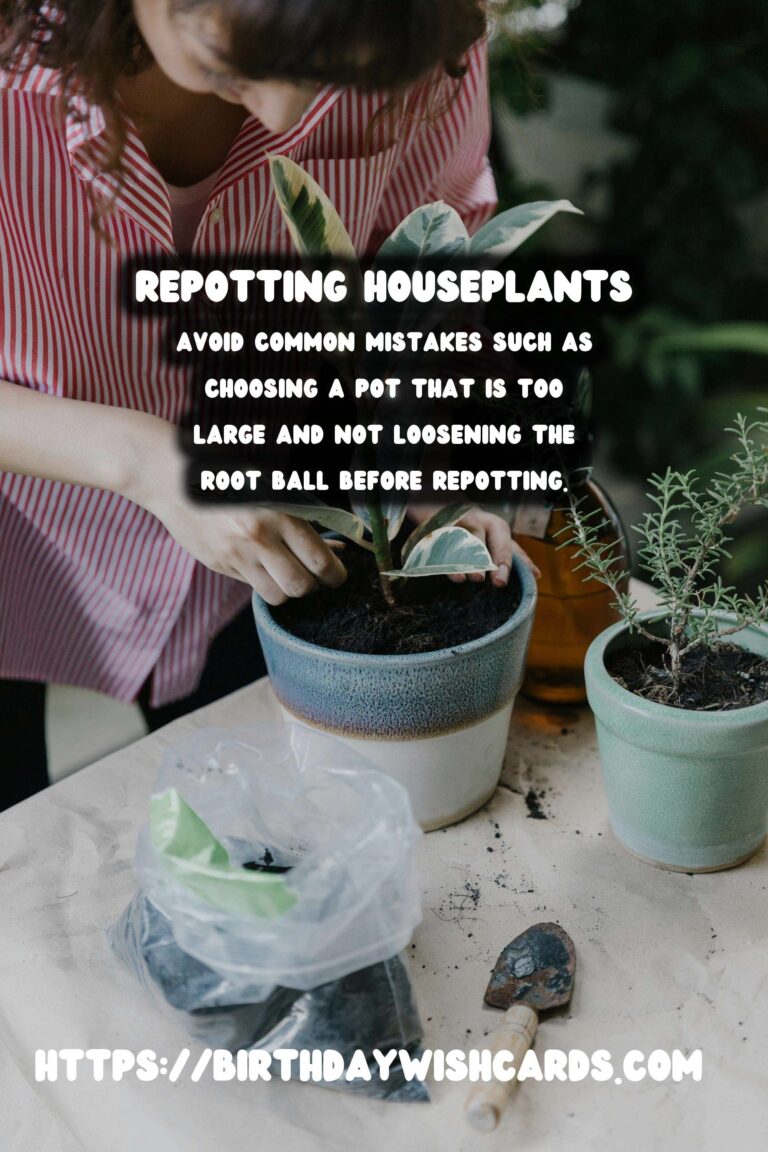
One common mistake is choosing a pot that is too large. This can lead to overwatering and root rot. Another mistake is not loosening the root ball before repotting, which can impede root growth. Always ensure you are using the right type of soil for your specific plant.
Conclusion
Repotting houseplants is an art that, when done correctly, can significantly enhance your plants’ health and growth. By following these guidelines, you can ensure your houseplants continue to thrive, adding beauty and life to your home.
Repotting is crucial for houseplants to provide more space for root expansion and promote healthier growth. Signs that your houseplant needs repotting include roots growing through drainage holes and soil drying out quickly. Before repotting, prepare by gathering supplies such as a new pot, fresh potting soil, and necessary tools. The step-by-step guide to repotting includes removing the plant, inspecting and trimming the roots, and watering thoroughly after repotting. Avoid common mistakes such as choosing a pot that is too large and not loosening the root ball before repotting. 

#Houseplants #Repotting #GardeningTips #PlantCare #IndoorGardening