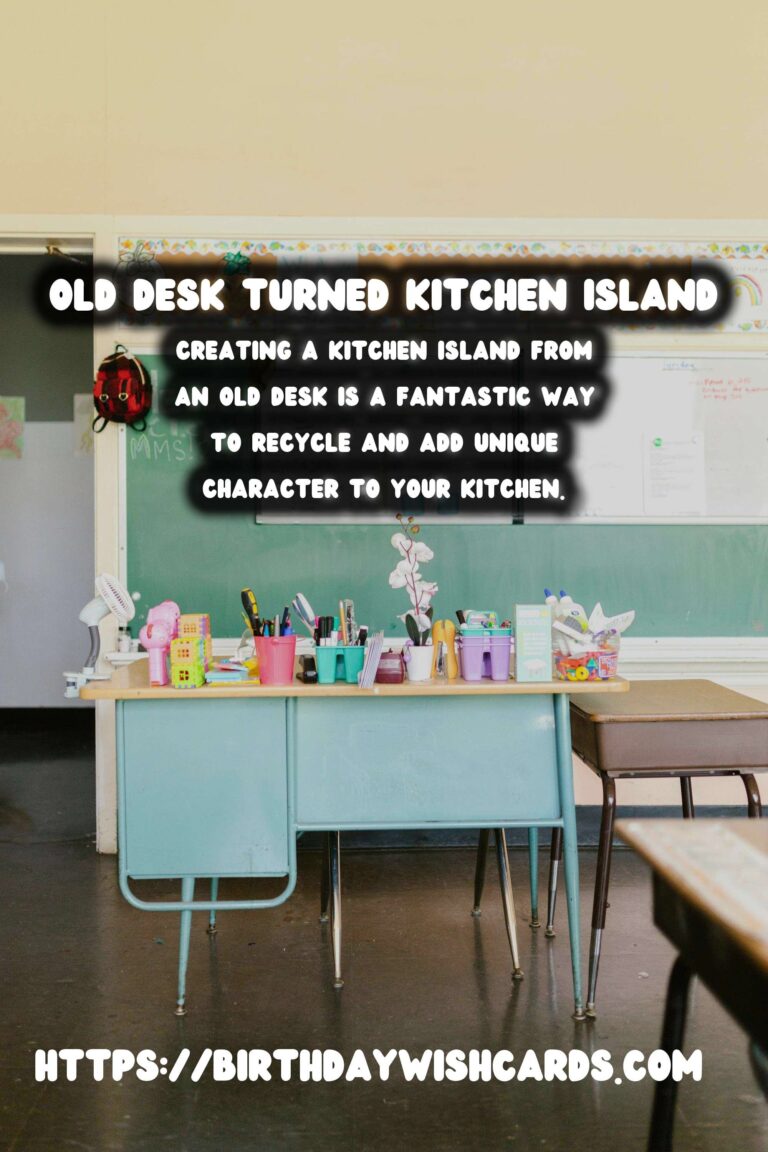
Creating a kitchen island from an old desk is a fantastic way to recycle and add unique character to your kitchen. This project not only saves money but also allows you to customize your kitchen island to fit your style and space requirements. In this article, we will explore the step-by-step process of transforming an old desk into a functional and stylish kitchen island.
Why Transform an Old Desk?
Old desks often have solid construction and can be easily repurposed. By converting them into kitchen islands, you can extend their life and reduce waste. Additionally, a desk-turned-kitchen-island can serve as the focal point in your kitchen, providing additional workspace and storage options.
Materials and Tools Needed
To successfully transform an old desk into a kitchen island, you will need the following materials and tools:
- Old desk
- Sandpaper
- Paint or wood stain
- Paintbrush or roller
- New hardware (optional)
- Butcher block or countertop surface
- Power drill
- Screwdriver
- Measuring tape
- Level
Step 1: Clean and Prepare the Desk
Begin by thoroughly cleaning the desk to remove any dirt, dust, or grime. Use sandpaper to smooth out any rough areas and to prepare the surface for painting or staining. If the desk has old hardware, remove it and set it aside if you plan to replace it with new hardware.
Step 2: Paint or Stain the Desk
Choose a paint or wood stain that complements your kitchen decor. Apply the paint or stain evenly using a brush or roller. Allow it to dry completely before moving on to the next step. For a more rustic look, consider distressing the paint by lightly sanding the edges and corners.
Step 3: Attach the Countertop Surface
Measure the dimensions of the desk and cut the butcher block or countertop surface to fit. Align the countertop with the desk and use a power drill to secure it in place. Ensure that the countertop is level and properly attached.
Step 4: Add Storage and Functional Features
If the desk has drawers, consider repurposing them for kitchen storage. Add dividers for organizing utensils or install hooks for hanging towels. You might also add open shelves or a wine rack beneath the countertop for additional storage.
Step 5: Install New Hardware
If you removed the original hardware, now is the time to install new knobs or handles that match your kitchen design. This small detail can make a significant difference in the overall look of your new kitchen island.
Step 6: Position the Kitchen Island
Once all modifications are complete, move the desk-turned-kitchen-island to its designated spot in your kitchen. Ensure it is stable and level. Consider adding casters to the legs of the desk for mobility, allowing you to move the island as needed.
Conclusion
Transforming an old desk into a kitchen island is a rewarding DIY project that enhances your kitchen’s functionality and style. By following these steps, you can create a custom piece that reflects your personality and meets your culinary needs.
Creating a kitchen island from an old desk is a fantastic way to recycle and add unique character to your kitchen. Old desks often have solid construction and can be easily repurposed. To transform an old desk into a kitchen island, you will need materials like sandpaper, paint, new hardware, and a countertop surface. The project involves cleaning, painting, attaching a countertop, adding storage, and installing new hardware. Transforming an old desk into a kitchen island is a rewarding DIY project that enhances your kitchen’s functionality and style. 


#DIY #KitchenIsland #Repurpose #HomeImprovement #Upcycling


