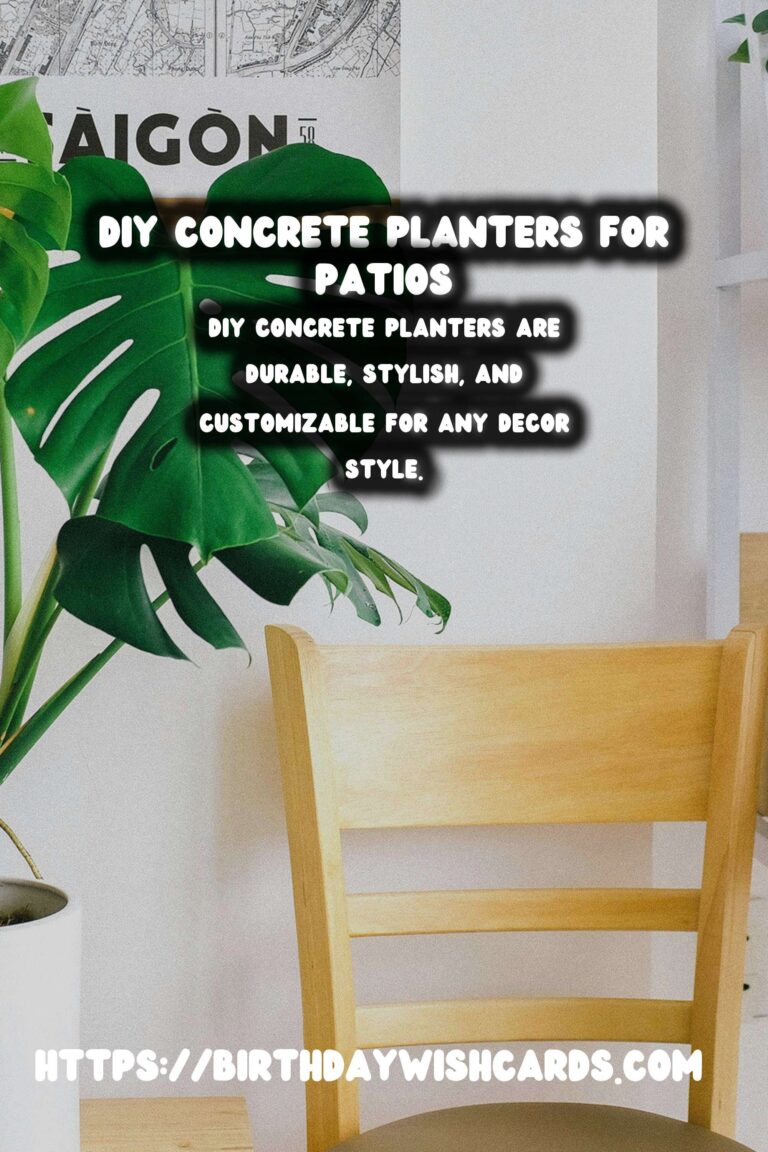
Decorating your patio with planters is a fantastic way to bring life and color to your outdoor space. DIY concrete planters are not only durable and stylish but also customizable to fit any decor style. In this guide, we will walk you through the process of creating your own concrete planters from scratch.
Why Choose Concrete Planters?
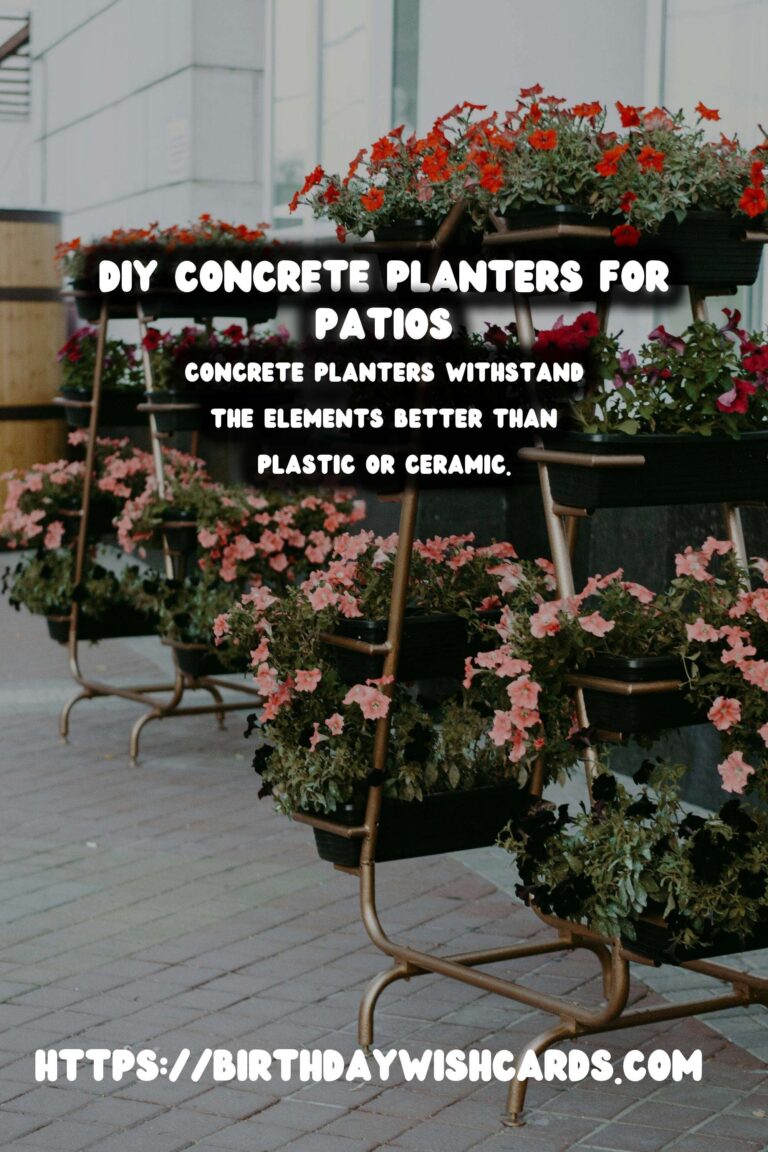
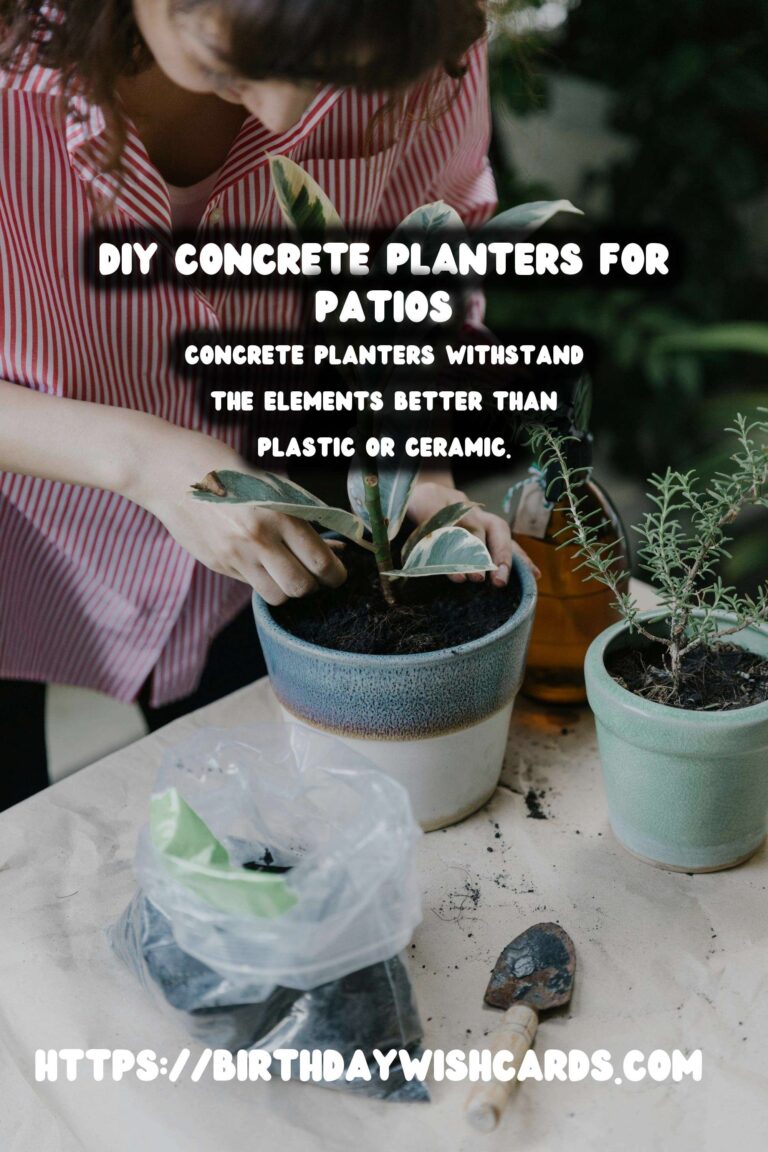
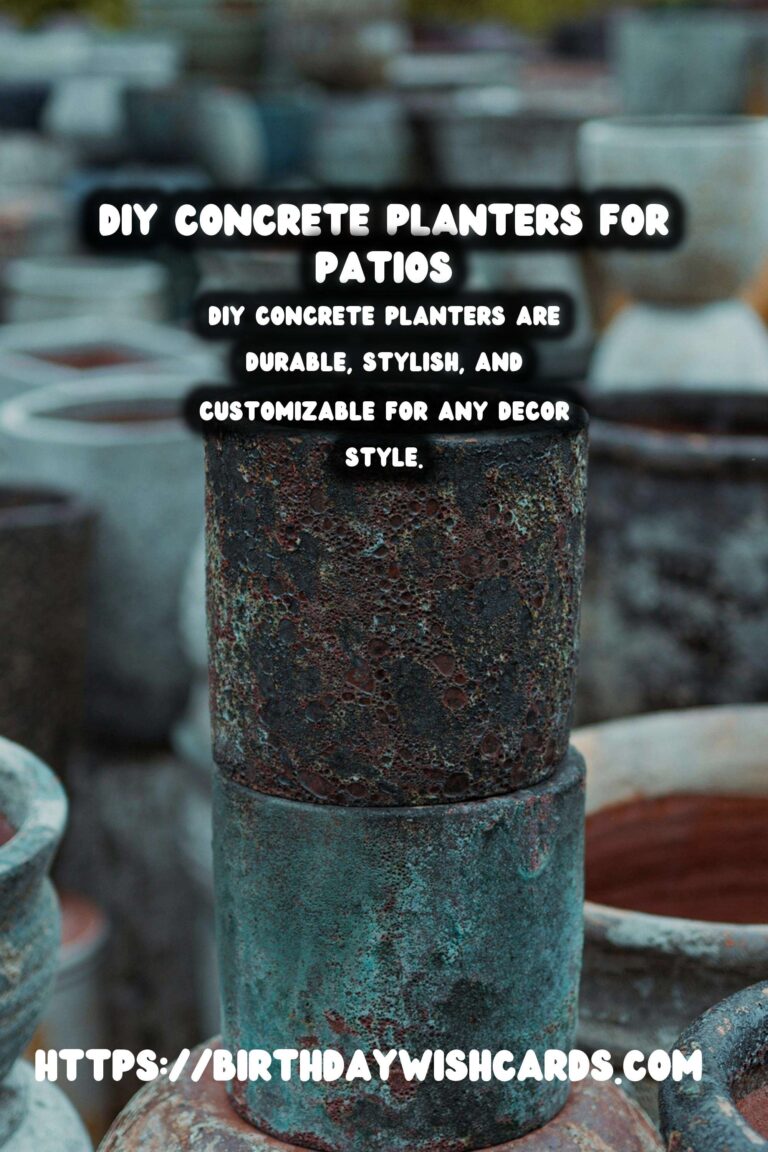
Concrete planters are an excellent choice for outdoor decor due to their durability and stability. Unlike plastic or ceramic planters, concrete can withstand the elements without fading or cracking. Additionally, the weight of concrete planters makes them less likely to be knocked over by wind or pets.
Materials Needed
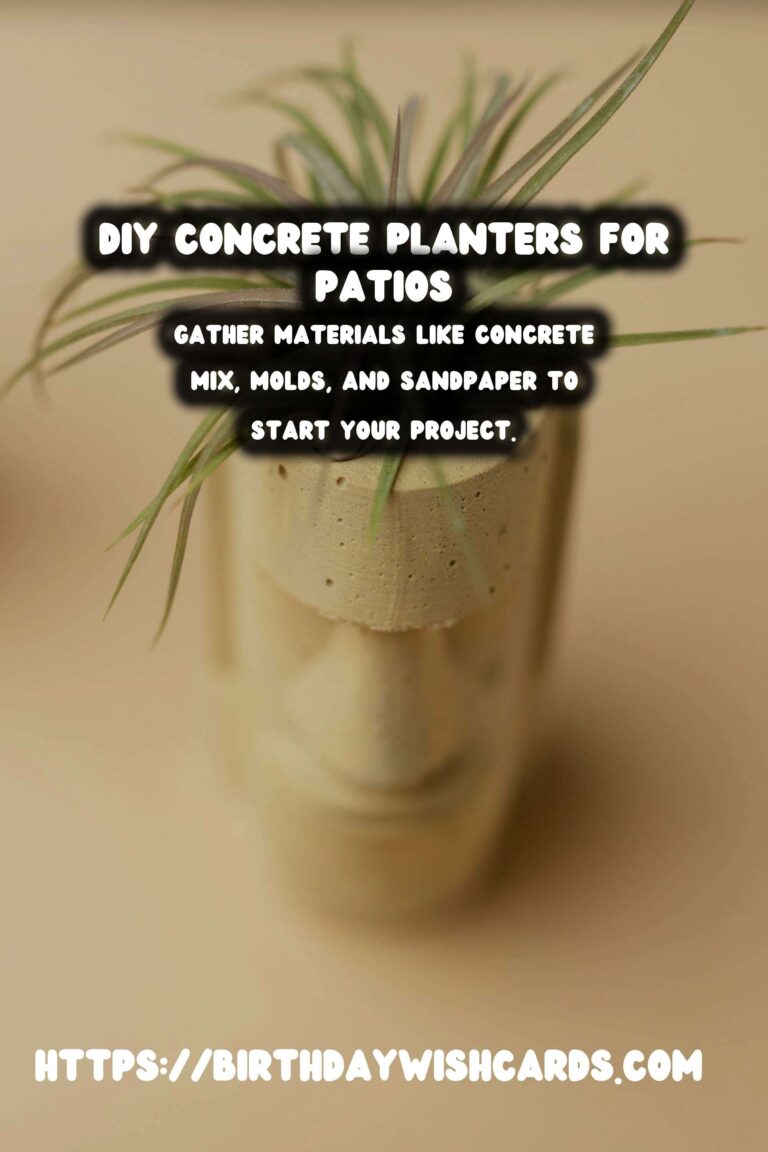
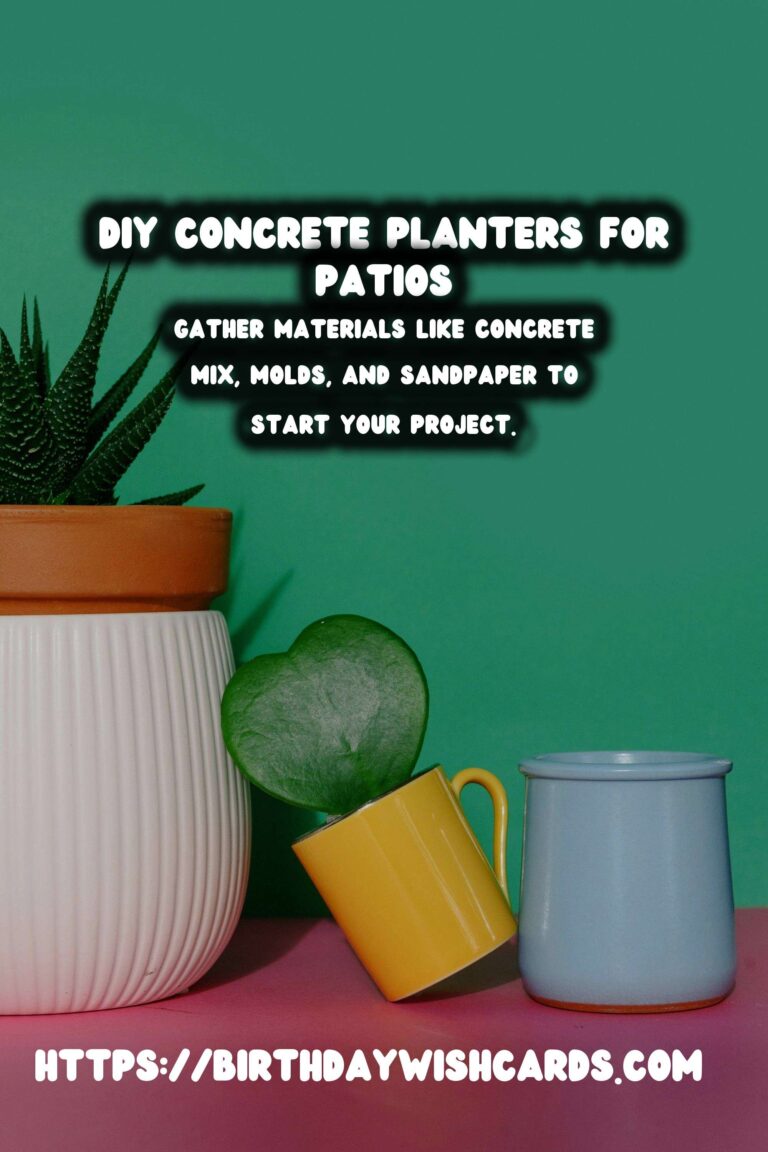
Before you start, gather the following materials:
- Concrete mix
- Water
- Mixing container
- Molds (plastic containers work well)
- Cooking oil or non-stick spray
- Sandpaper
- Paint and brushes (optional)
Step-by-Step Instructions
Step 1: Prepare the Molds
Choose a mold for your planter. This could be any plastic container, like a bucket or a bowl. Coat the inside with cooking oil or non-stick spray to make it easier to remove the concrete once it has set.
Step 2: Mix the Concrete
In your mixing container, combine the concrete mix with water according to the package instructions. Stir until you achieve a smooth consistency. Be sure to wear gloves and a mask to protect yourself from dust and chemical exposure.
Step 3: Pour the Concrete
Pour the mixed concrete into your prepared mold. Tap the sides of the mold gently to remove any air bubbles. If you want drainage holes in your planter, insert a straw or dowel into the bottom of the mold before the concrete sets.
Step 4: Let it Set
Allow the concrete to cure for at least 24 to 48 hours. The time may vary depending on the size of your planter and the type of concrete mix used. Once the concrete is solid, carefully remove it from the mold.
Step 5: Finishing Touches
Use sandpaper to smooth any rough edges on your planter. If desired, paint your planter with outdoor-safe acrylic paint to add a pop of color or a unique design. Allow the paint to dry completely before use.
Decorating Your Patio
Now that you have your DIY concrete planters, it’s time to place them on your patio. Consider grouping different sizes and shapes together for a visually appealing arrangement. Fill them with your favorite plants and flowers to complete the look.
Maintenance Tips
Concrete planters require minimal maintenance. If you notice any stains or grime, simply scrub with a brush and water. During colder months, consider moving your planters indoors to prevent cracking from freezing temperatures.
With your new DIY concrete planters, your patio will be an inviting space, perfect for relaxing and entertaining guests. Enjoy the satisfaction of creating beautiful, functional decor that enhances your outdoor living area.
DIY concrete planters are durable, stylish, and customizable for any decor style. Concrete planters withstand the elements better than plastic or ceramic. Gather materials like concrete mix, molds, and sandpaper to start your project. Pour the concrete into molds and let it set for 24 to 48 hours. Finish with paint or leave natural, and enjoy your new patio decor. 

#DIY #ConcretePlanters #PatioDecor #OutdoorLiving #Gardening