Transforming your living space into a green oasis can be both stylish and functional with a wall mounted plant shelf. This DIY project is perfect for plant enthusiasts who want to display their green friends in a creative and space-efficient manner. In this article, we will guide you through the process of creating your own wall mounted plant shelf, from selecting materials to installation.
Why Choose a Wall Mounted Plant Shelf?
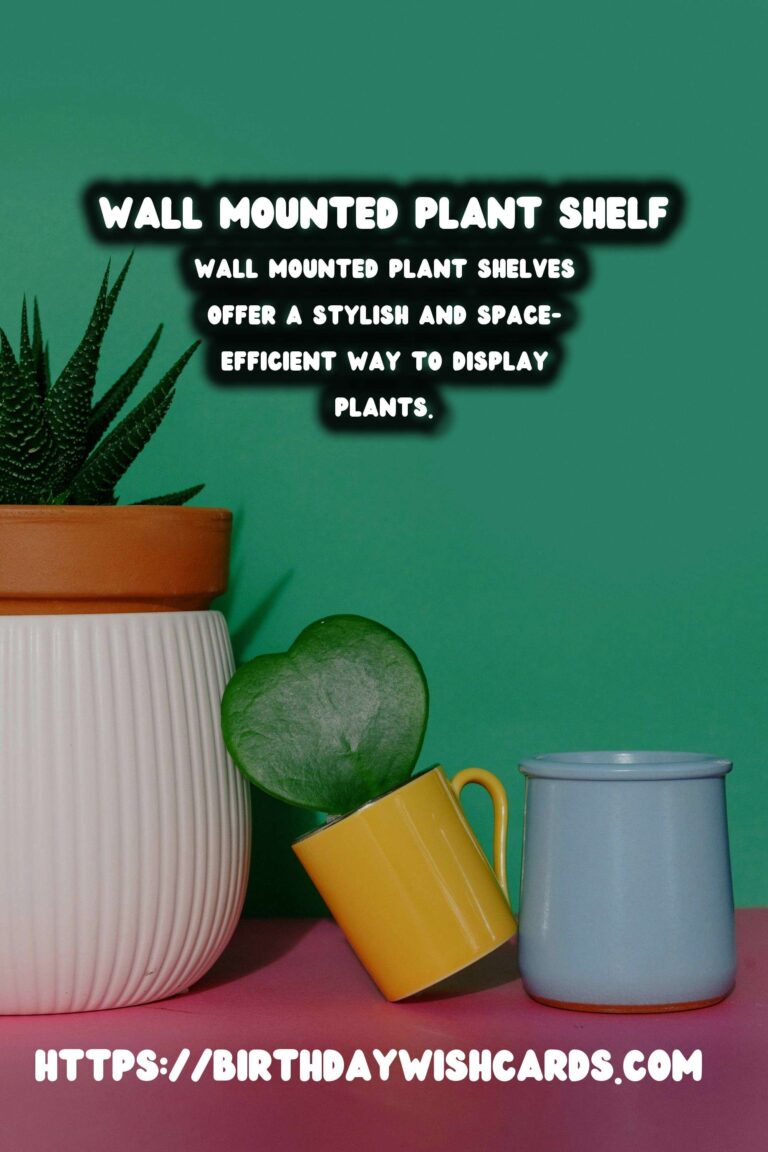
Wall mounted plant shelves are a fantastic way to add greenery to your home without taking up valuable floor space. They are ideal for small apartments or rooms where space is at a premium. Additionally, these shelves can serve as a unique decorative element that enhances your interior design.
Materials Needed for Your DIY Project
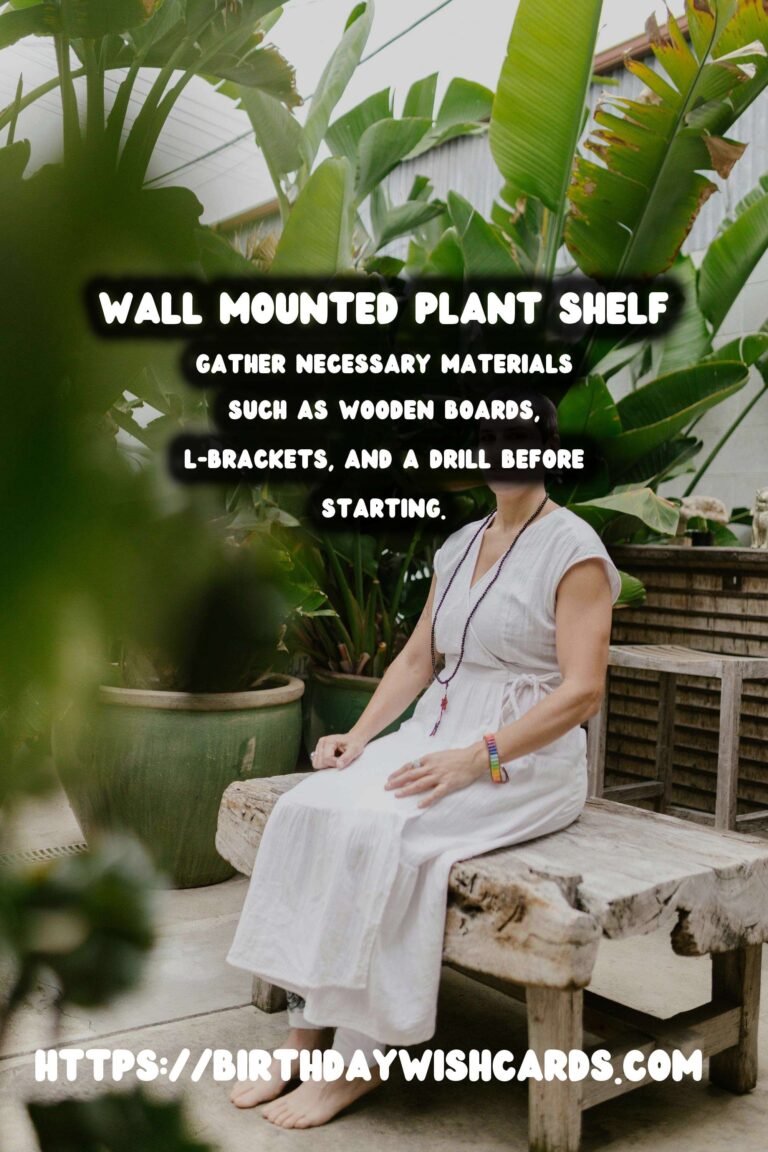
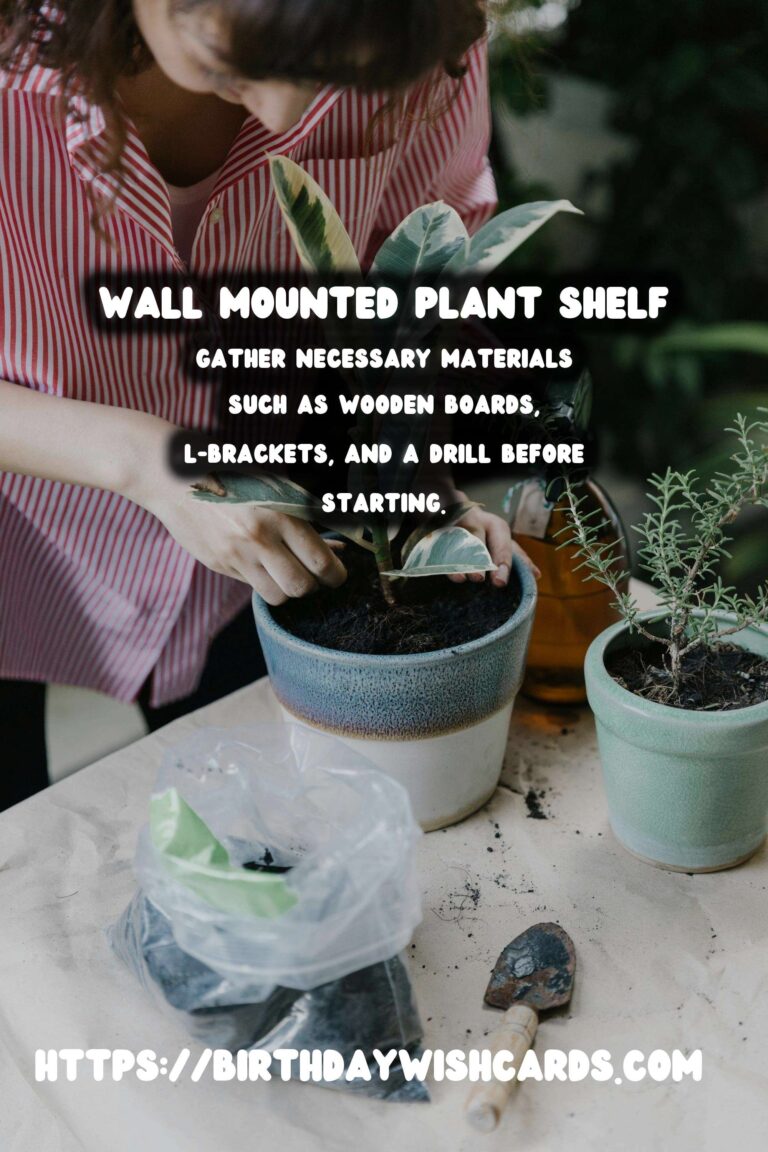
Before starting, gather the following materials:
- Wooden boards (size depending on your space and design)
- L-brackets or shelf supports
- Drill and drill bits
- Screws and wall anchors
- Sandpaper
- Wood stain or paint (optional)
- Measuring tape
- Level
- Pencil
Step-by-Step Instructions
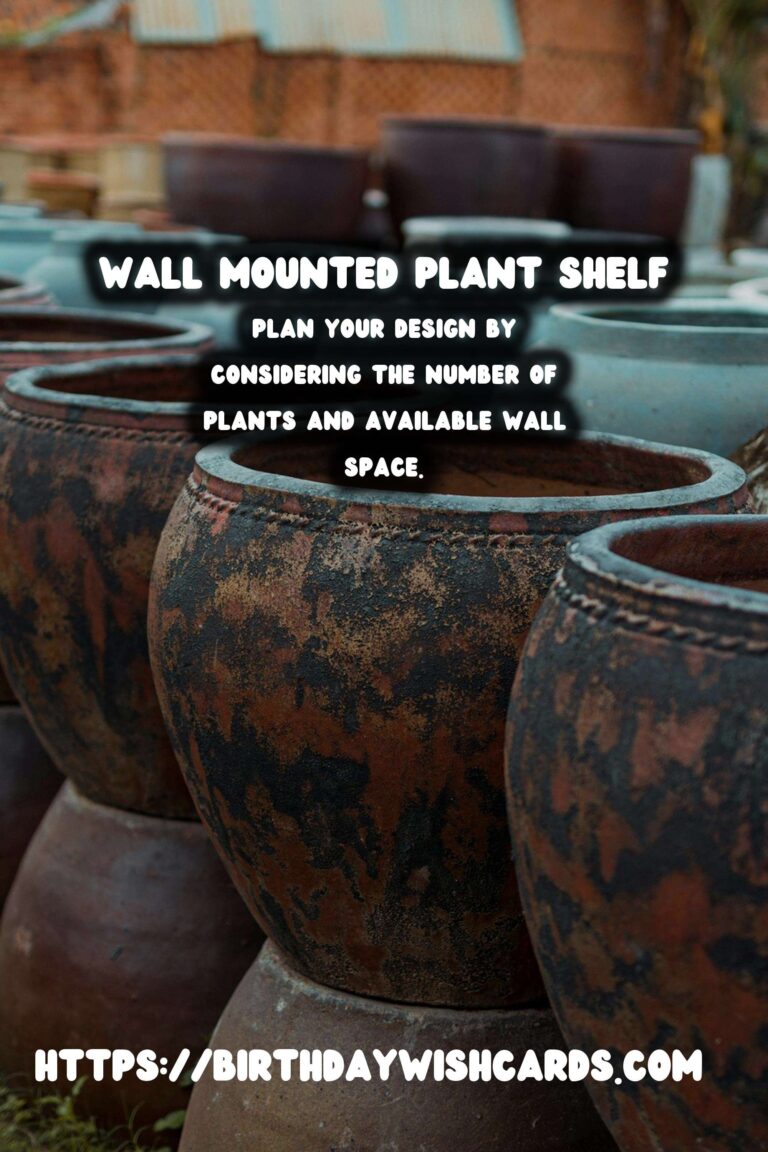
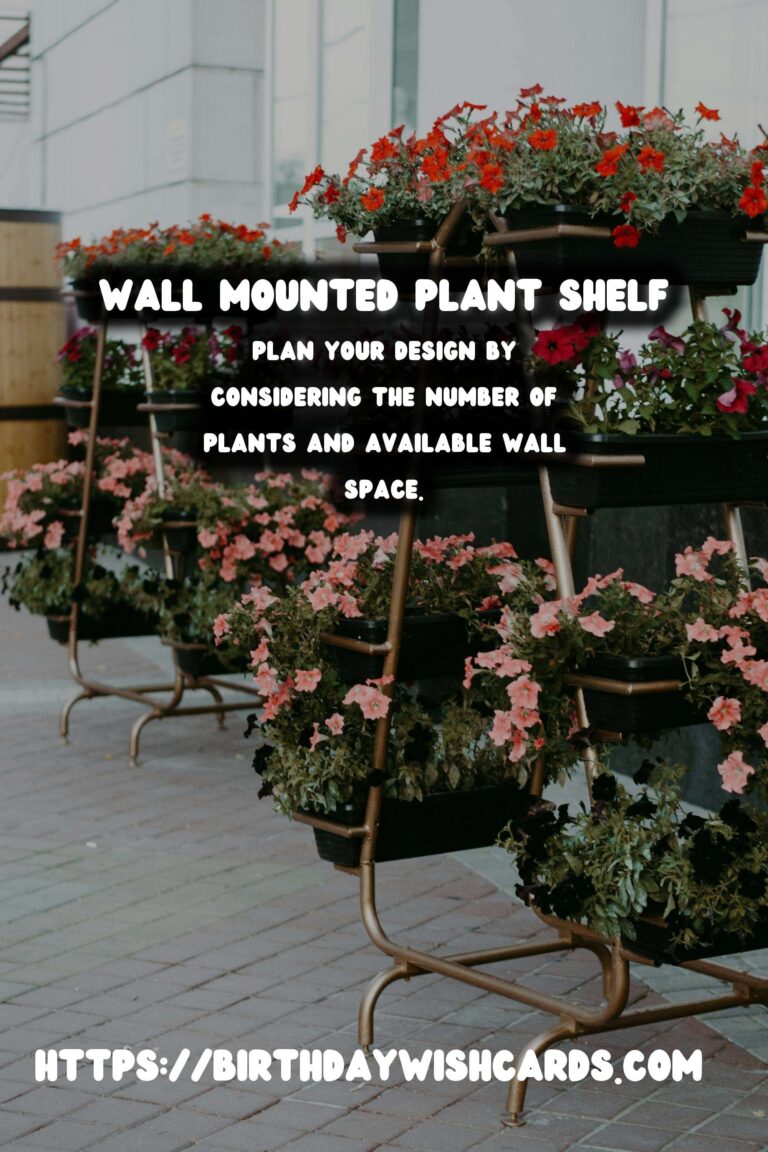
Step 1: Plan Your Design
Consider the number of plants you want to display and the available wall space. Sketch your design on paper, taking into account the size of the pots and the weight capacity of the shelving materials.
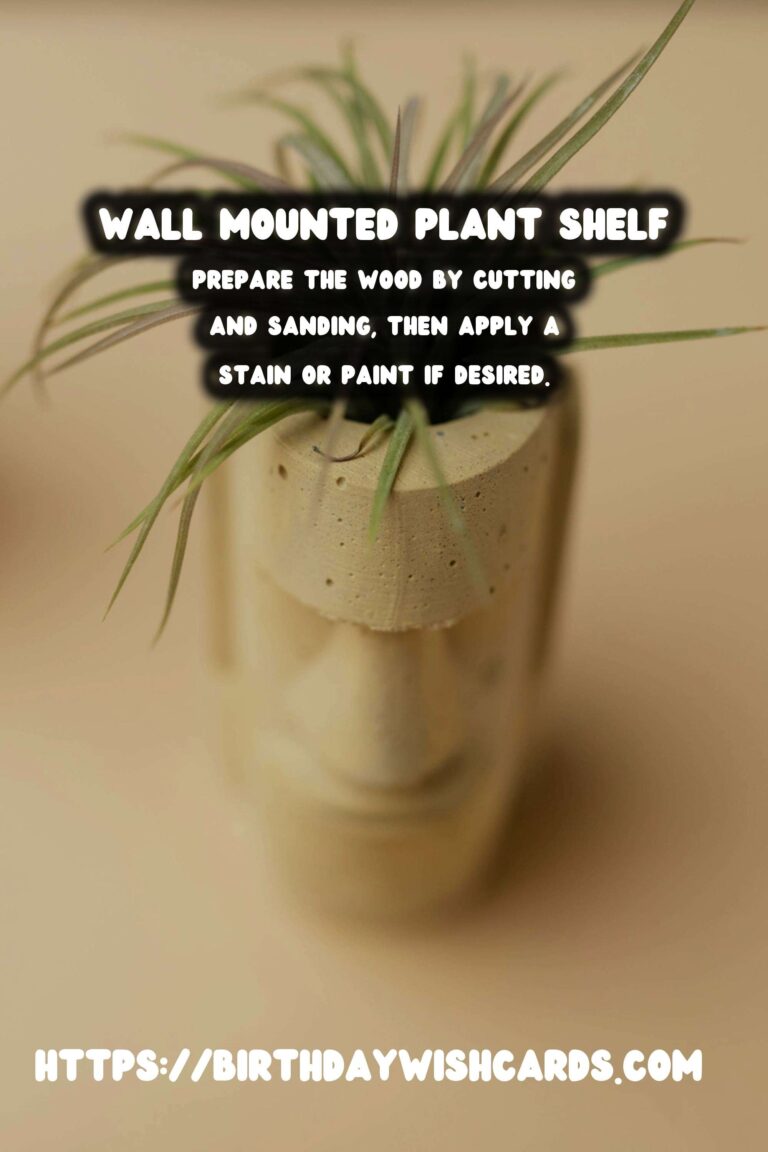
Step 2: Prepare the Wood
Cut the wooden boards to your desired length and width. Use sandpaper to smooth out any rough edges. If you wish, apply a wood stain or paint to match your interior decor.
Step 3: Install the Shelf Supports
Using a level and pencil, mark the positions on the wall where you will install the shelf supports. Drill holes for the wall anchors and attach the L-brackets securely to the wall.
Step 4: Attach the Shelves
Place the wooden boards onto the L-brackets and secure them with screws. Ensure that the shelves are level and sturdy enough to hold the weight of your plants.
Step 5: Arrange Your Plants
Once the shelf is installed, arrange your plants on the shelves. Consider the light requirements of each plant to ensure they thrive in their new location.
Tips for Maintaining Your Wall Mounted Plant Shelf
Regularly check that the shelves are secure and not sagging under the weight of the plants. Rotate the plants occasionally to ensure even growth and exposure to light. Water the plants carefully to avoid water damage to the shelves.
Conclusion
Creating a DIY wall mounted plant shelf is a rewarding project that enhances your living space with natural beauty. By following these steps, you can craft a custom display that fits your unique style and space requirements.
Embrace the satisfaction of building something with your own hands and enjoy the lush greenery that a wall mounted plant shelf brings to your home.
Wall mounted plant shelves offer a stylish and space-efficient way to display plants. Gather necessary materials such as wooden boards, L-brackets, and a drill before starting. Plan your design by considering the number of plants and available wall space. Prepare the wood by cutting and sanding, then apply a stain or paint if desired. Install the shelf supports securely and ensure the shelves are level. Arrange plants based on their light requirements to ensure healthy growth. Regular maintenance is key to keeping your wall mounted plant shelf in good condition. 
#DIY #HomeDecor #PlantShelf #GreenLiving #InteriorDesign